Since we did Iran last week, next up in alphabetical order is (checks notes) Guyana! Wait, hang on. Oh right, we’ve had a pin stuck in Guyana for over a year, because I have a coworker from there, and we wanted to have her over to judge our efforts. And then, well – things just kept happening. But the grand day has finally arrived, and we can share our efforts with you, our hypothetically existing readers.
First off, a bit of background. Guyana is a country in South America that shares a border with Venezuela, Suriname, and Brazil. While Brazil and Guyana seem to have a pretty firm agreement on where their border lies, the border with Venezuela has been disputed since before there even WAS a Venezuela, and the Suriname border has been contested for nearly as long. The result of this is that more than half of the area marked “Guyana” on a map may or may not be part of the country.
Guyanese food is a mix of Caribbean, British, Indian, and indigenous influences. A strong contender for the national dish is a stew called “pepperpot,” which is based on a difficult to source sauce called “Cassareep.” Fortunately, Saf, my Guyanese coworker, was able to provide us with a bottle.
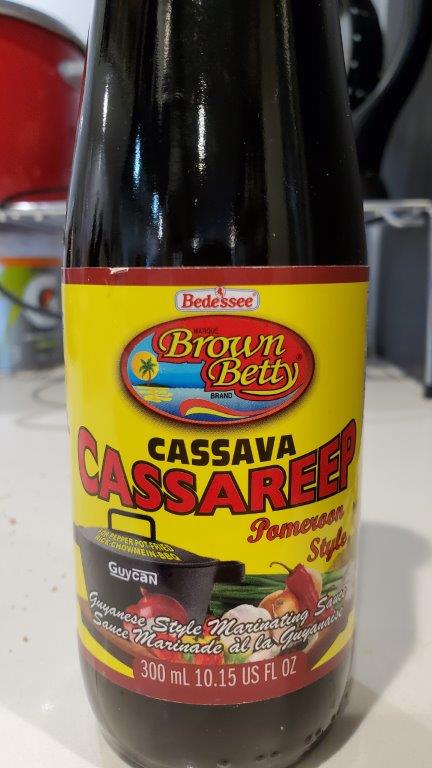
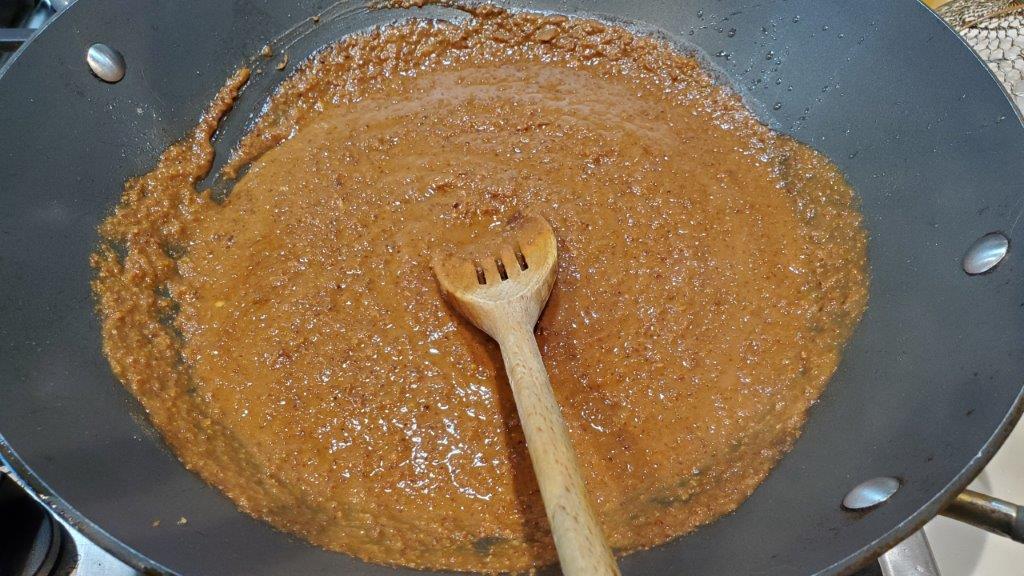
As indicated in the picture, cassareep is made from Cassava root. It is dark brown in color, and simultaneously sweet and bitter. If only we had some sort of word that combined sweet and bitter. Oh well.
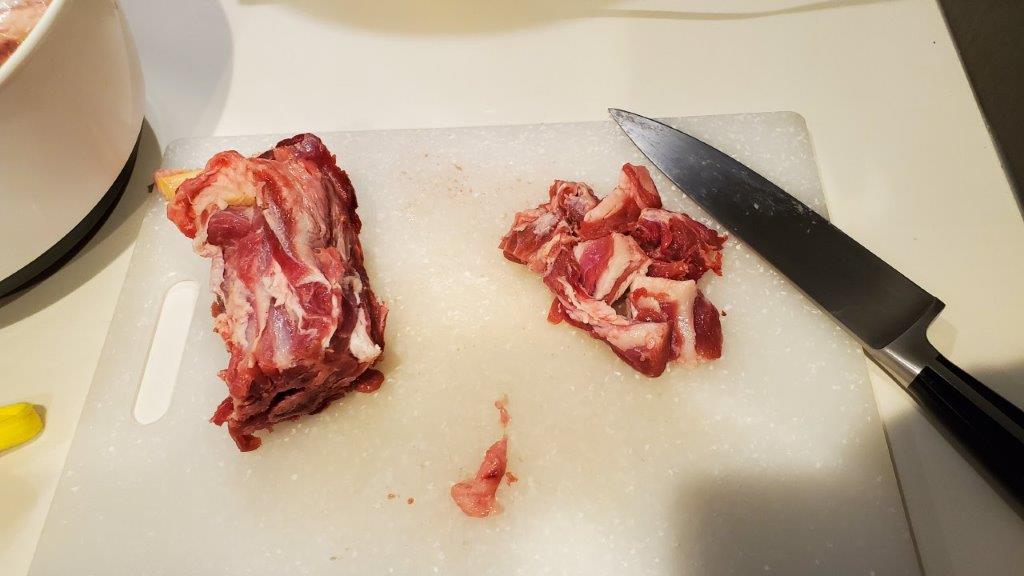
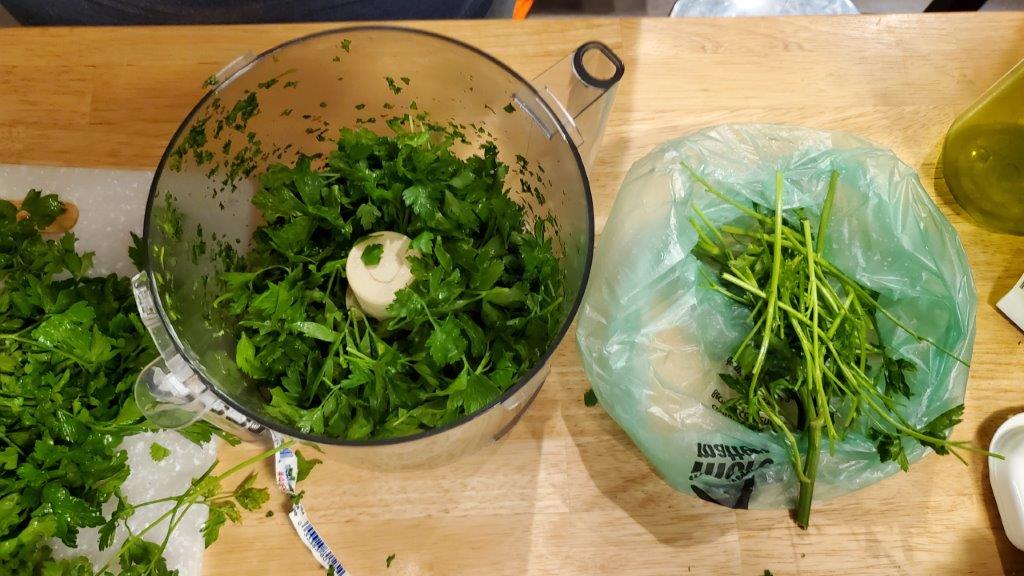
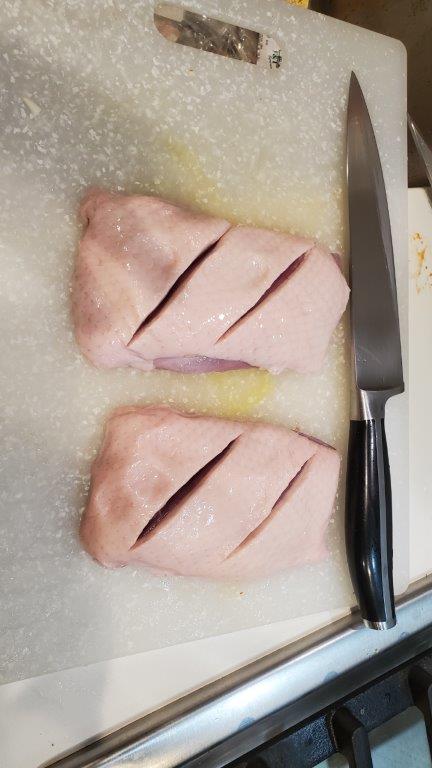
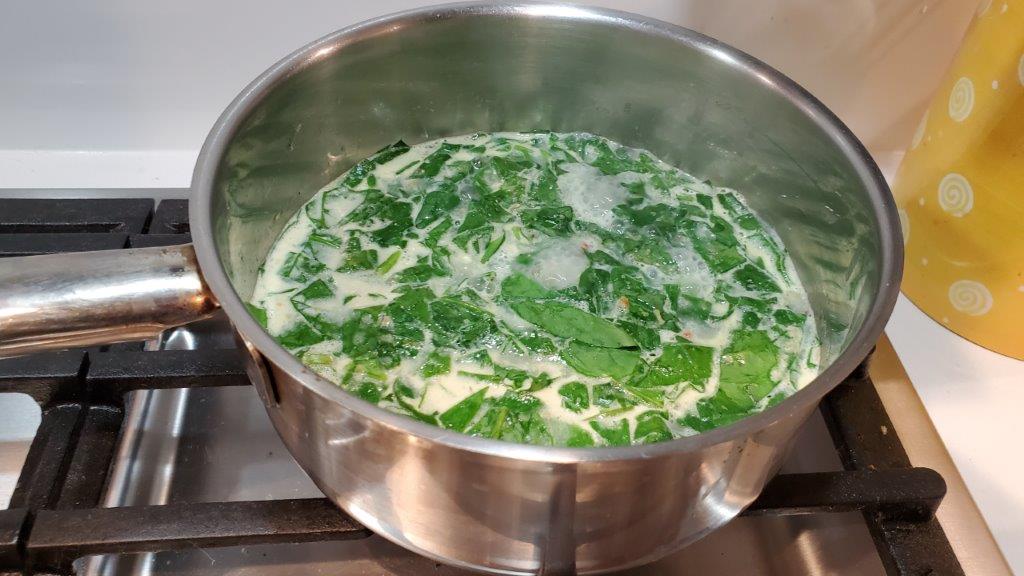
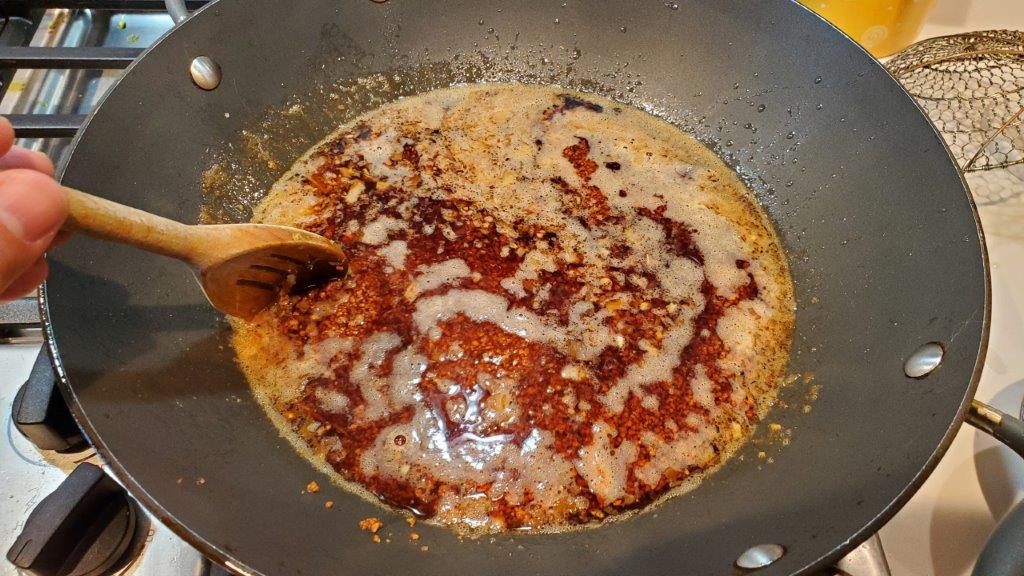
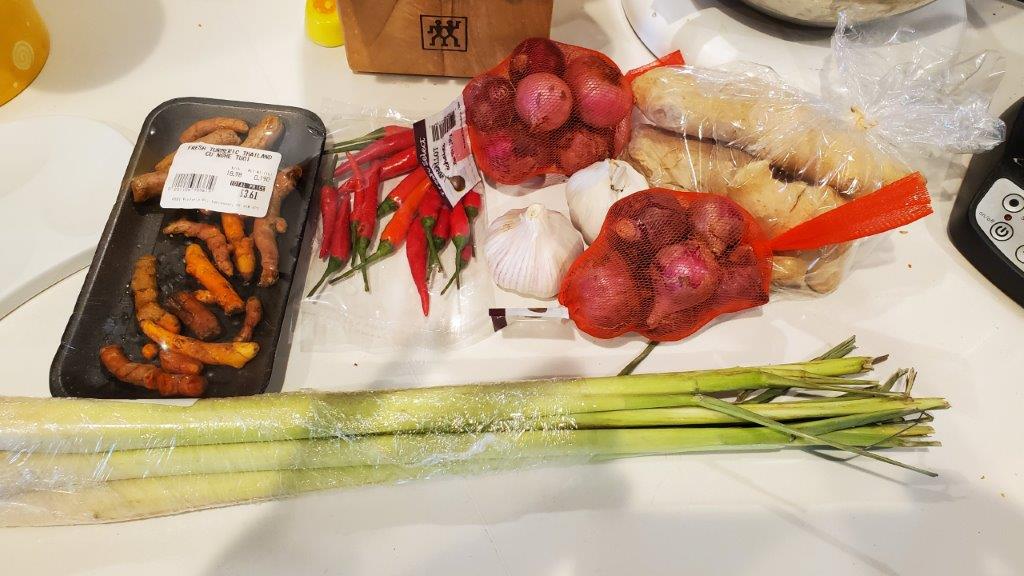
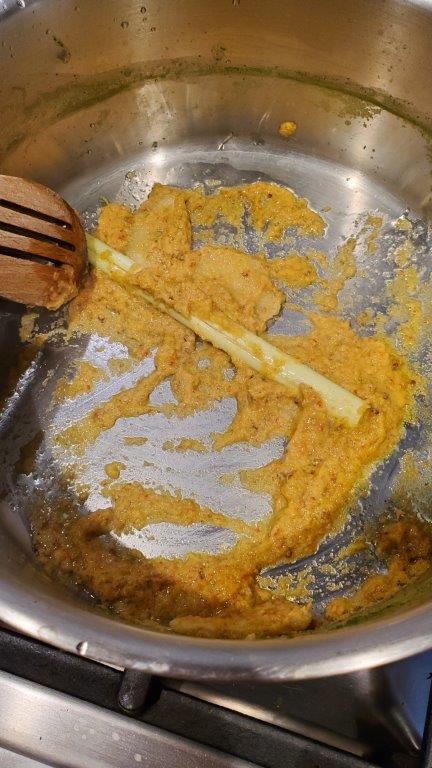
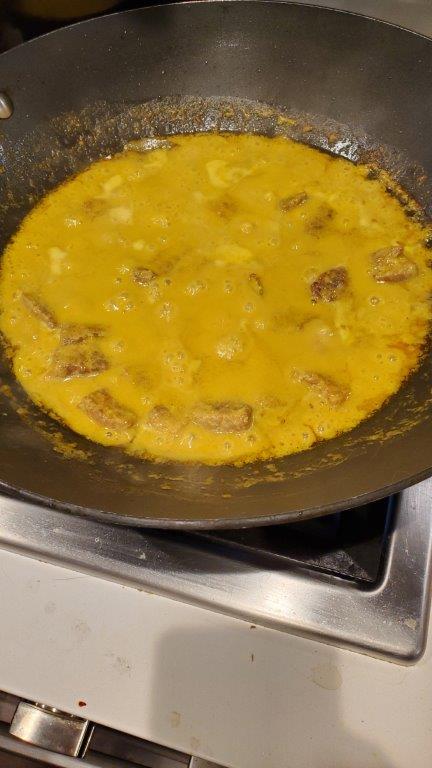
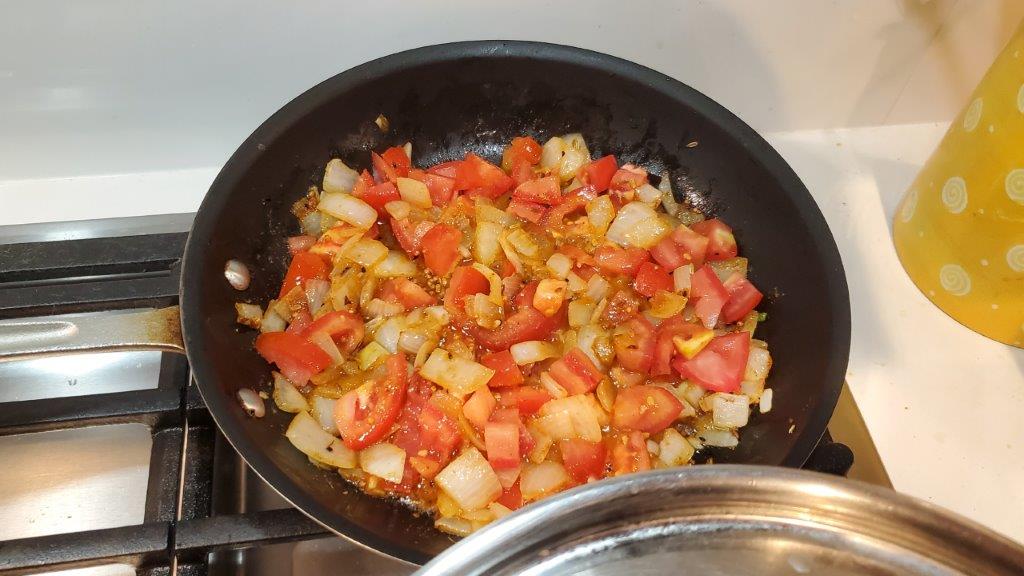
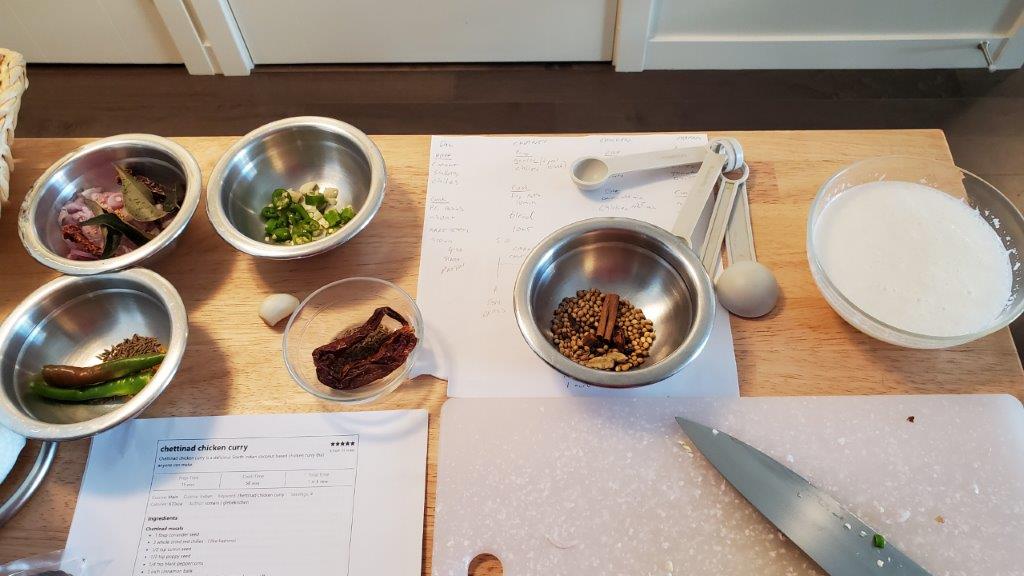
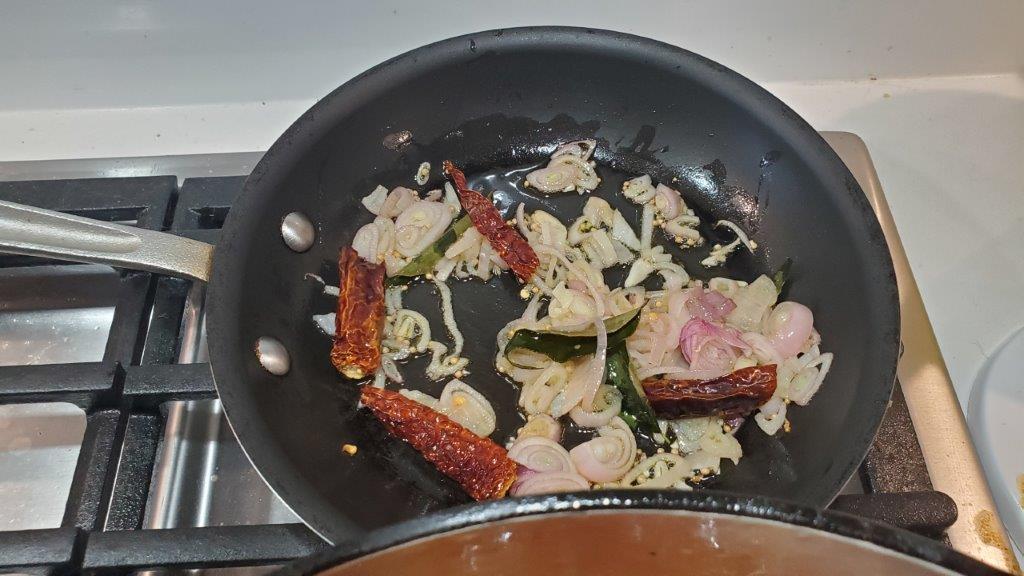
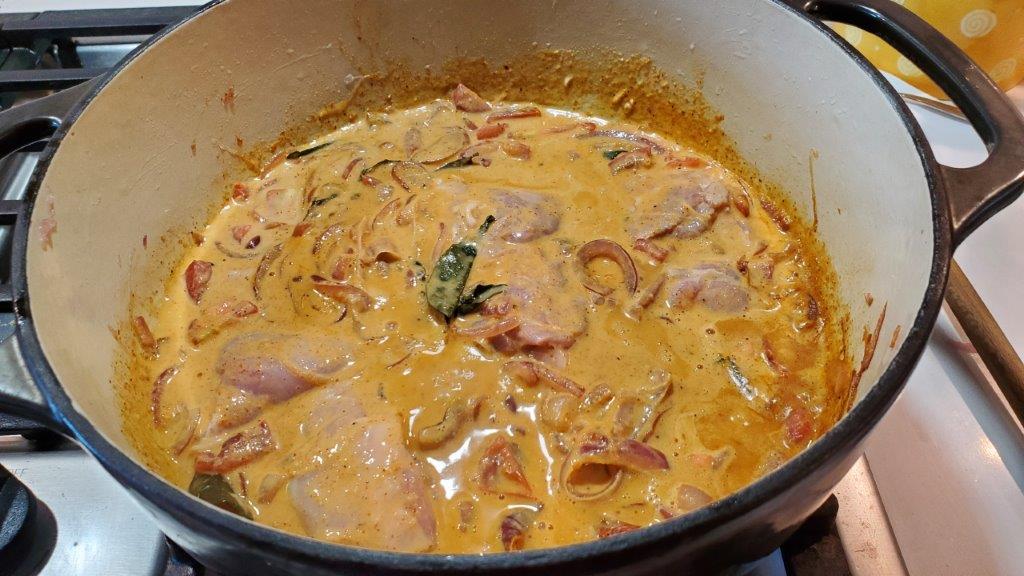
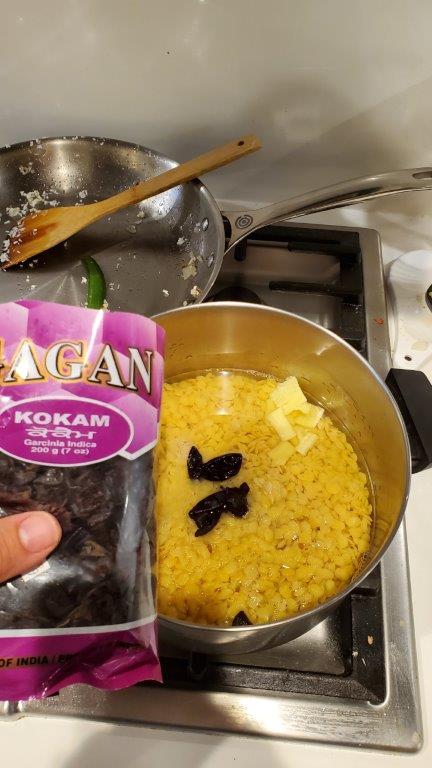
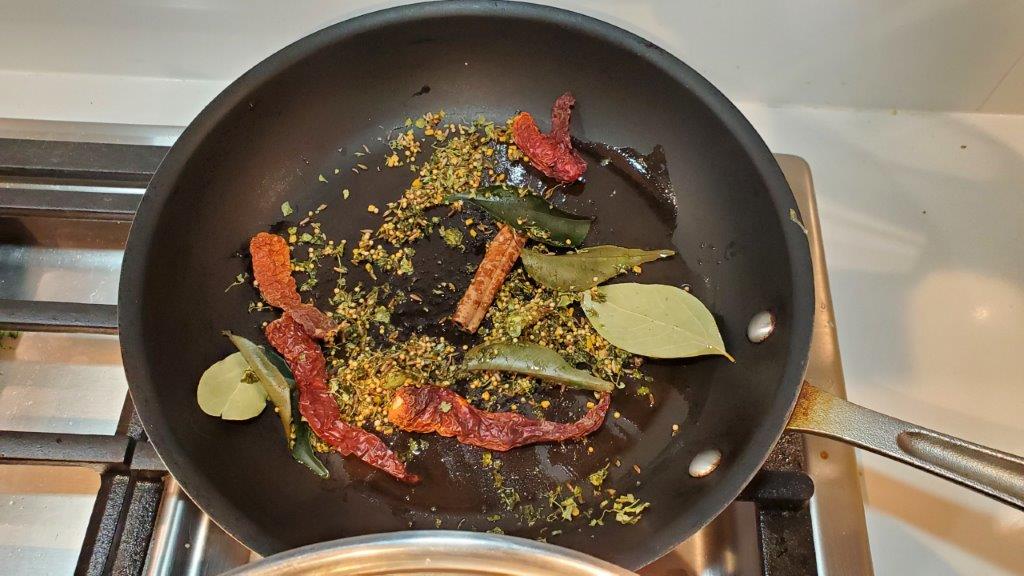
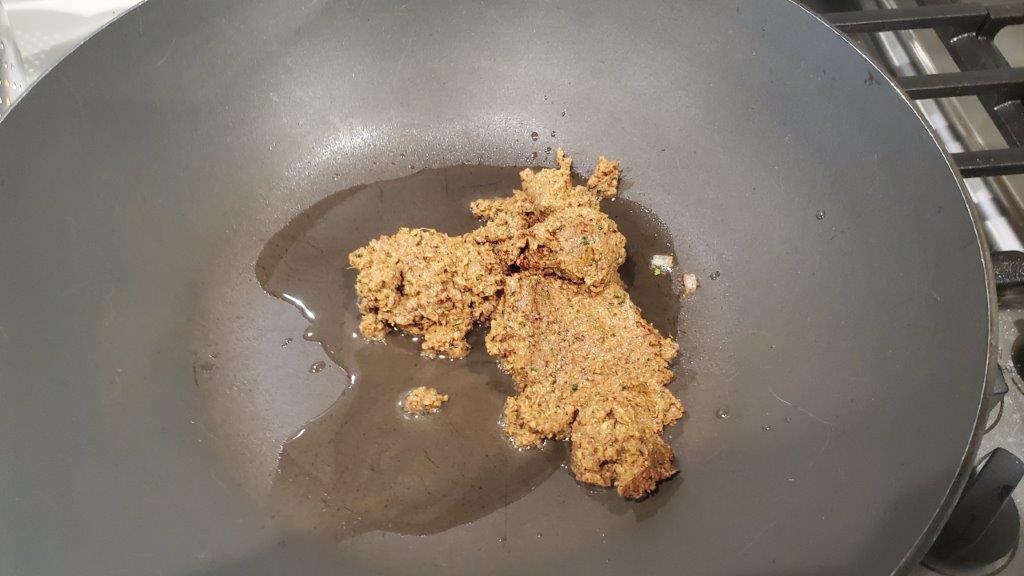
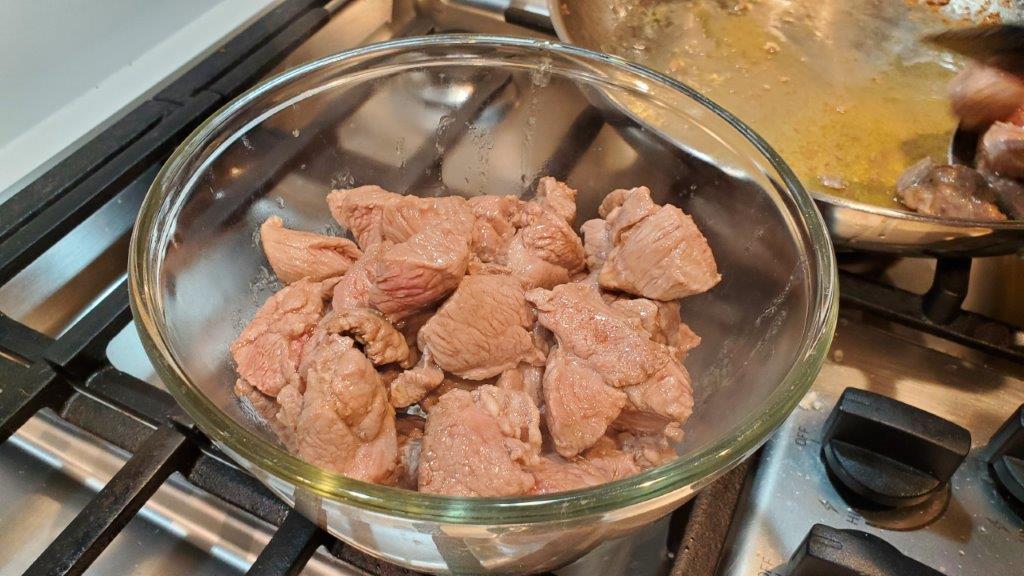
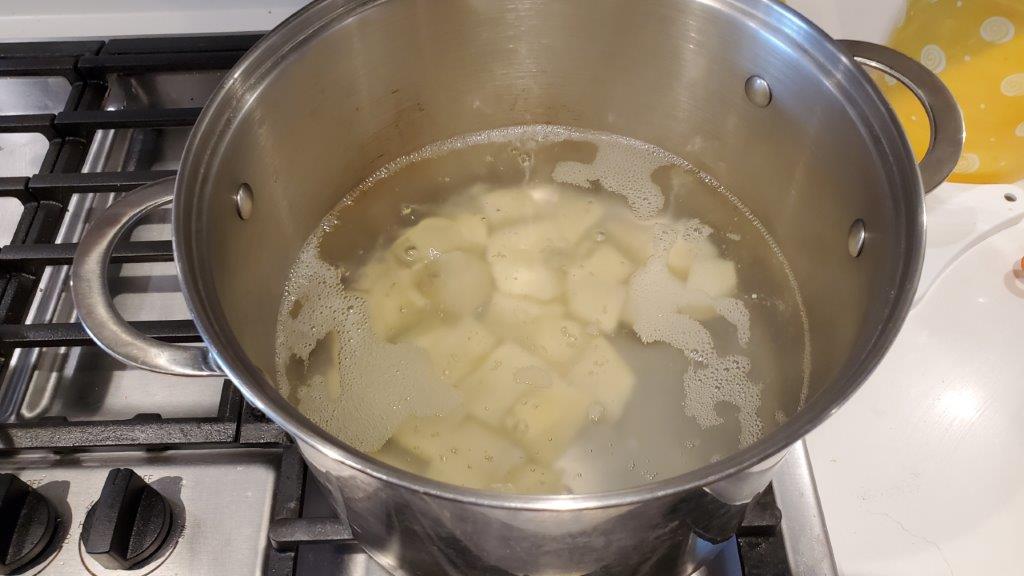
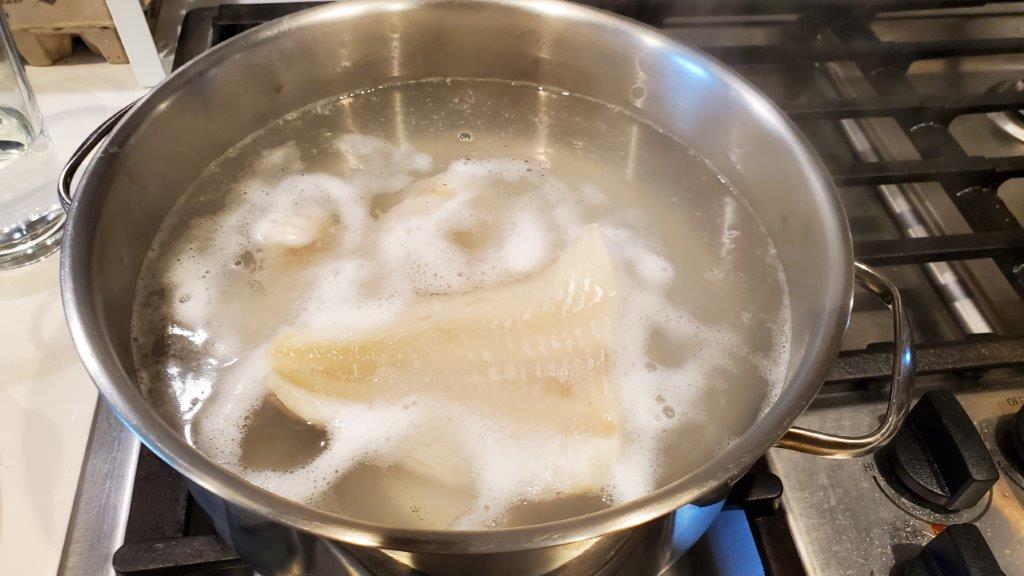
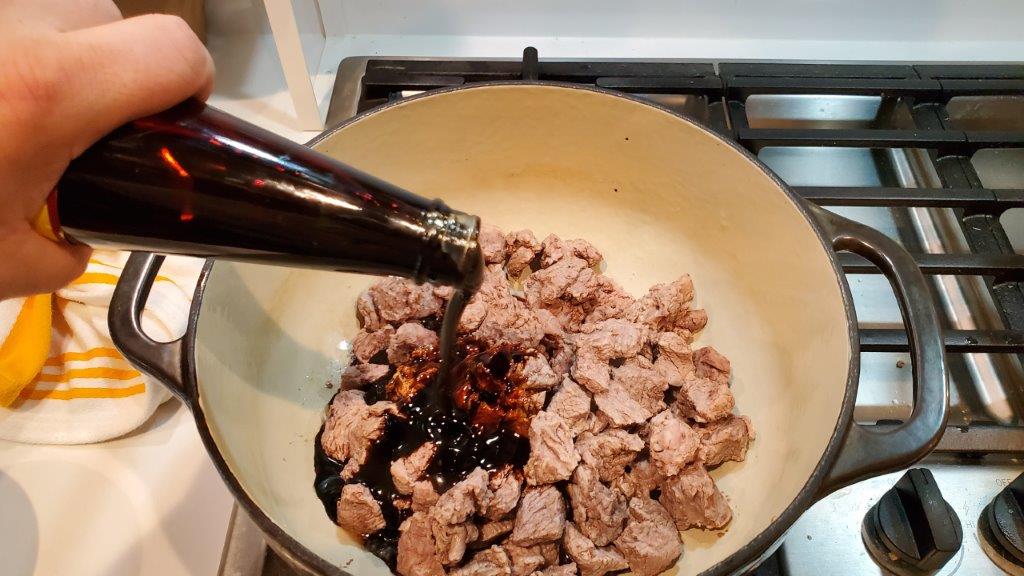
Pepperpot is a stew that can be made with whatever meat you have available. We chose beef, as our guests keep halal, and headed back to the same butcher where I got the lamb last week. You first steam the beef to make it easy to remove the fat, then it goes into a pot with the cassareep.
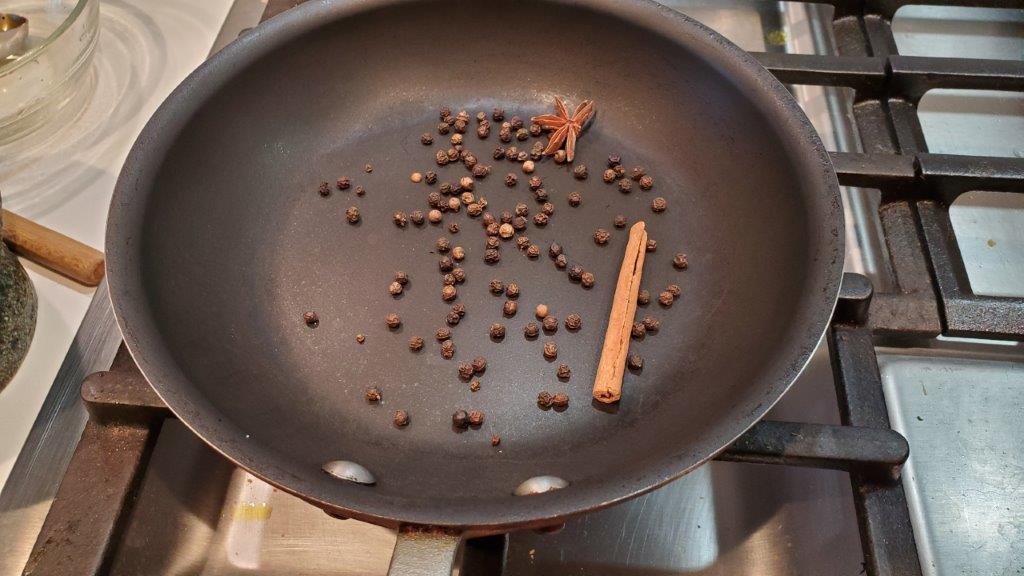
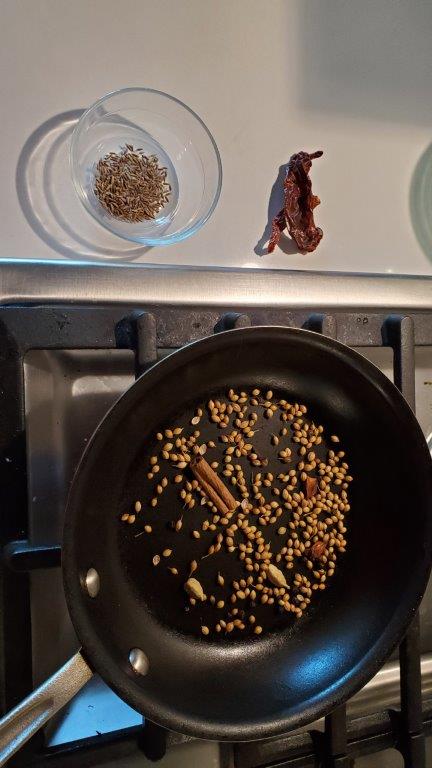
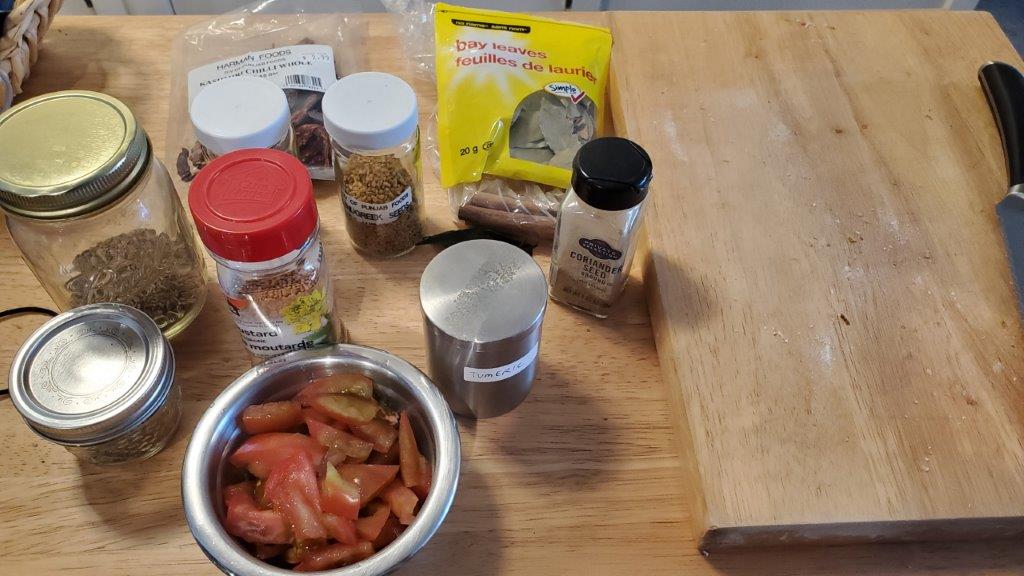
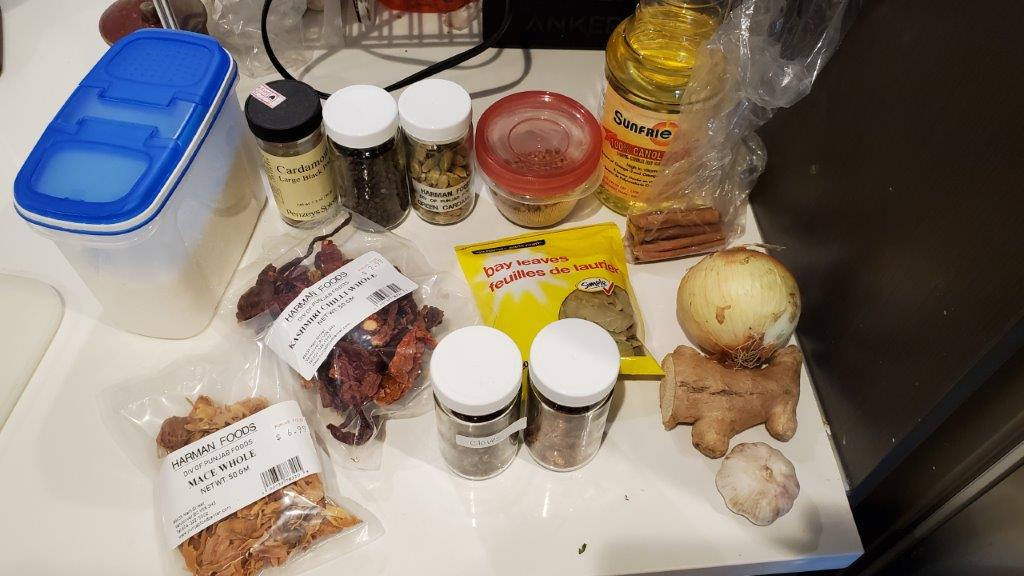
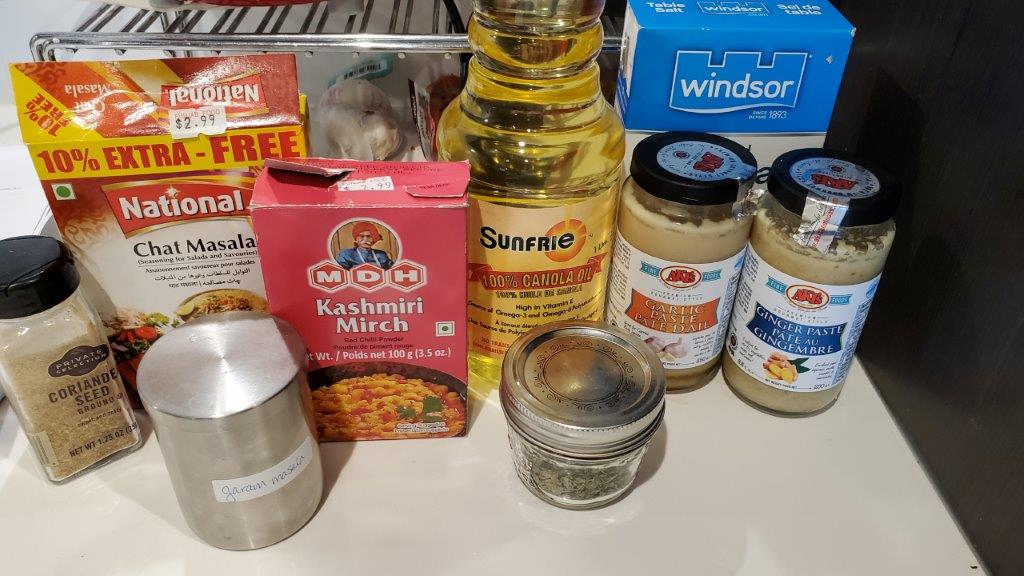
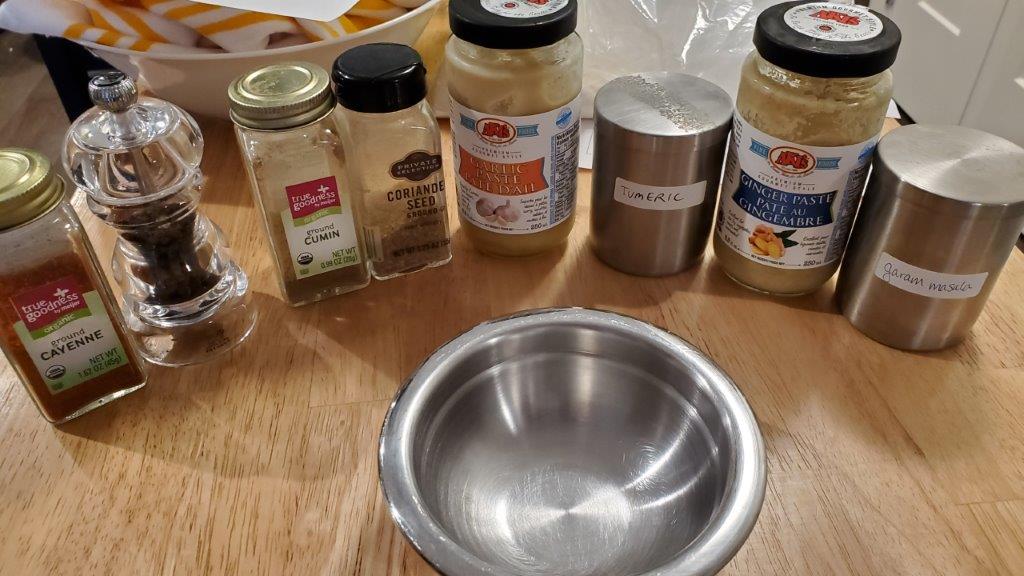
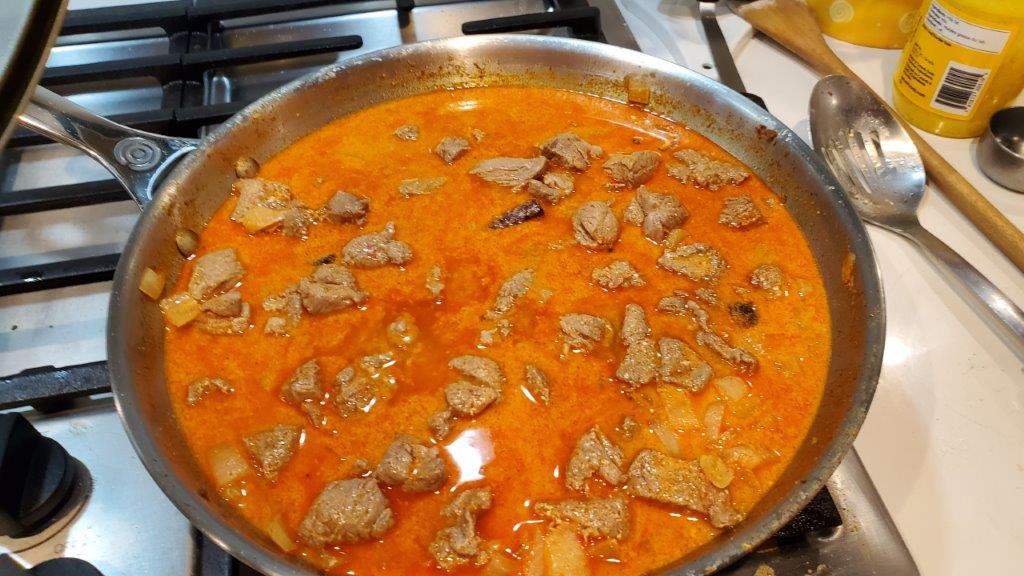
In addition, you also add cinnamon, orange peel, cloves, brown sugar, salt, and wiri wiri peppers.
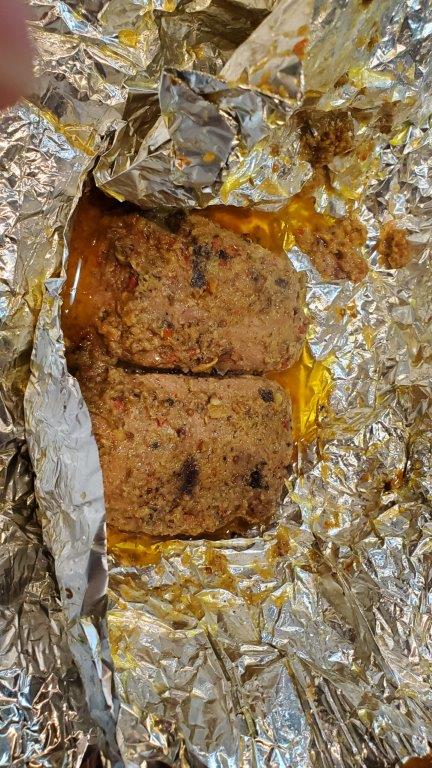
Wait, WHAT was the last? Not to be confused with piri piri peppers, which we had to hunt down for Benin, these are small, not dried, and incredibly fragrant. These were also provided by Saf. Seriously, this meal wouldn’t have been possible without her generous contributions. You’ll see a picture of one of these things a bit later on.
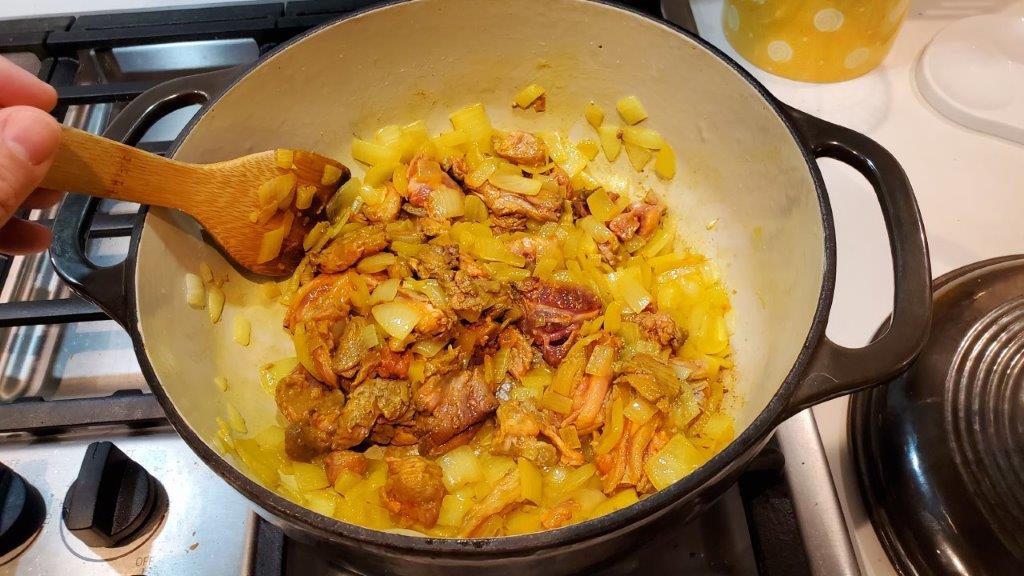
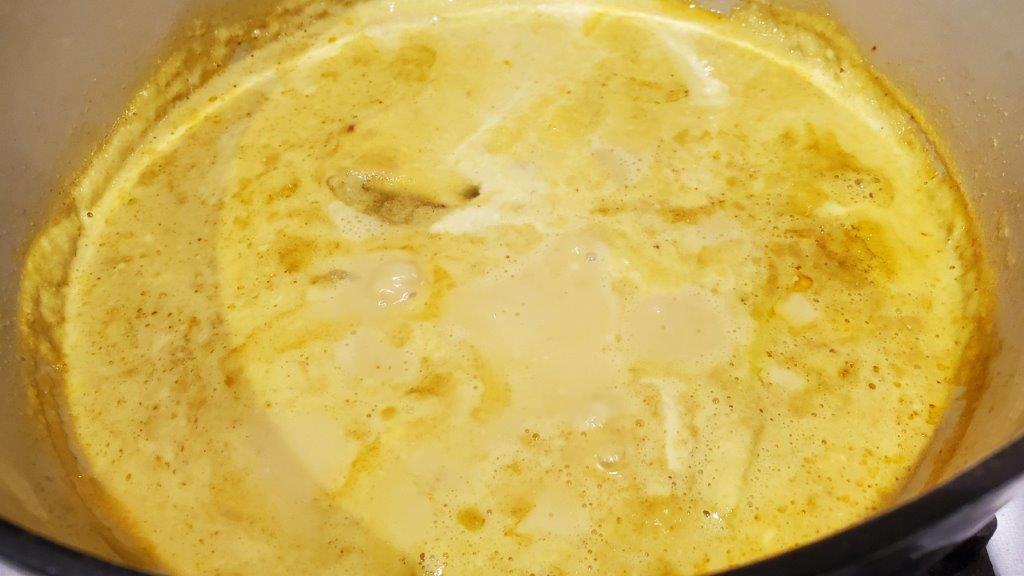
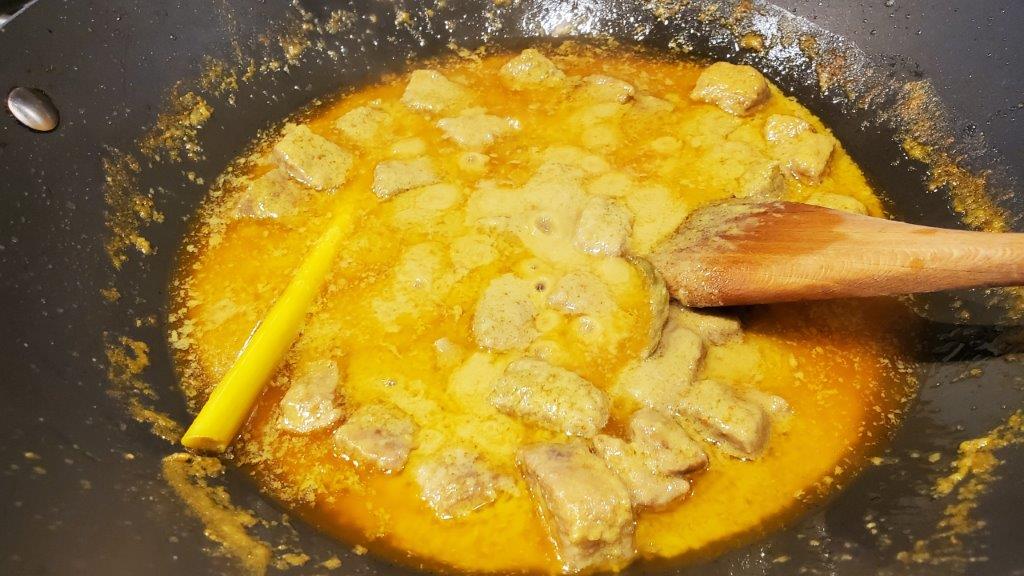
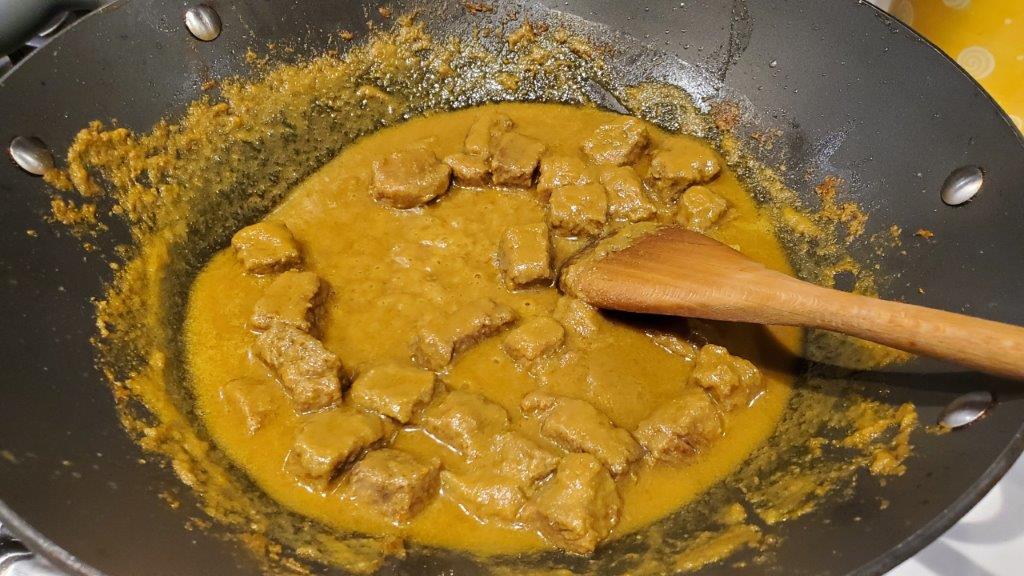
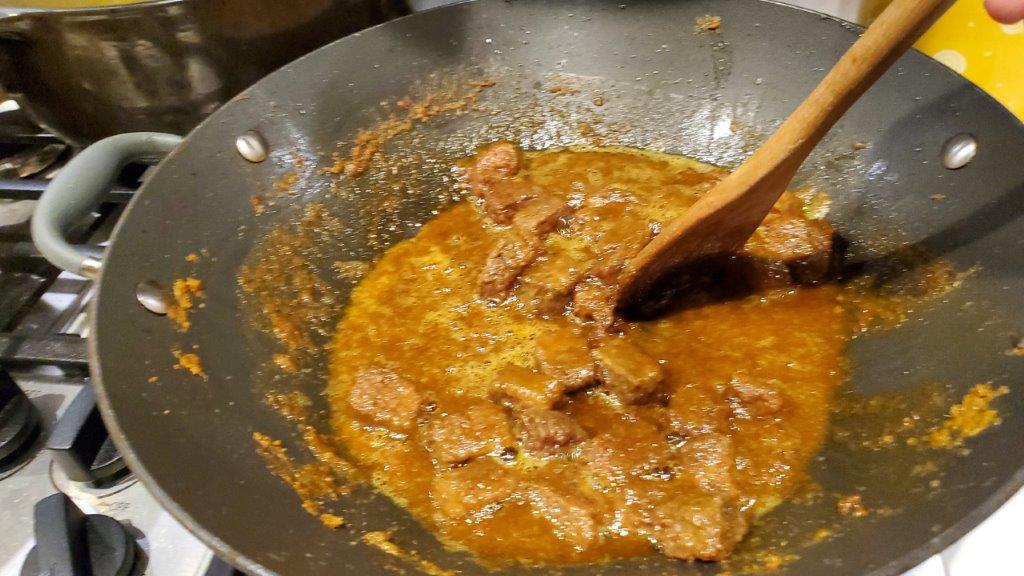
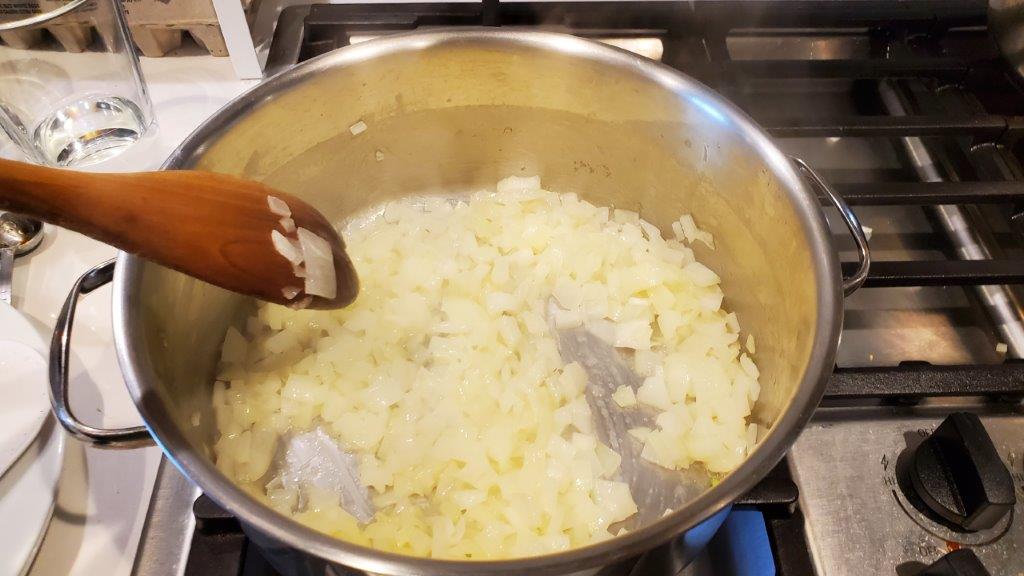
Ingredients added, the stew just stews for as long as you can possibly let it. We went for about three hours.
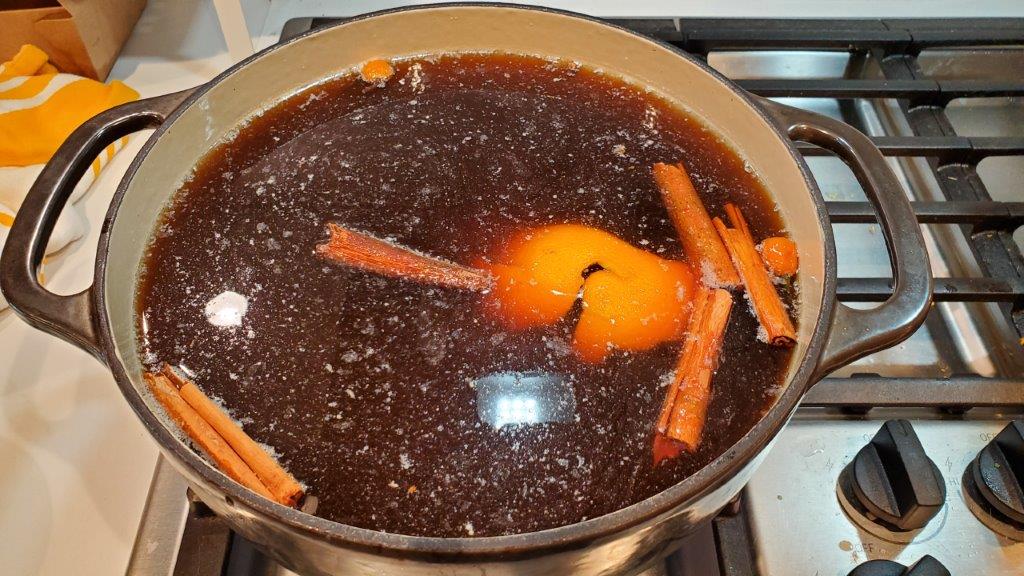
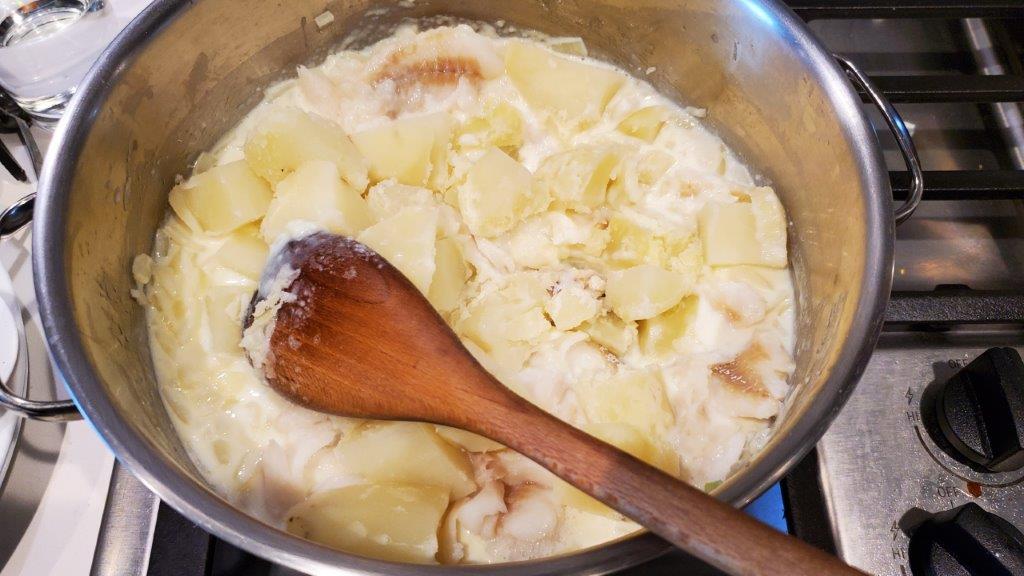
Trust us, there’s beef in there. After three hours of cooking, it had reduced to the point where you no longer have to trust us.

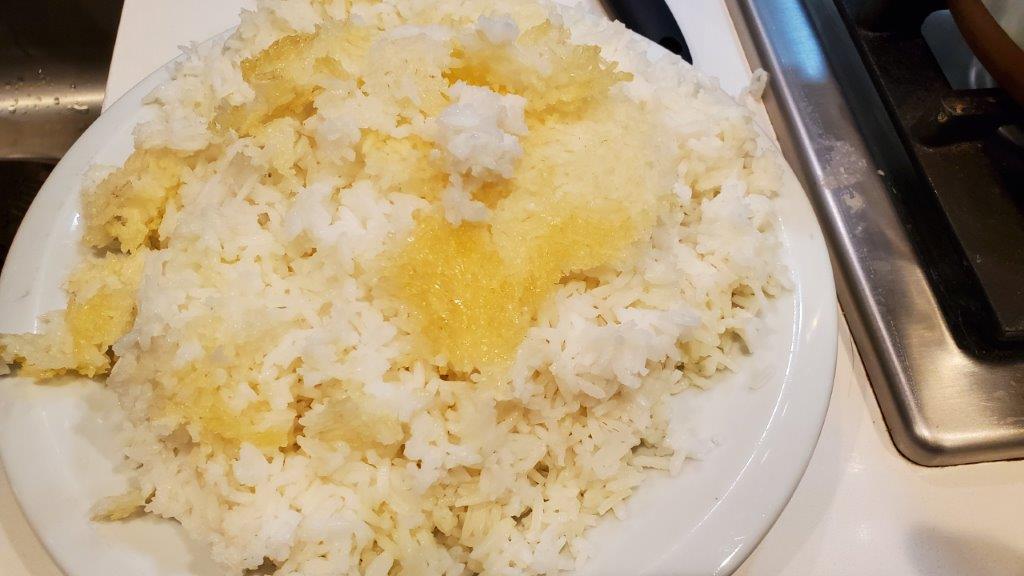
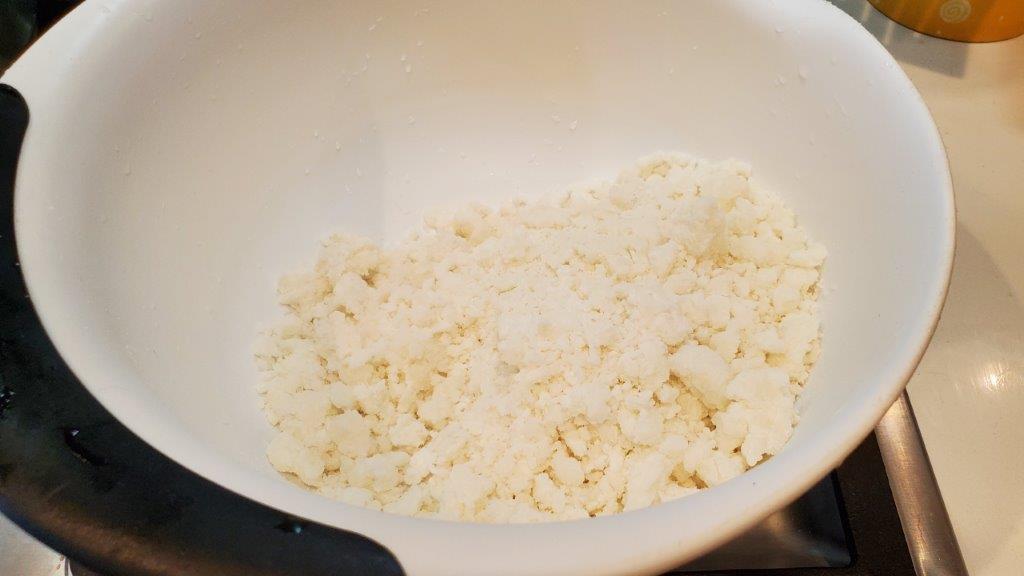
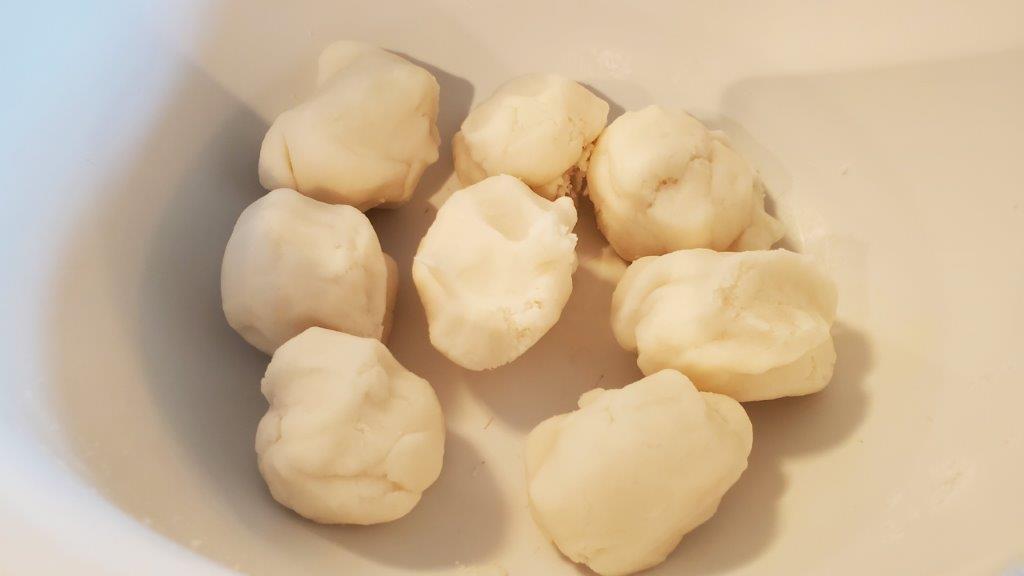
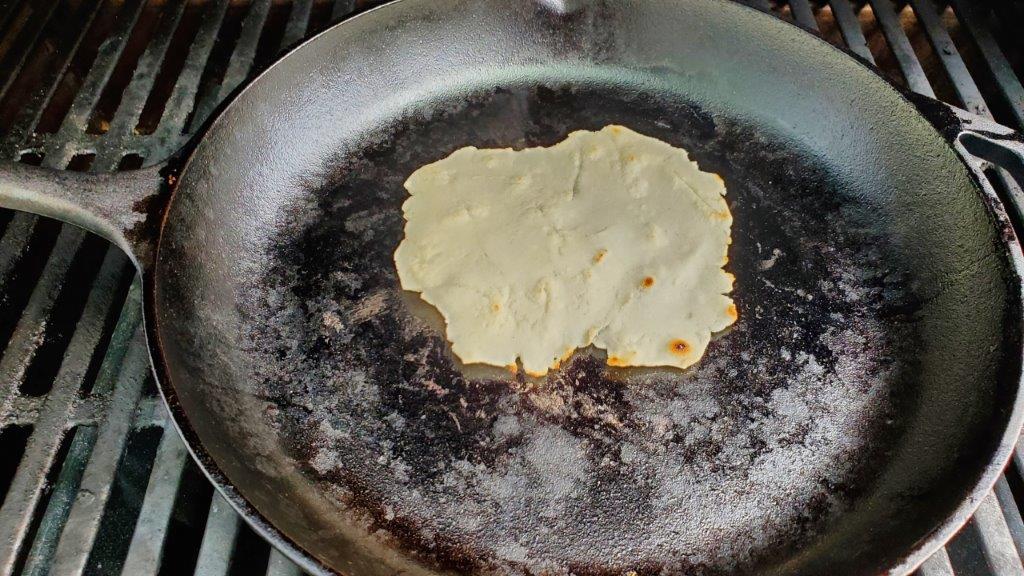
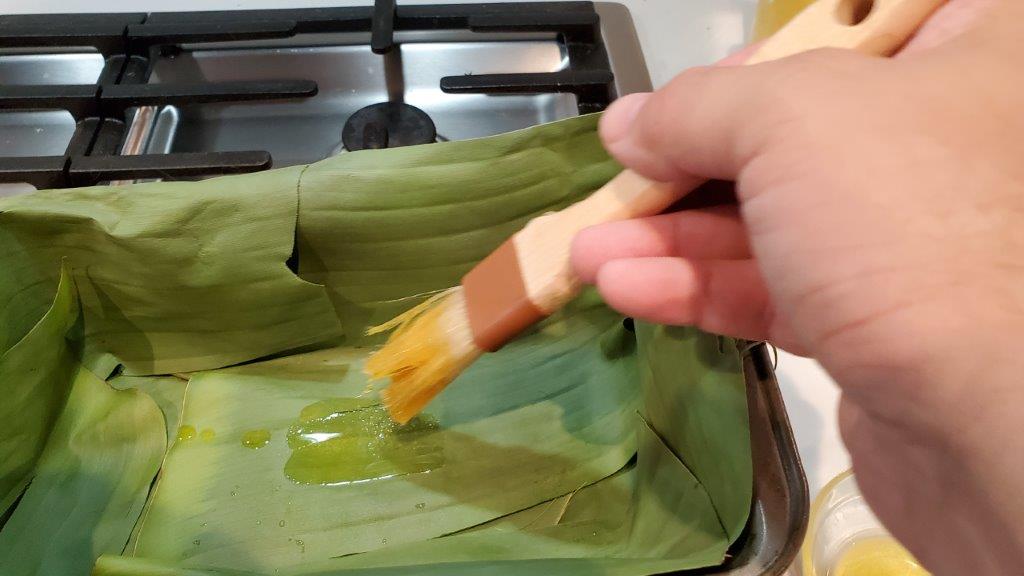
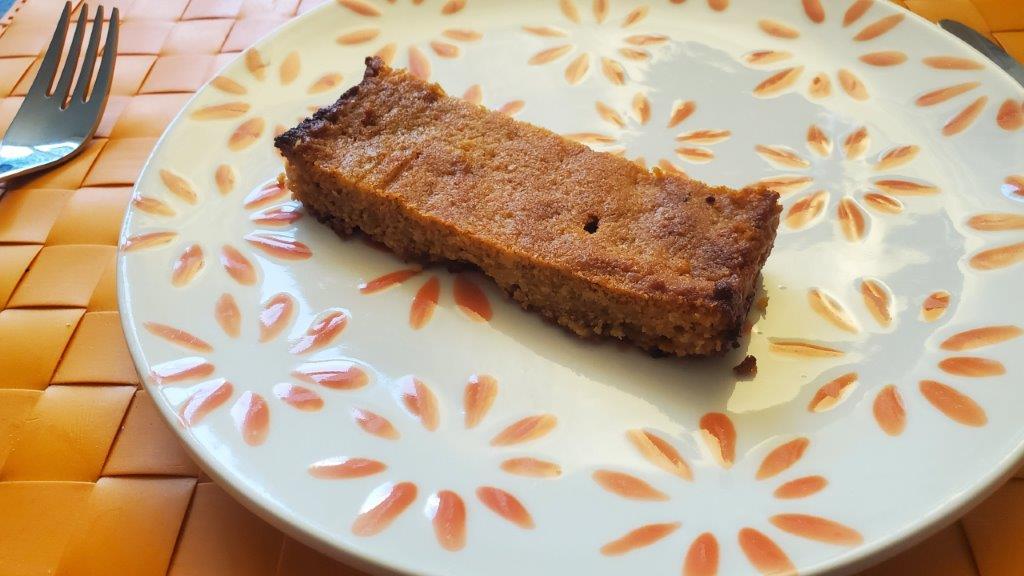
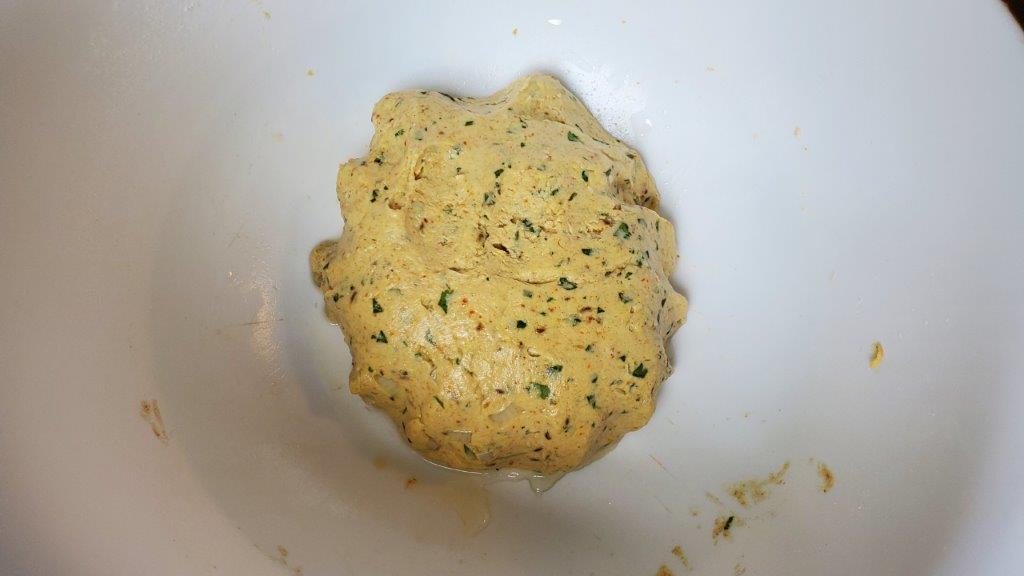
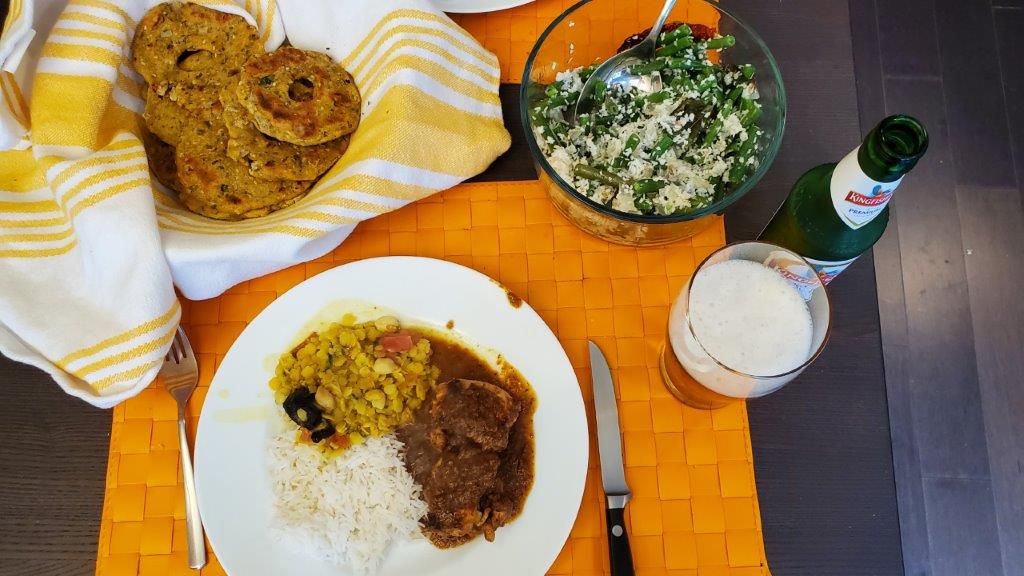
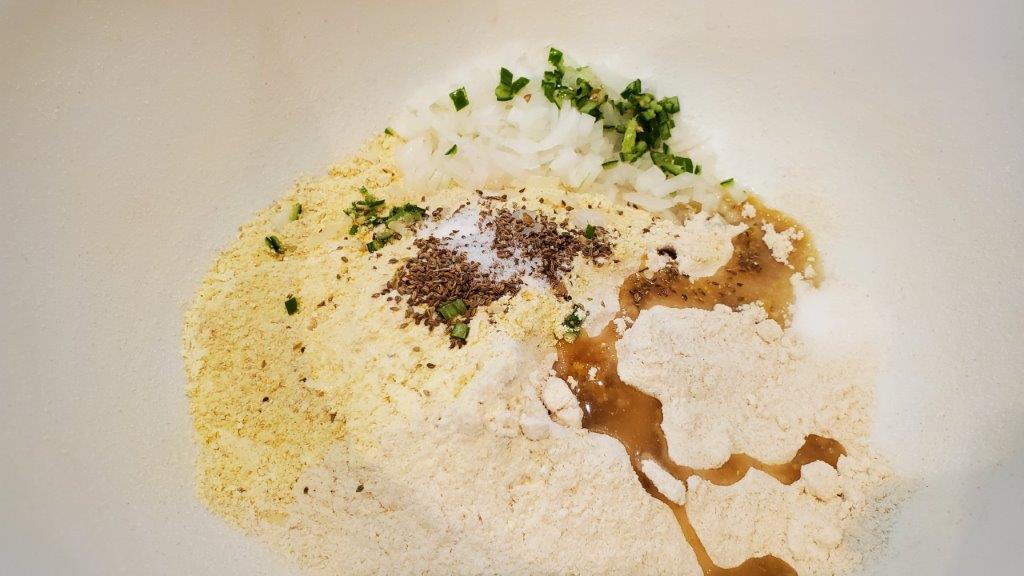
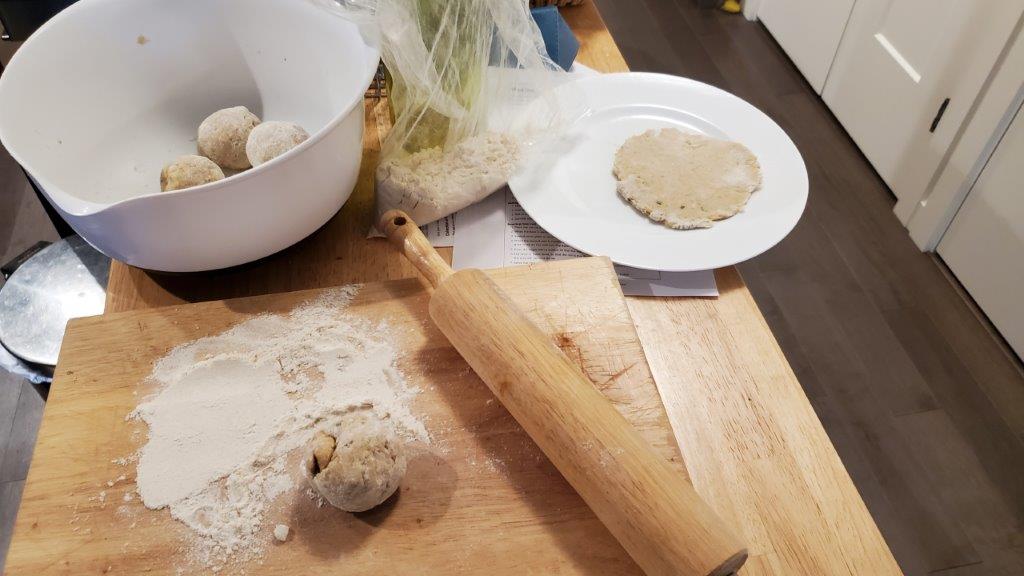
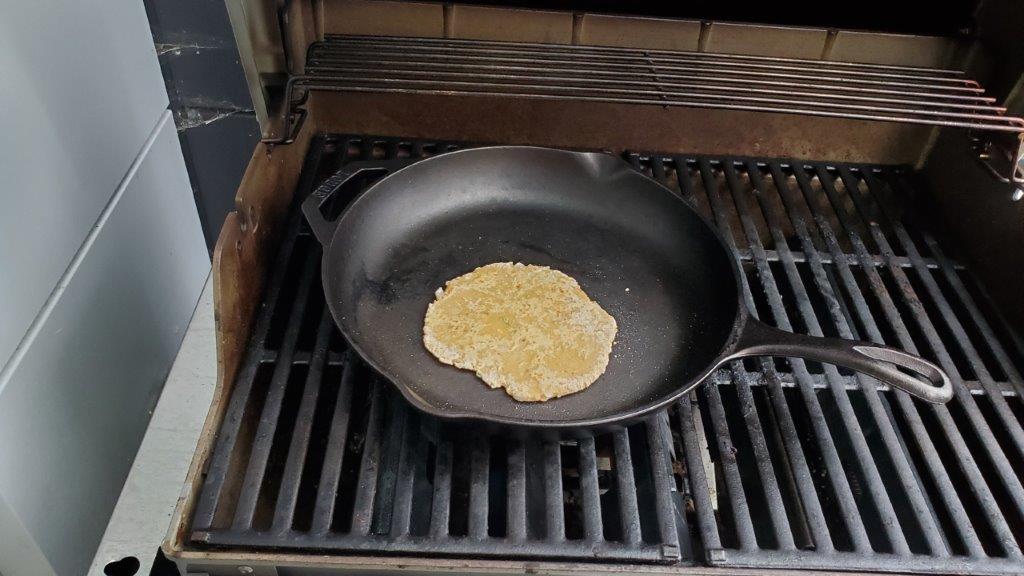
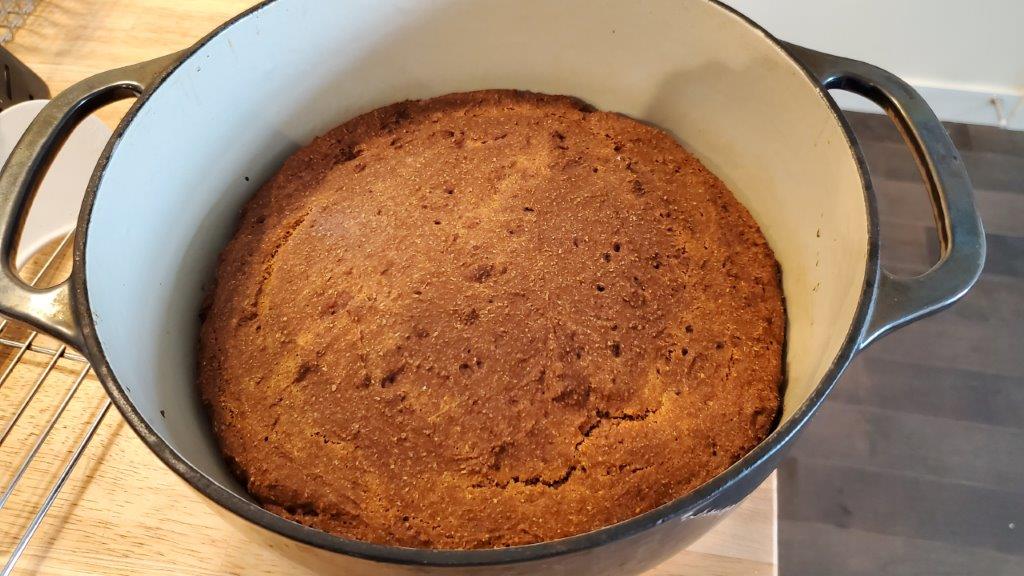
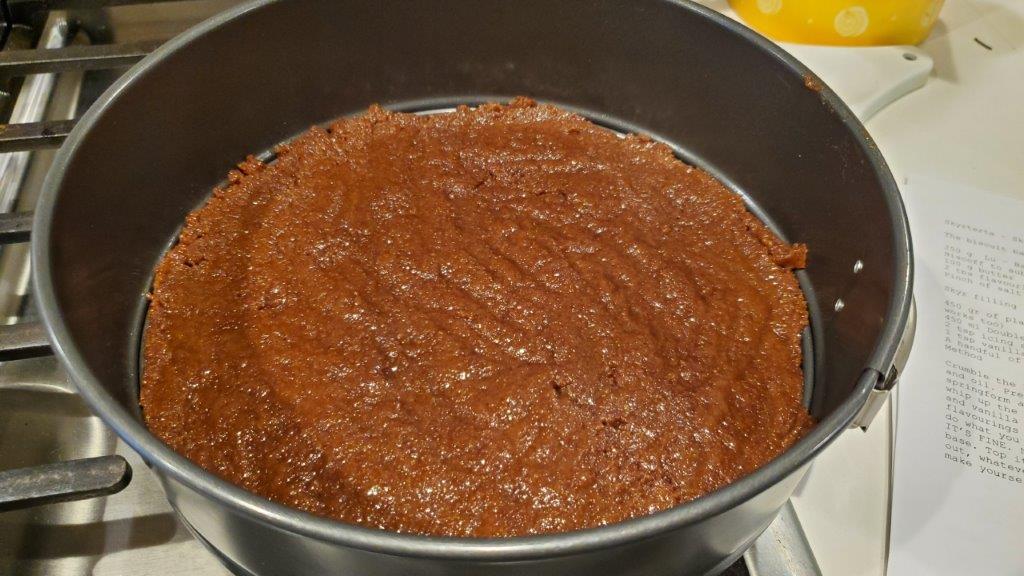
The traditional accompaniment to pepperpot is a plaited, soft bread. Never having made plaited bread before, our effort was… a bit of a chonky boi, compared to the longer, thinner shapes you see online.
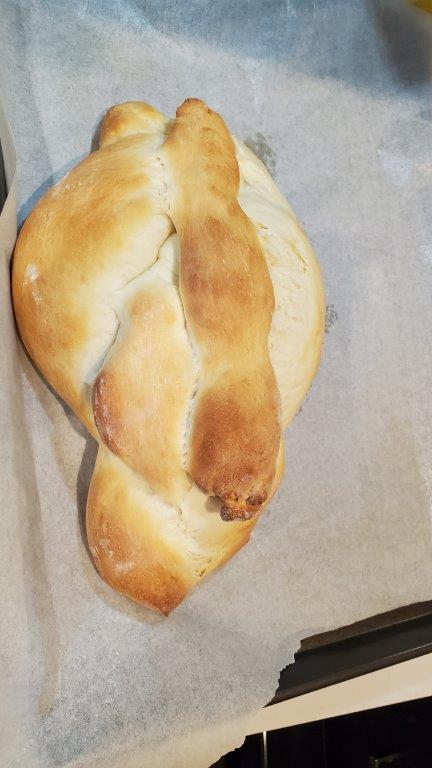
It was also a bit denser than it should have been, which is probably down to underkneading. Seems it takes more than just WATCHING a million episodes of “Great British Bakeoff” to make one an accomplished baker.
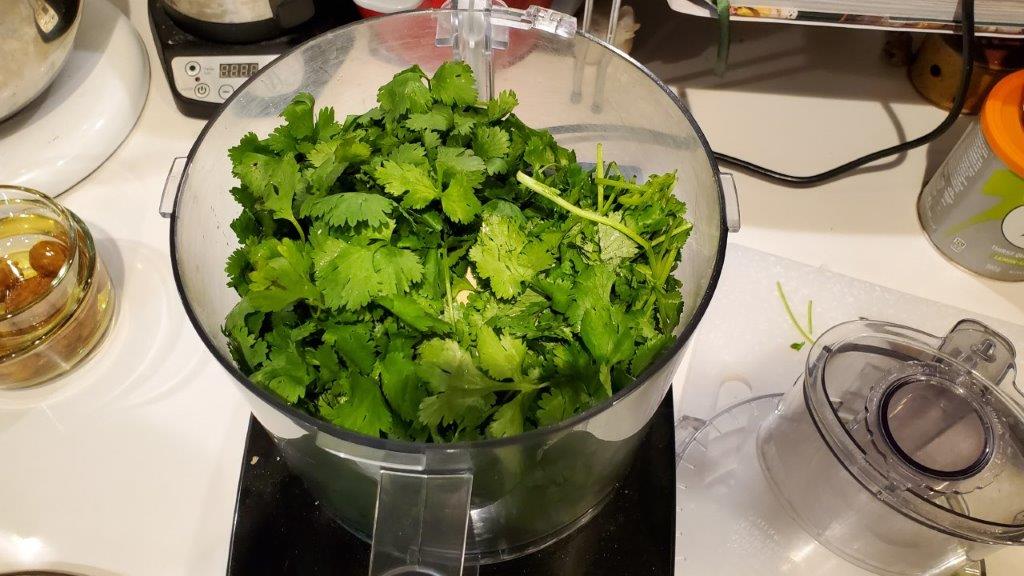
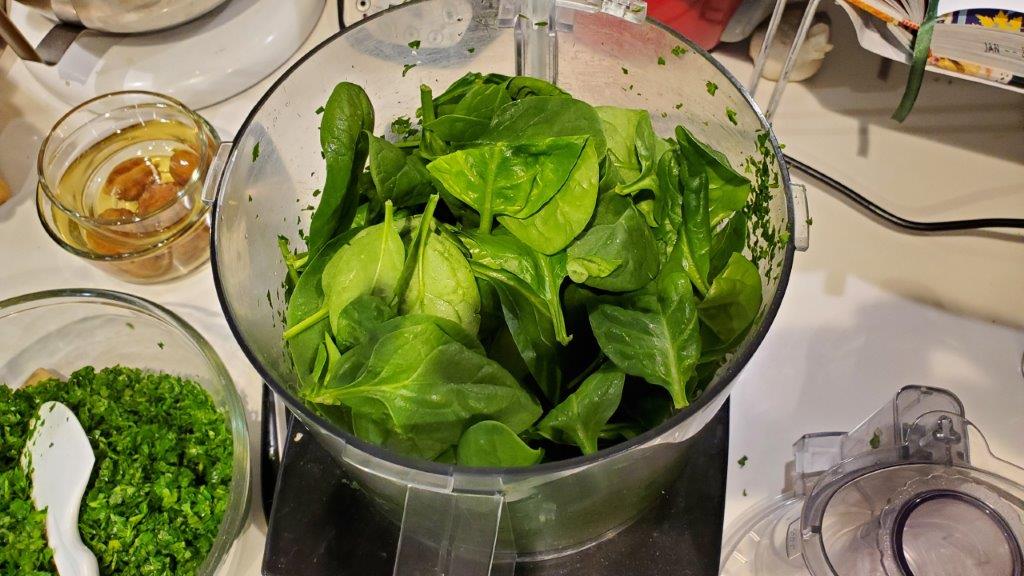
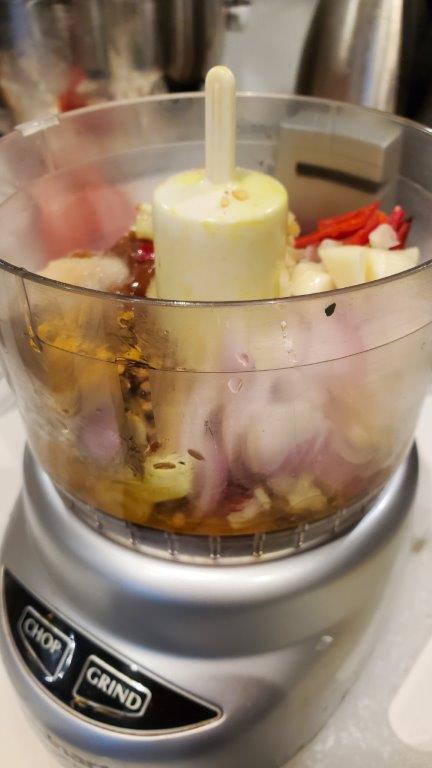
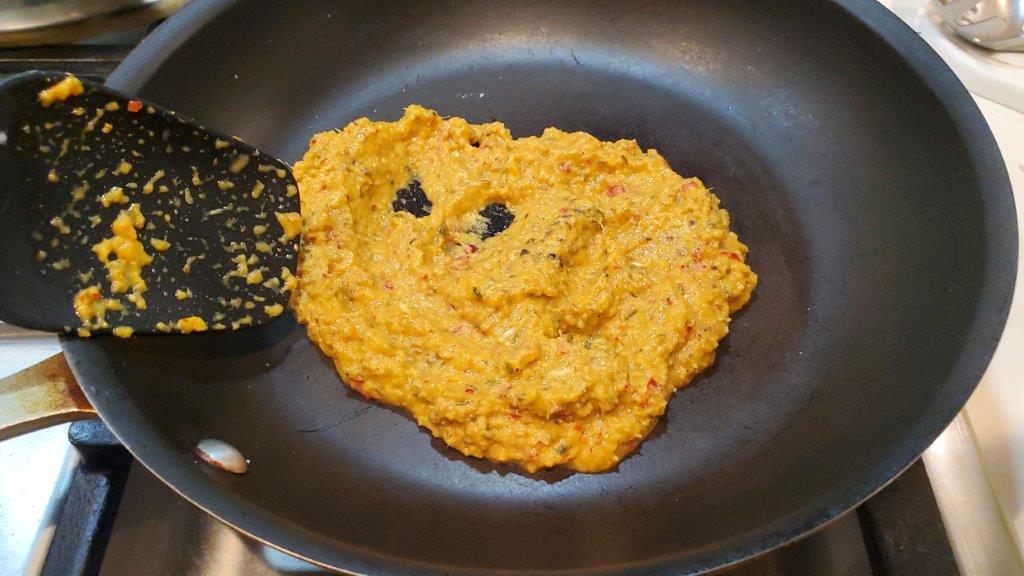
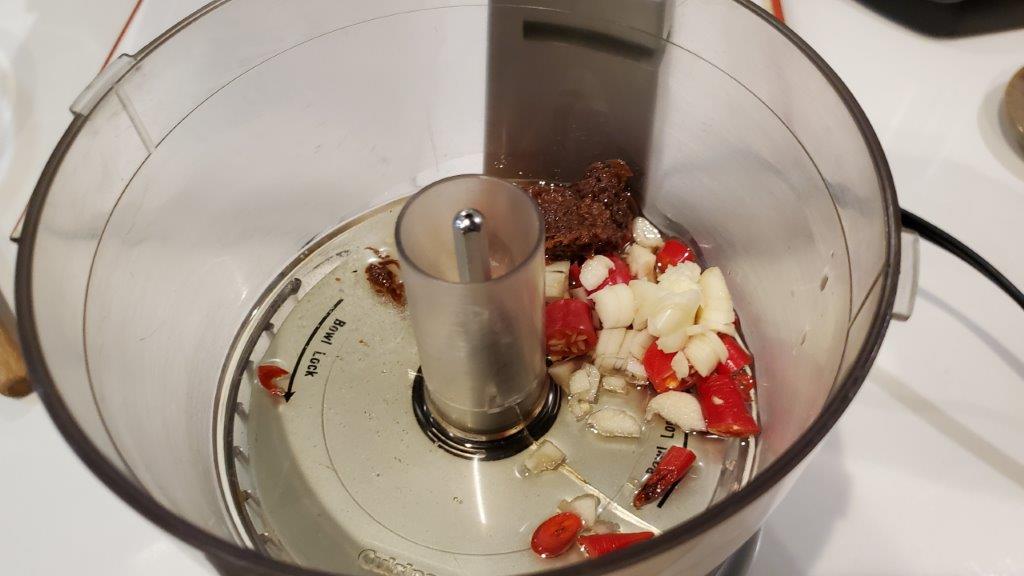
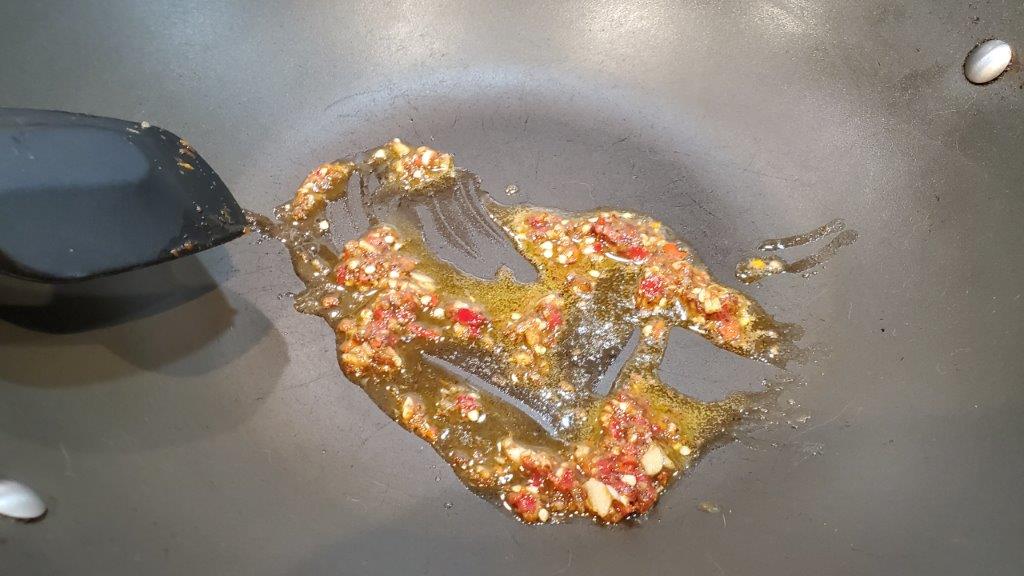
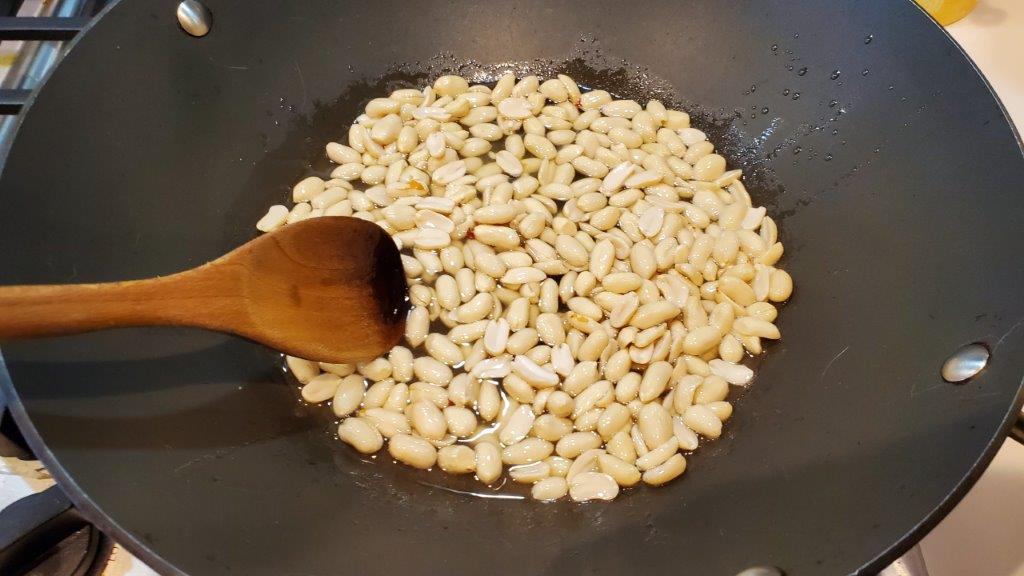
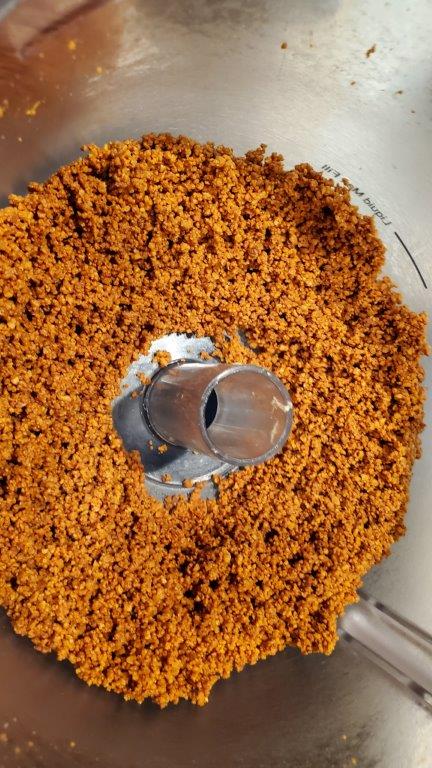
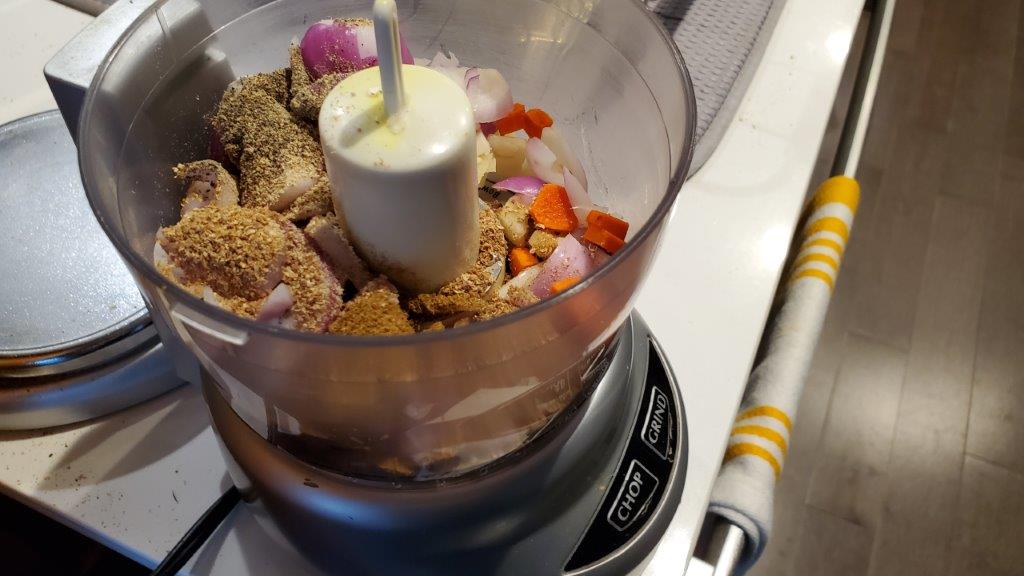
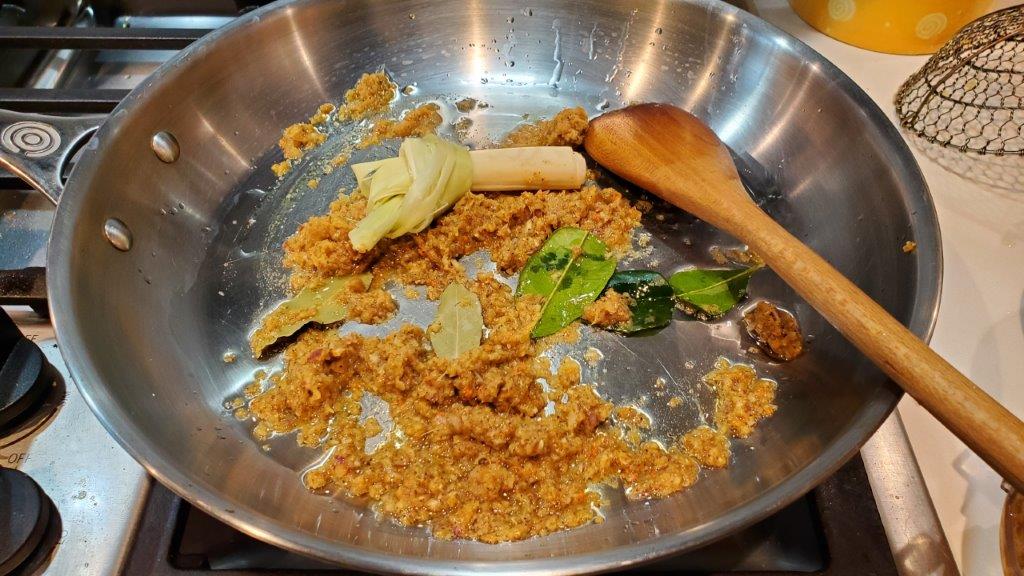
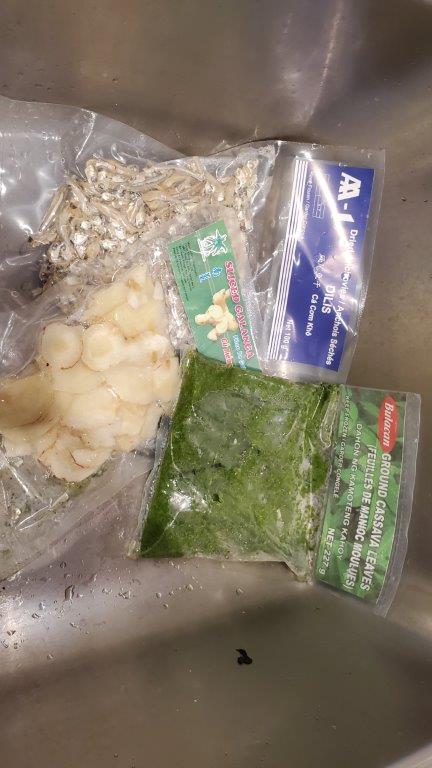
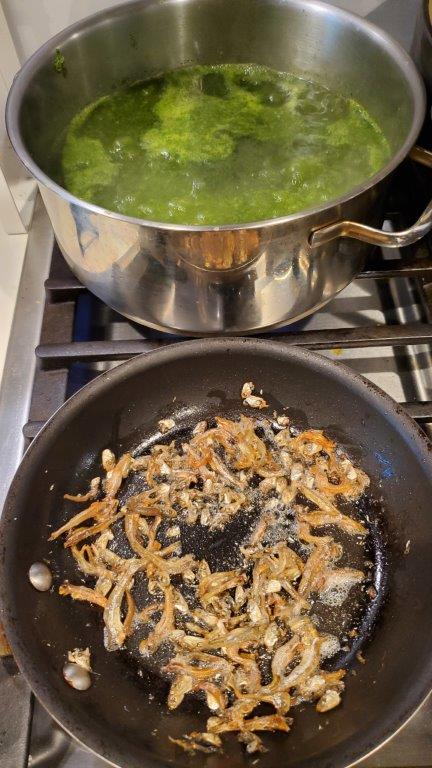
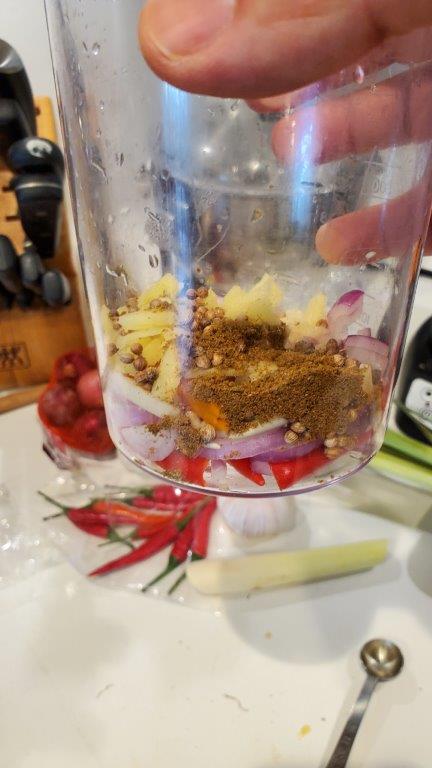
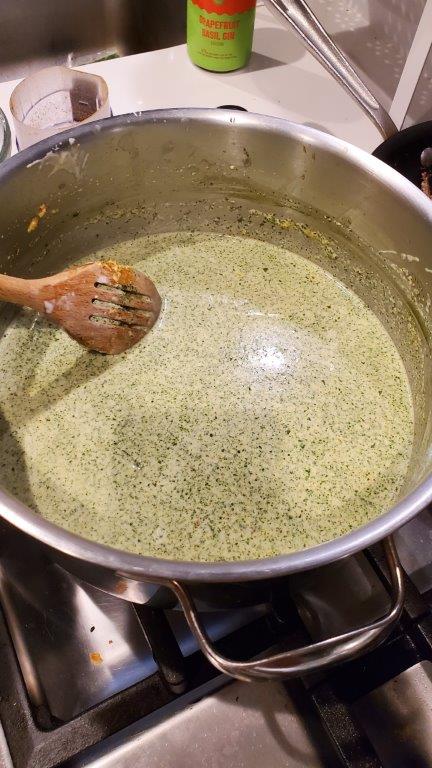
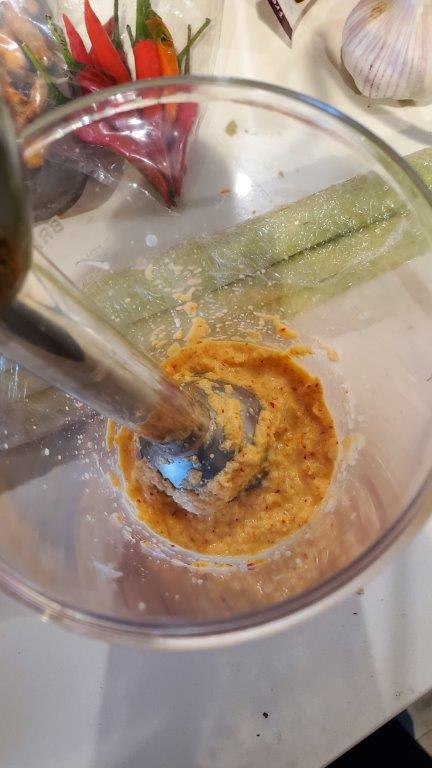
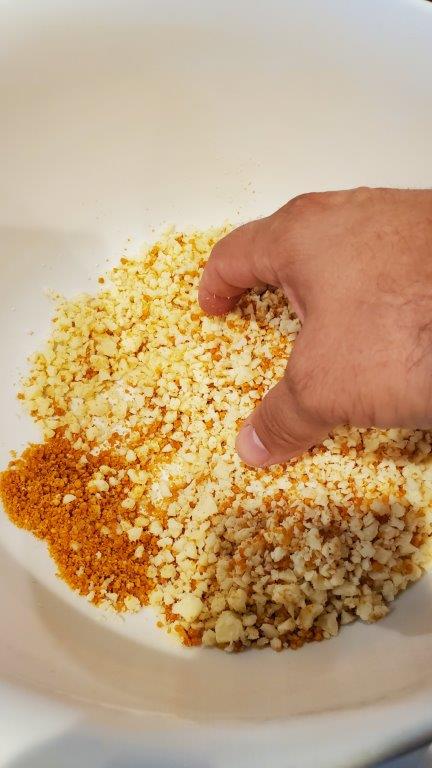
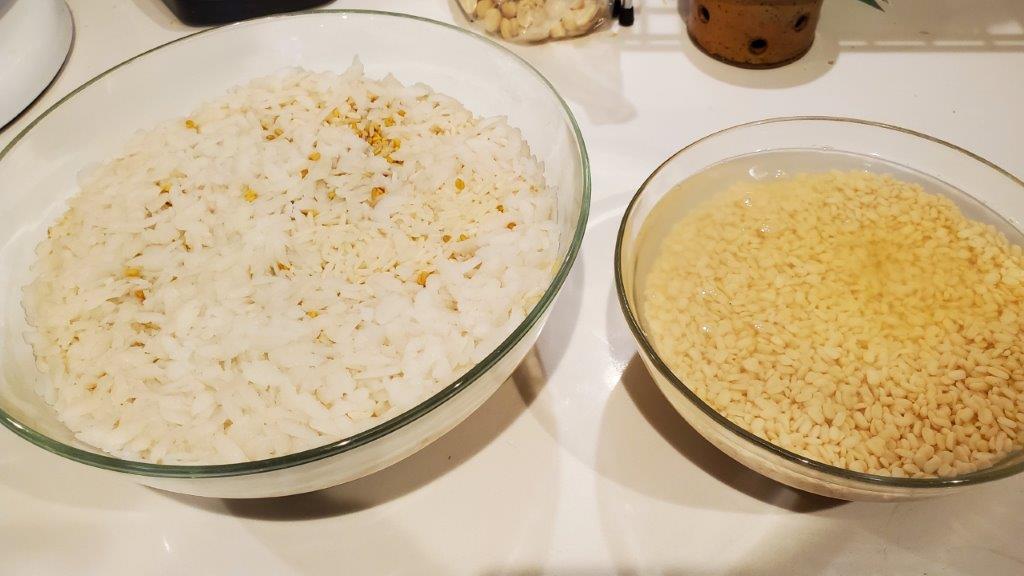
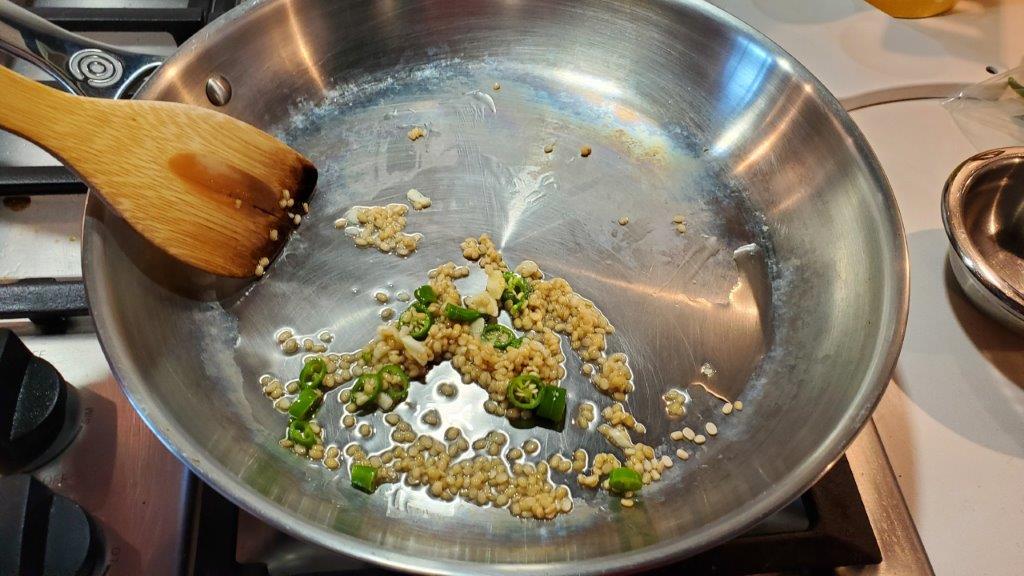
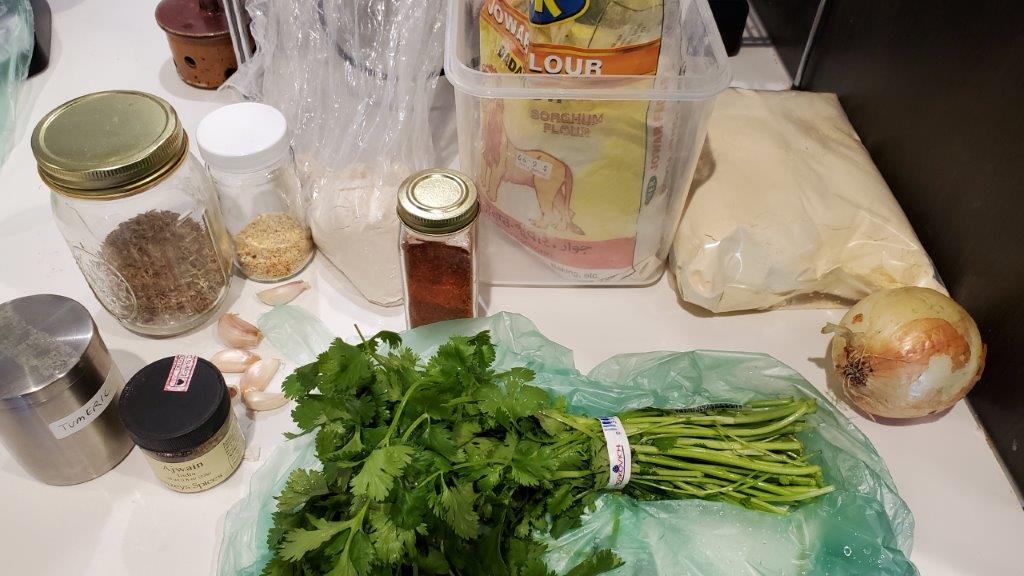
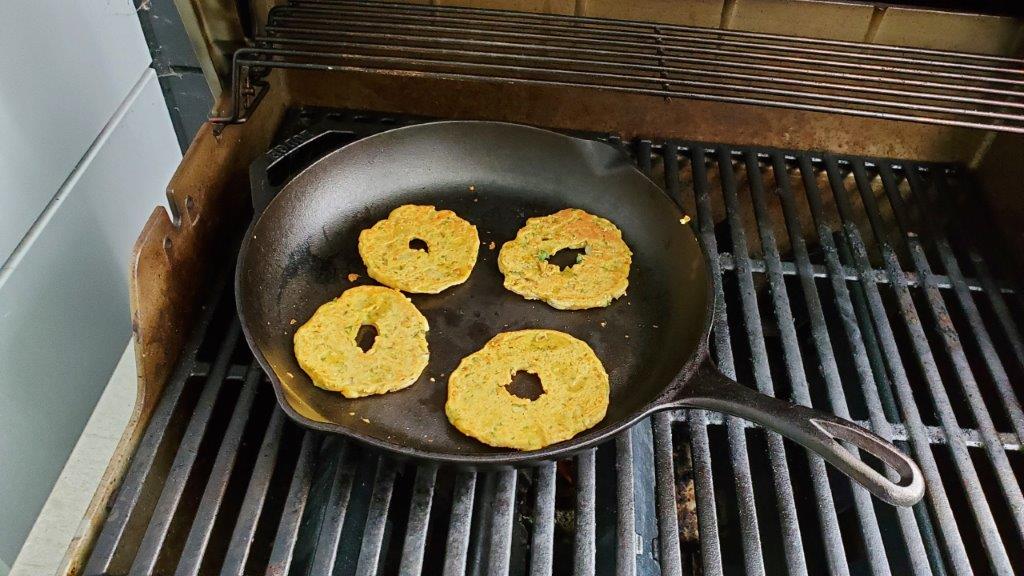
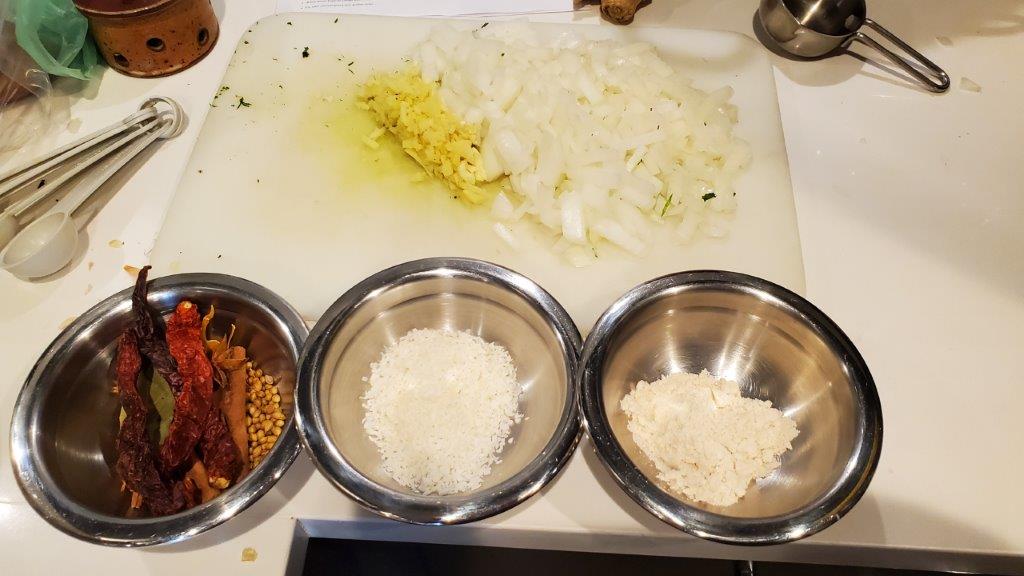
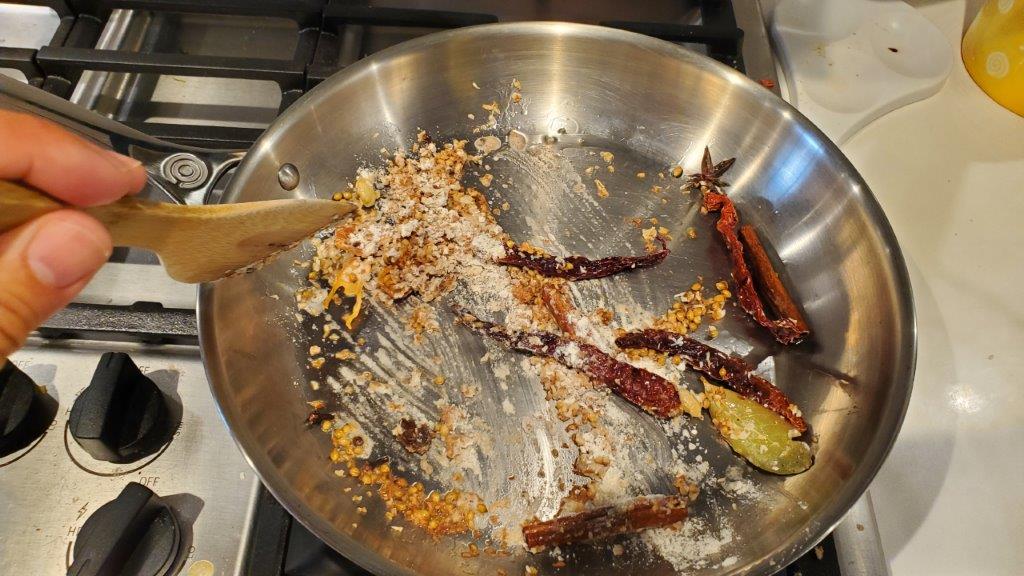
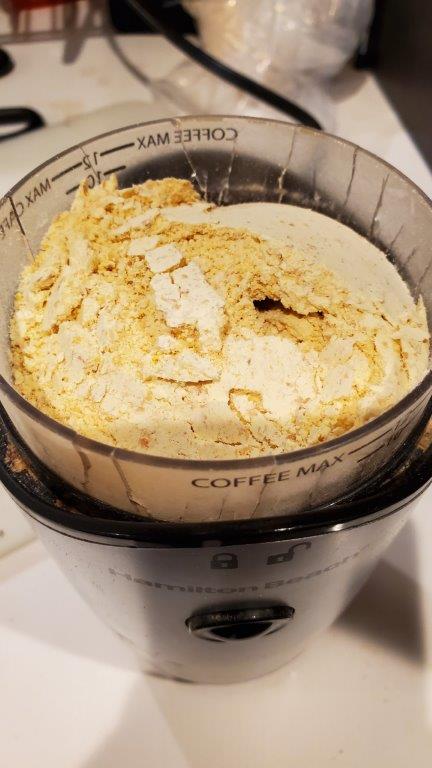
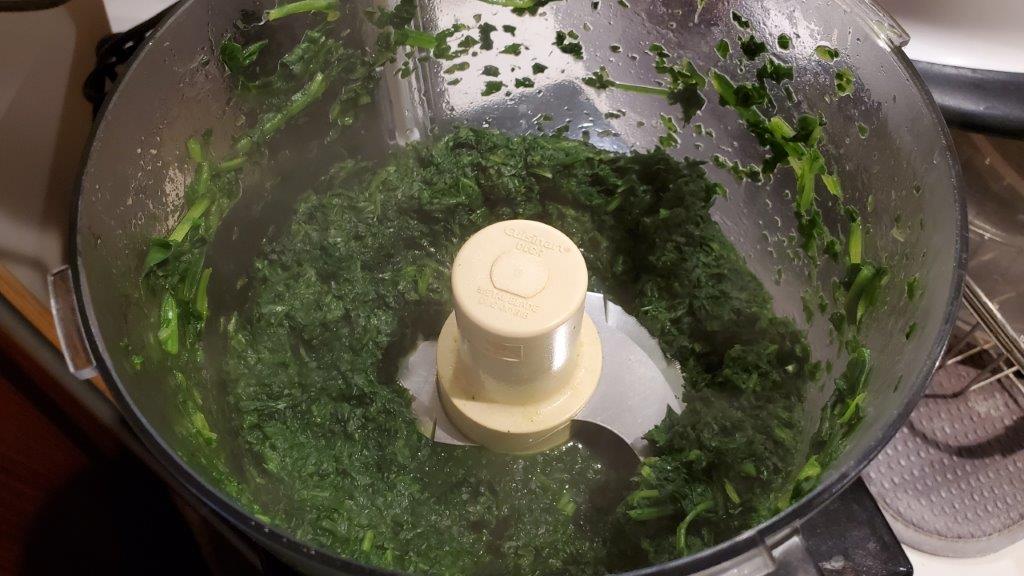
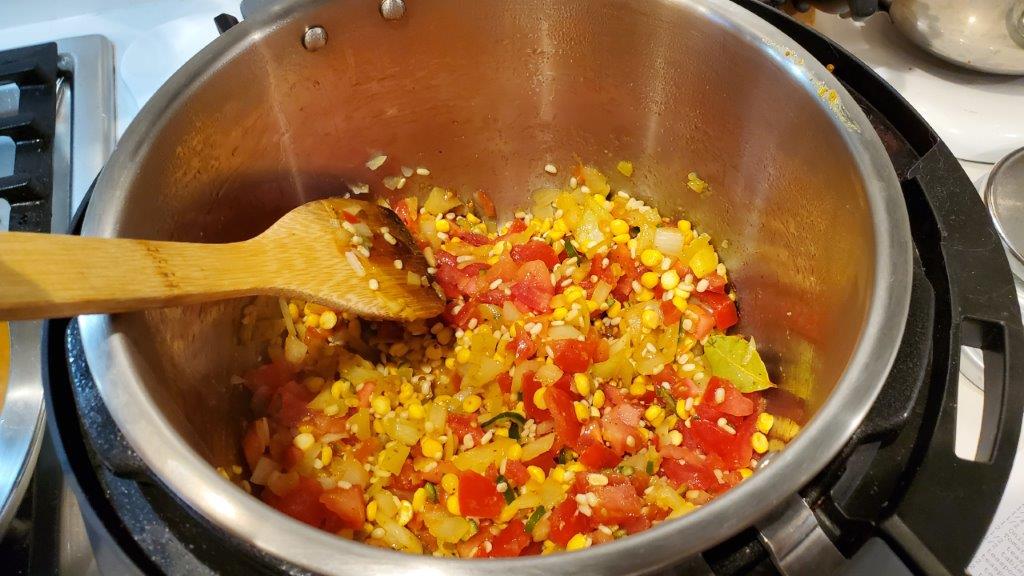
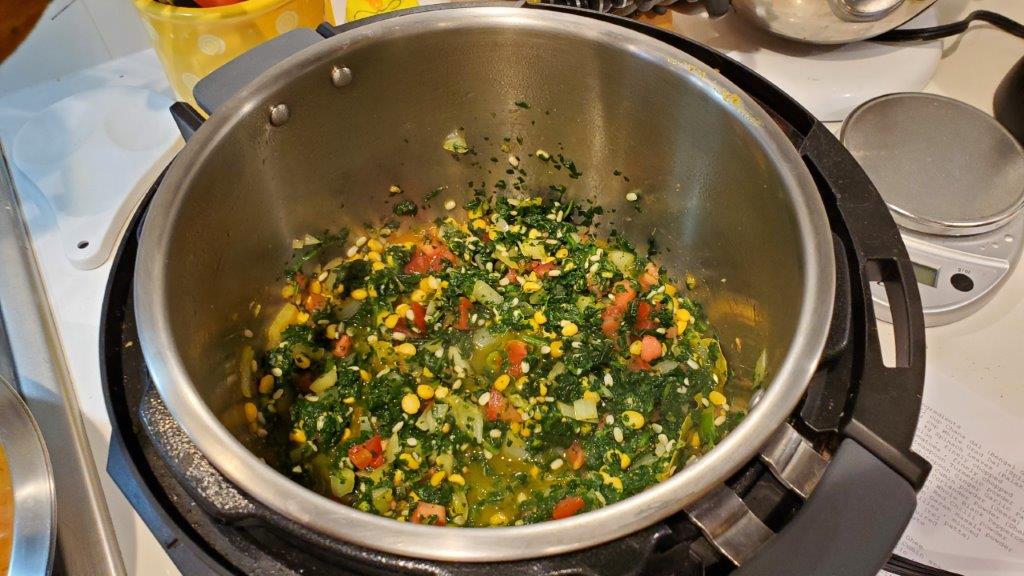
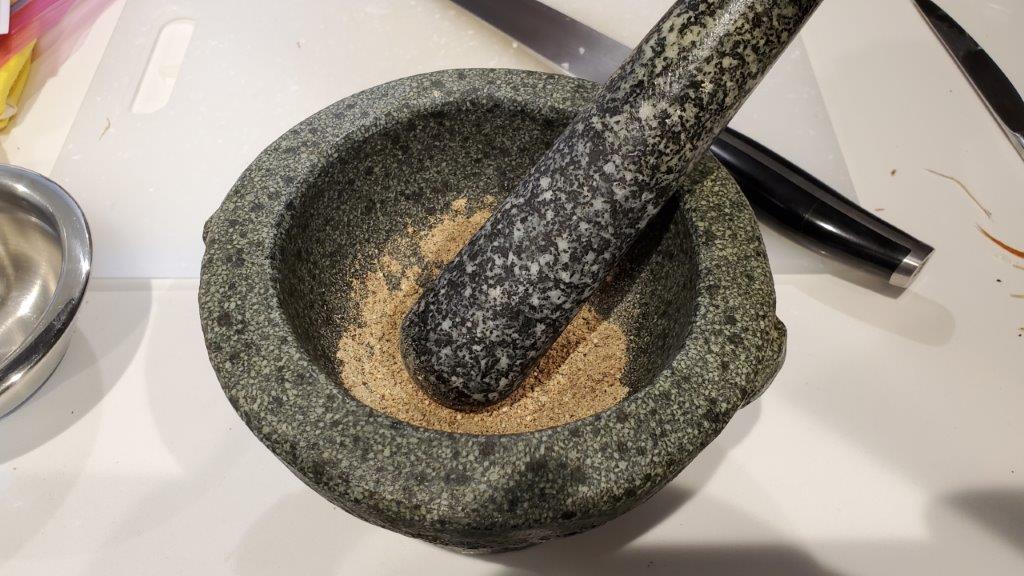
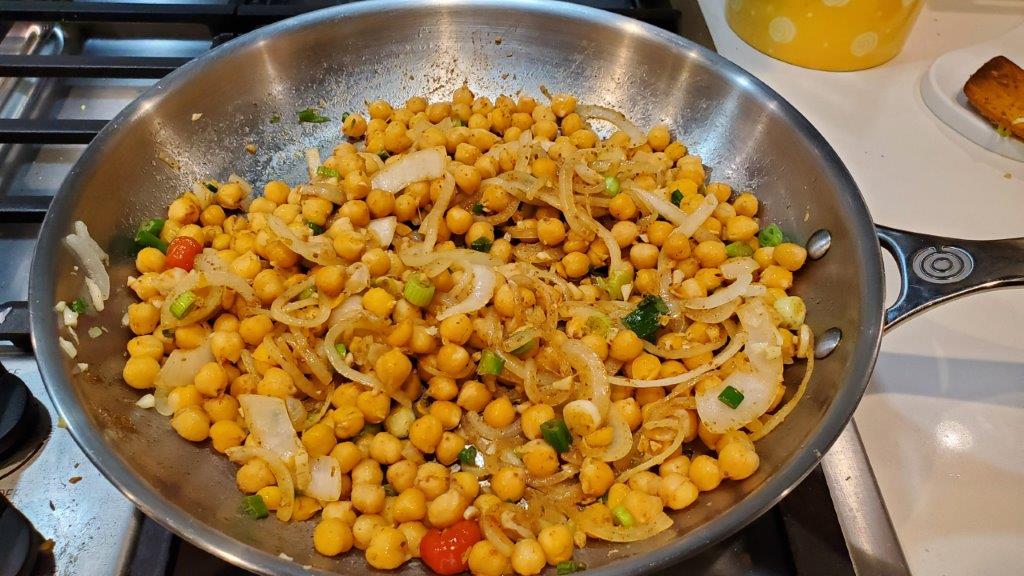
For our other side dish, we made a channa fry. First, you boil some chickpeas, hopefully after remembering to soak them first, but if not, a pressure cooker is your best friend. Then you fry them with this nice pile of stuff. Upper right is the aforementioned wiri wiri pepper.
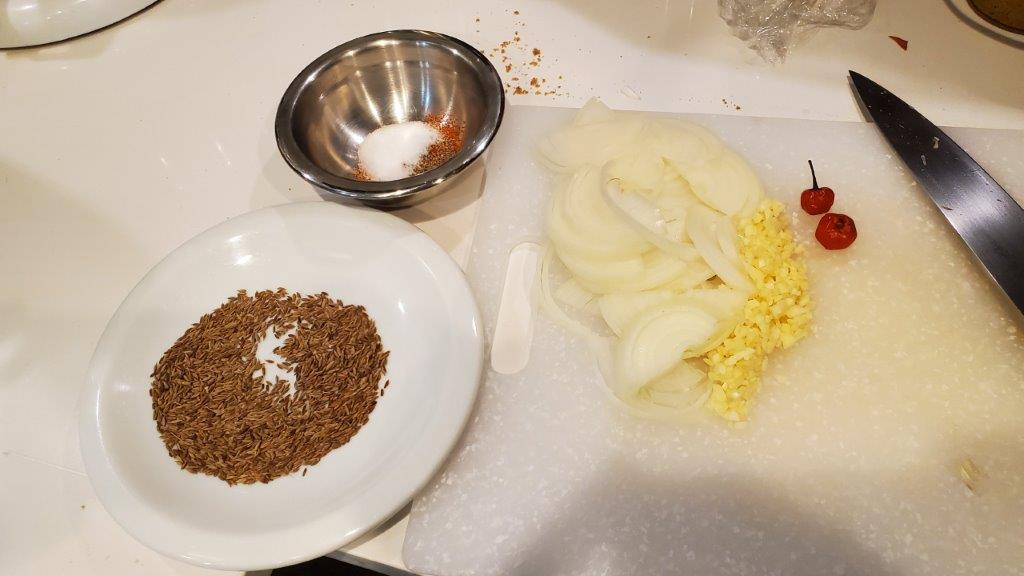
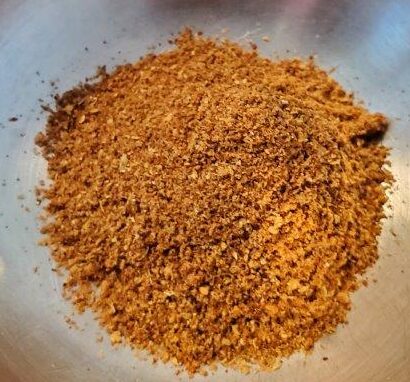
Also visible are toasted cumin seed, garlic, onion, paprika, black pepper, and salt. Fried up together, you get a delicious, spicy dish.
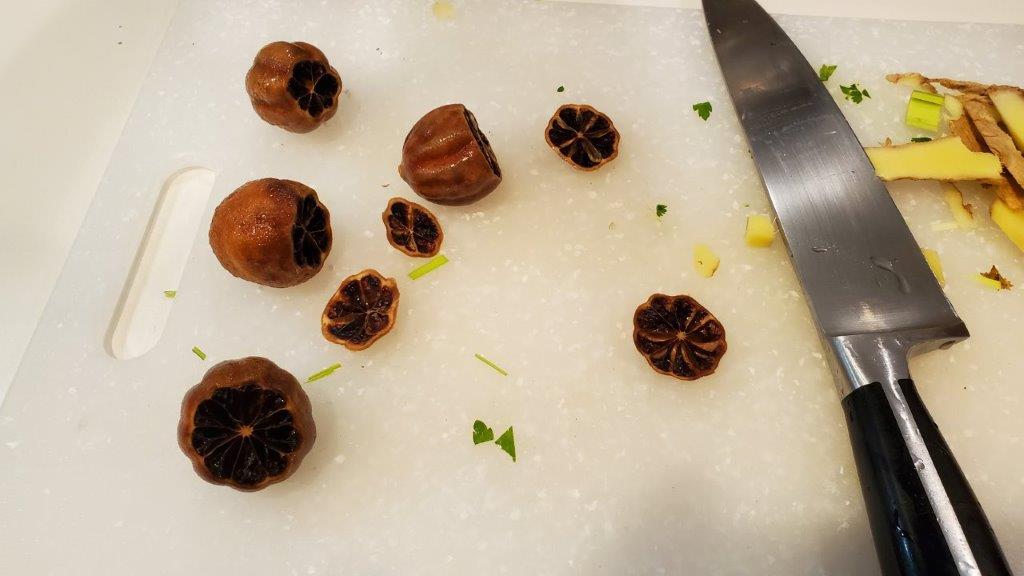
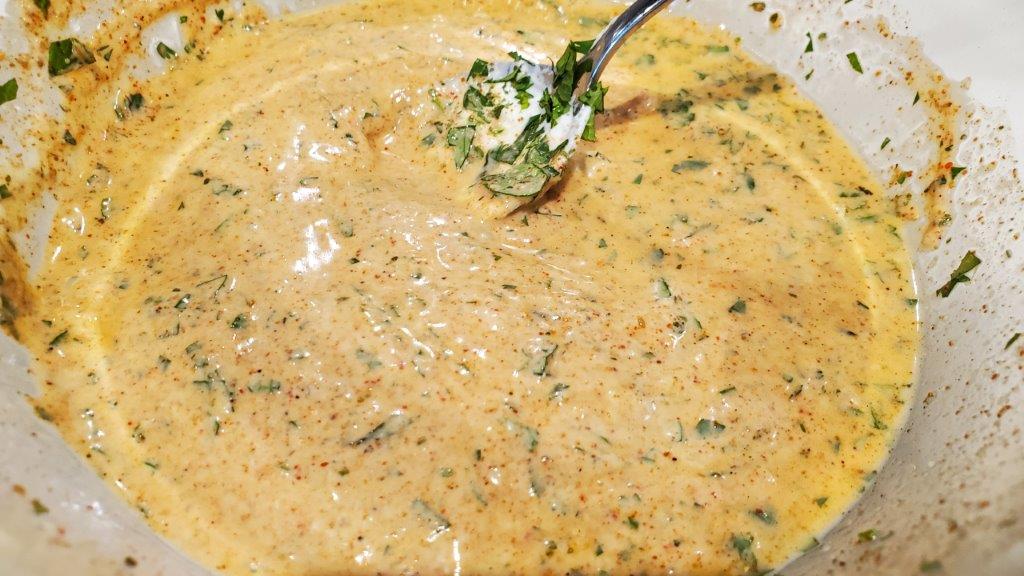
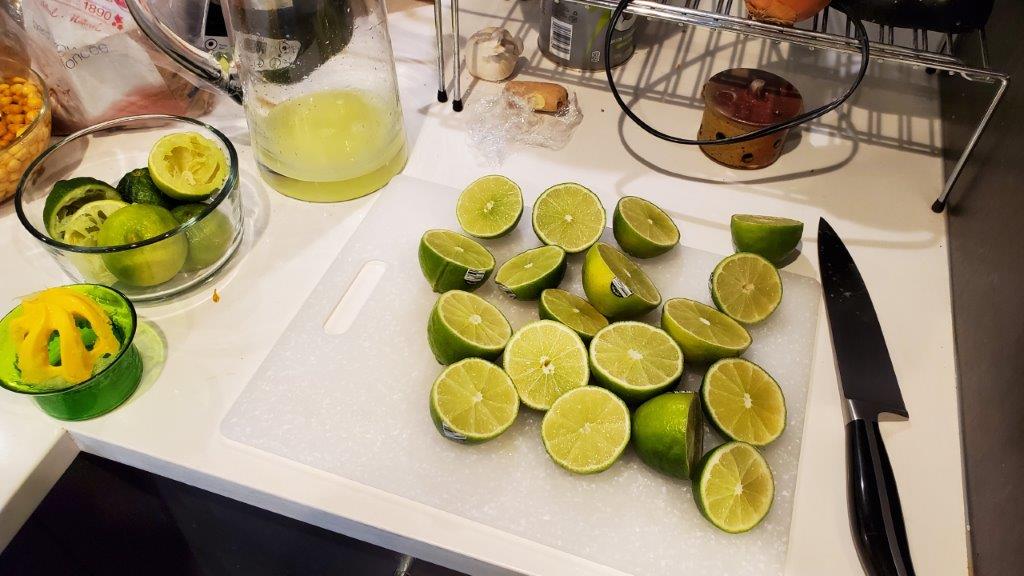
For OUR final contribution, we also made limewash, which is perhaps an unsettling name, but is essentially just limeade with a little added seasoning, either “mixed essence”, which we didn’t have, or vanilla, which we did. And we used fresh limes.
So. many. limes.
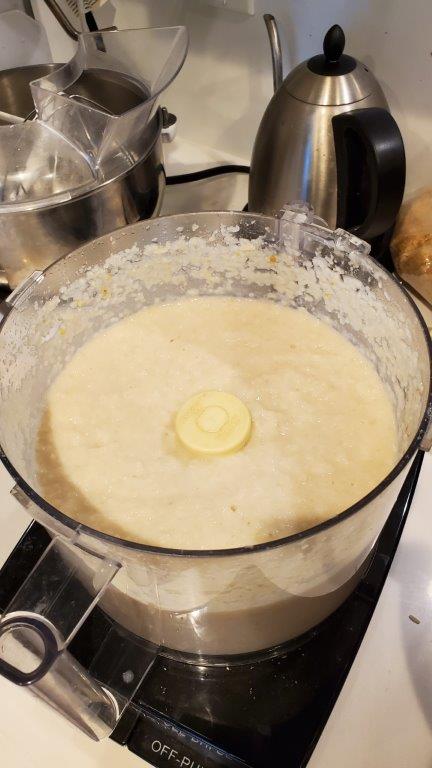
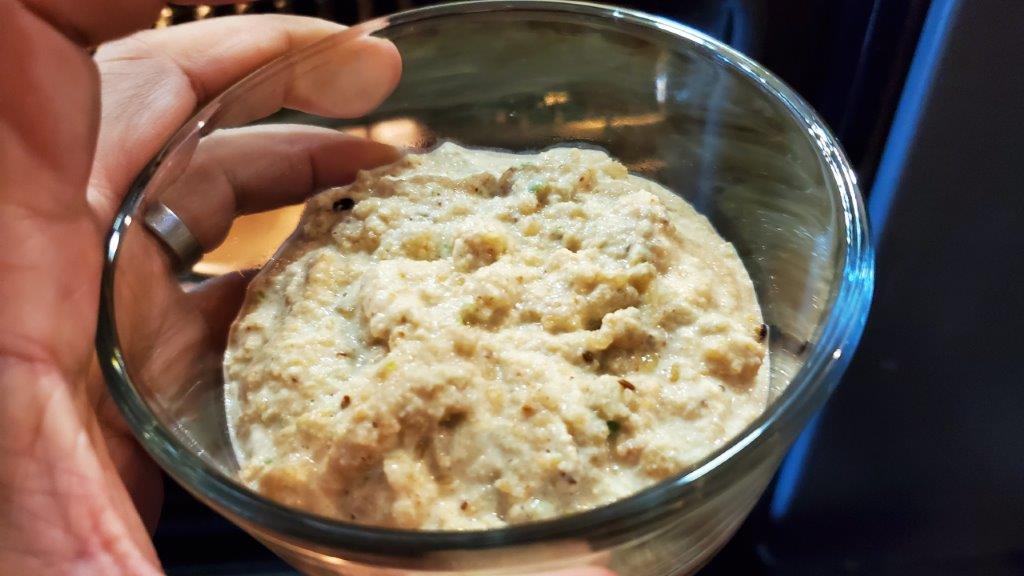
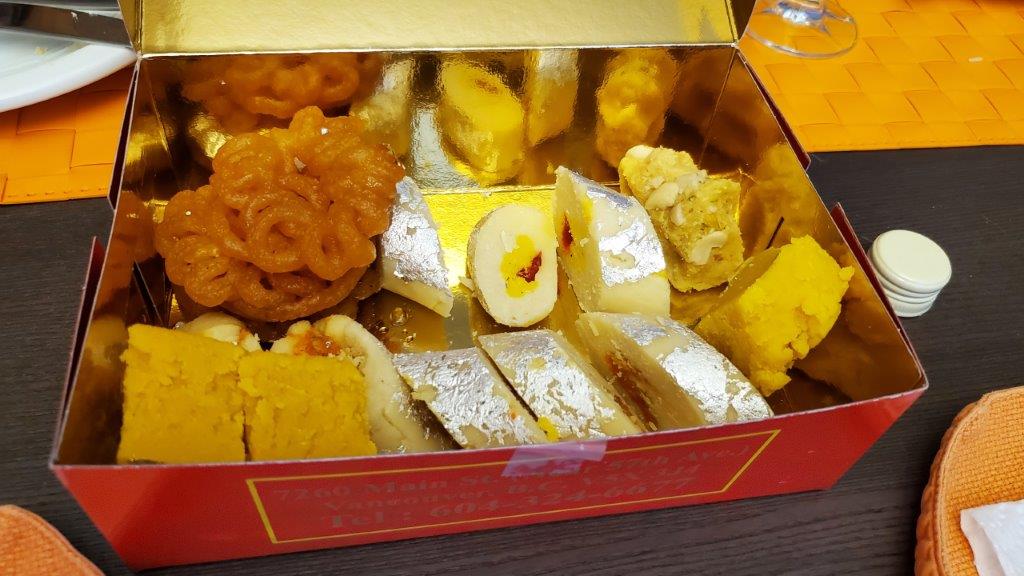
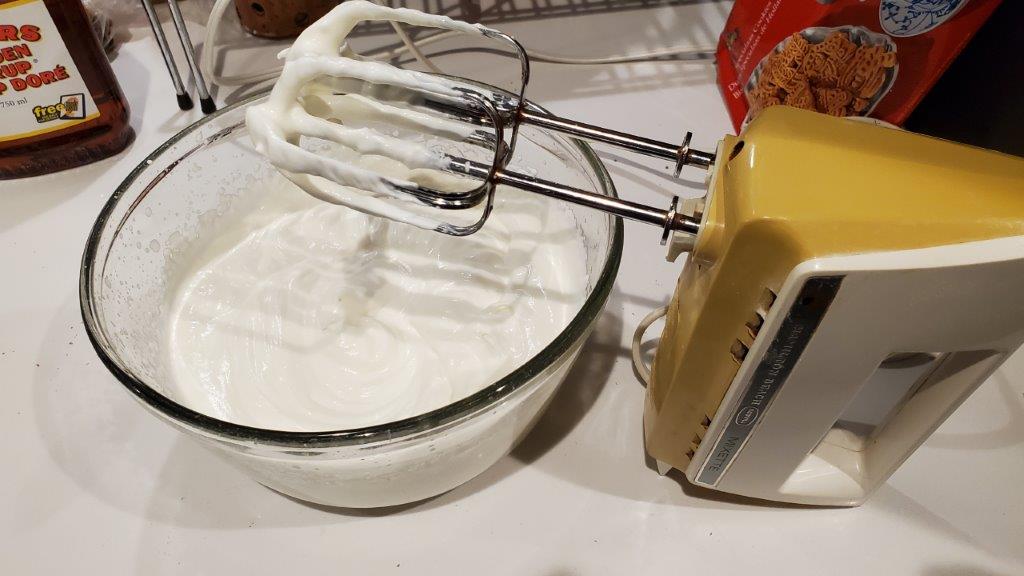
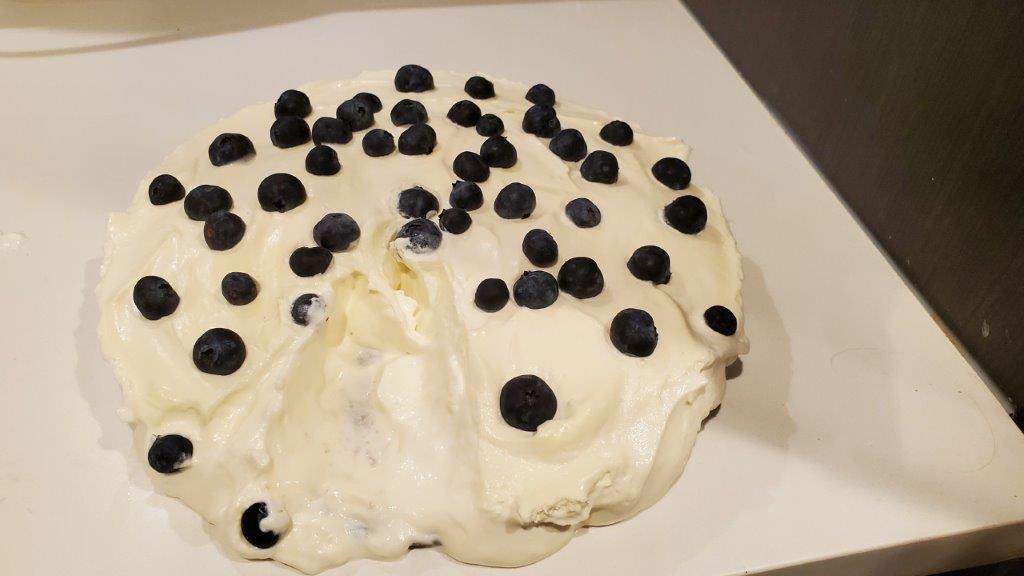
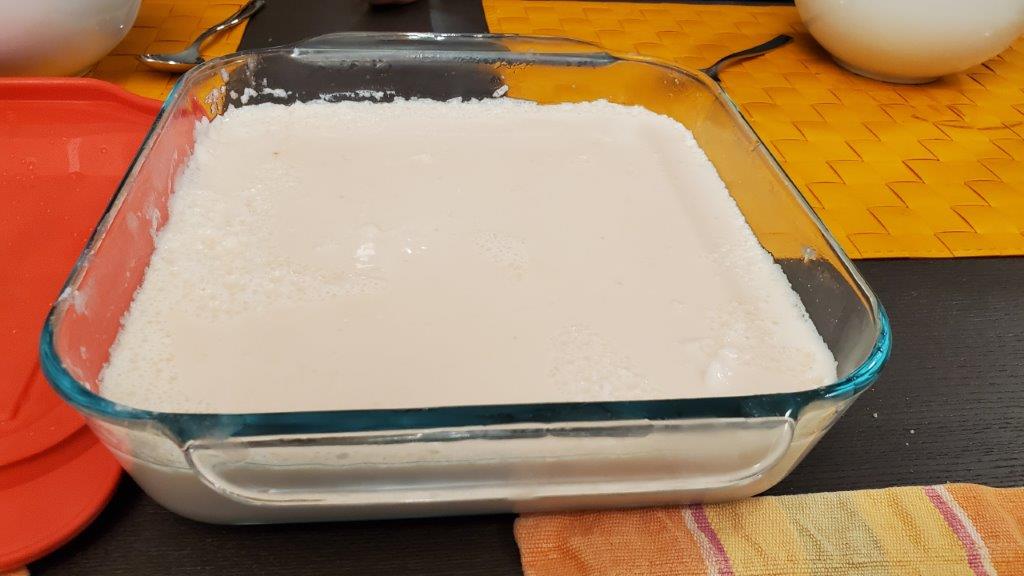
To finish the meal, Saf brought dessert – a delicious confection made from evaporated and condensed milks, agar-agar, and a little bit of food coloring.
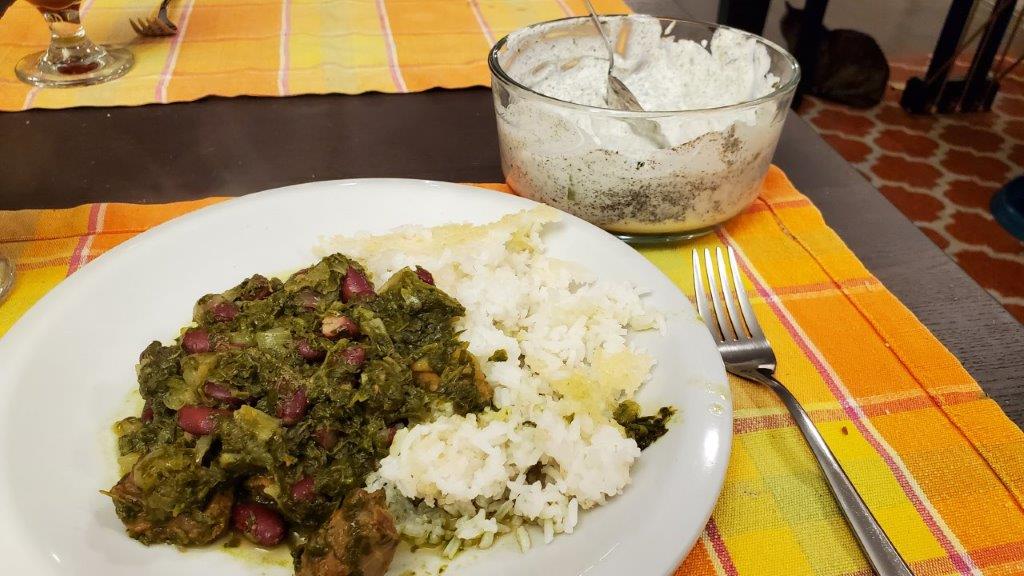
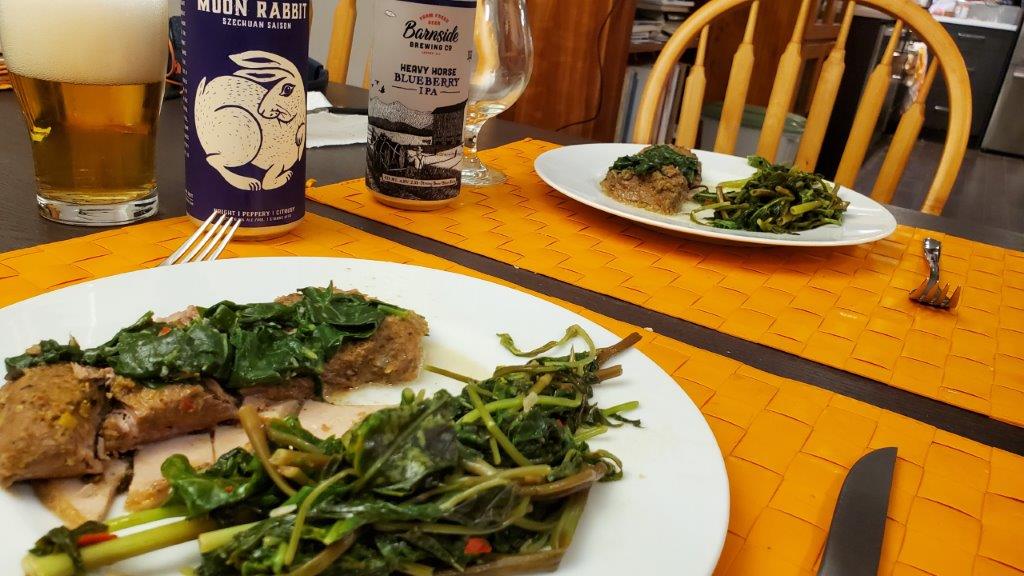
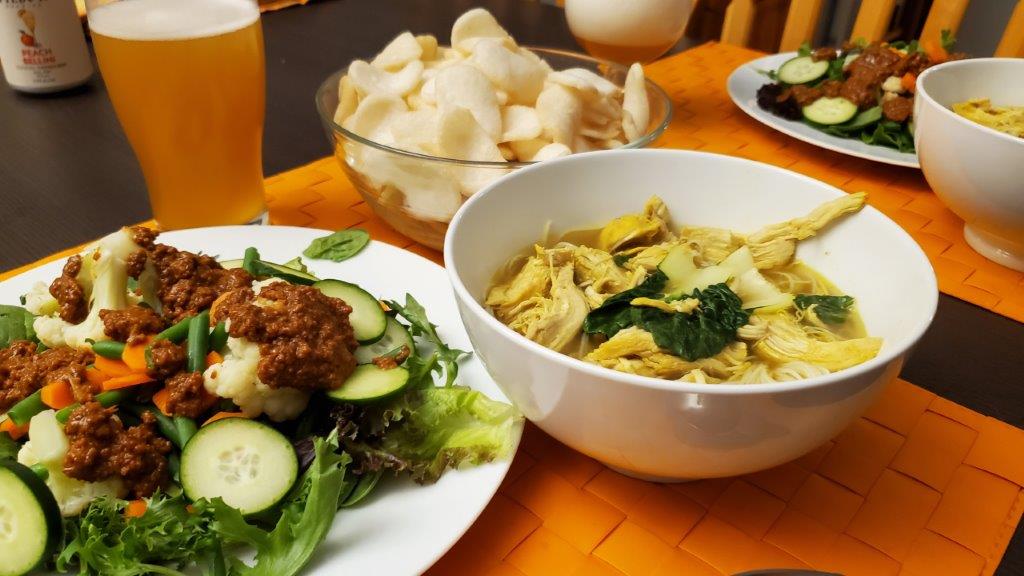
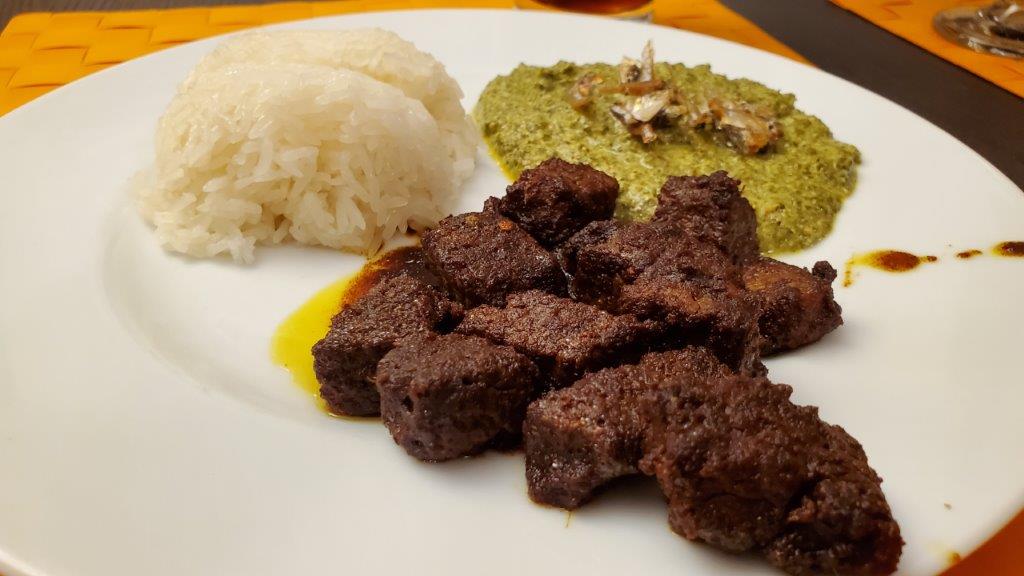
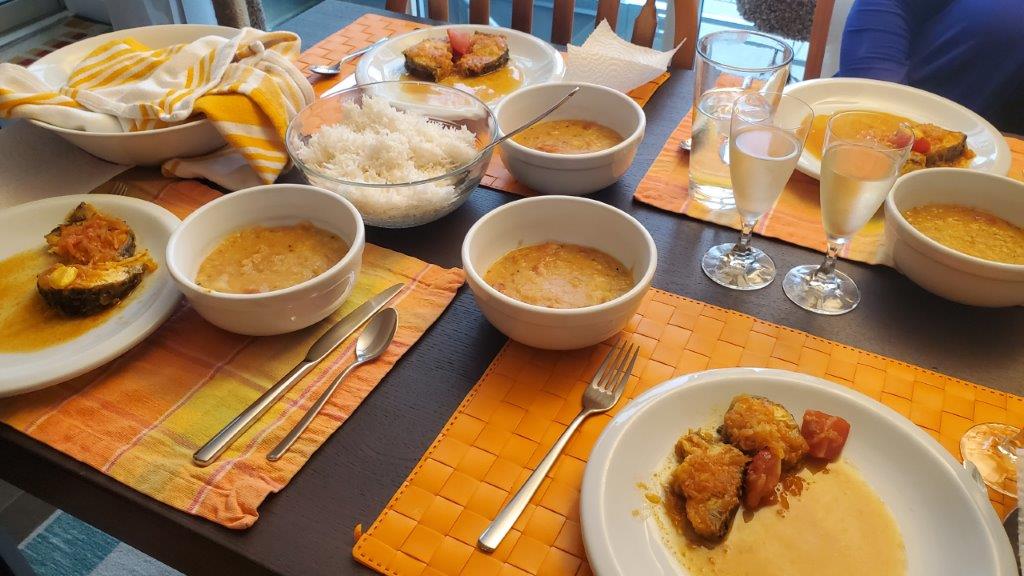
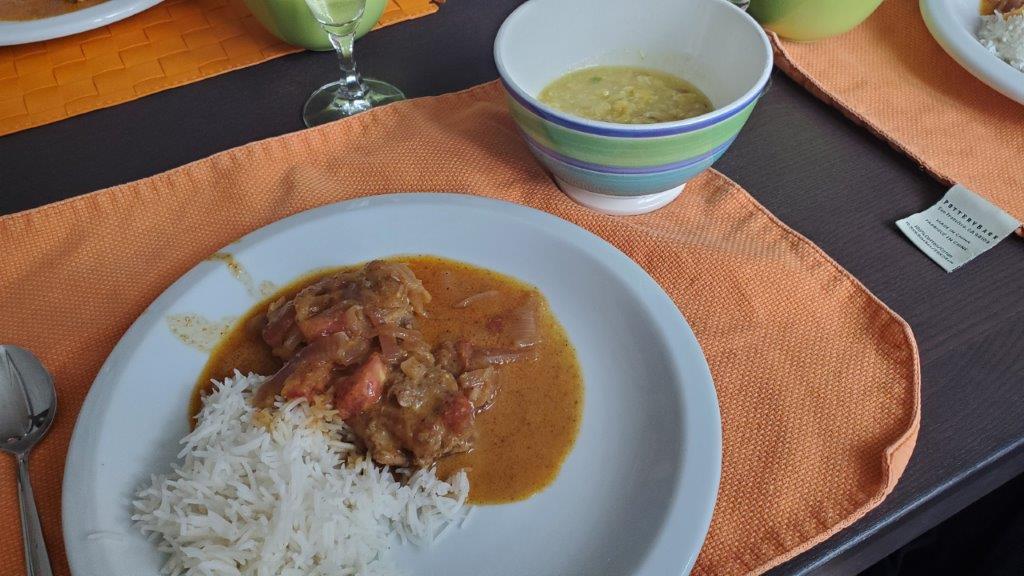
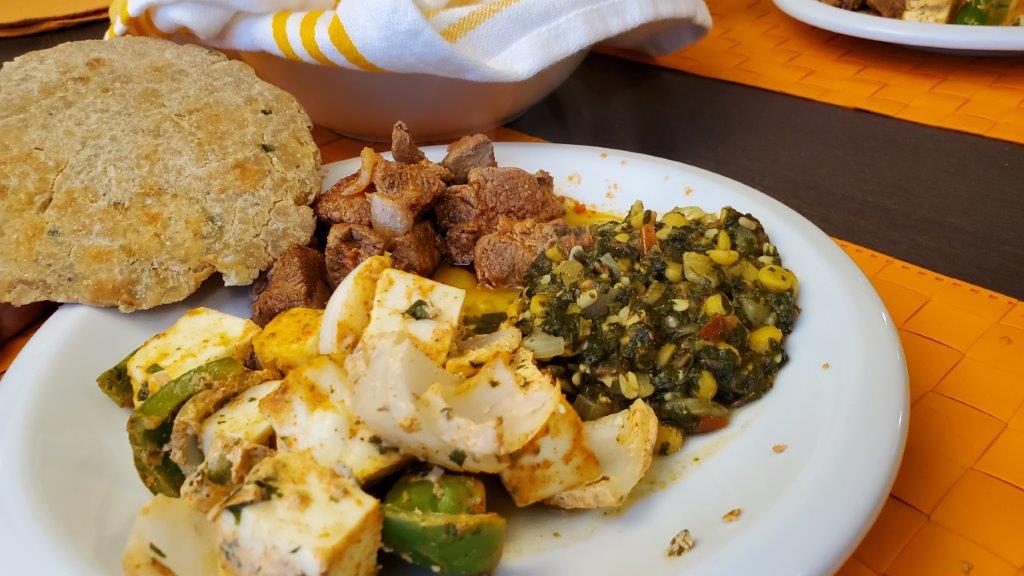
And here’s the final meal! (We forgot to take a picture before we ate, so this is a slightly staged photo taken after dinner.)
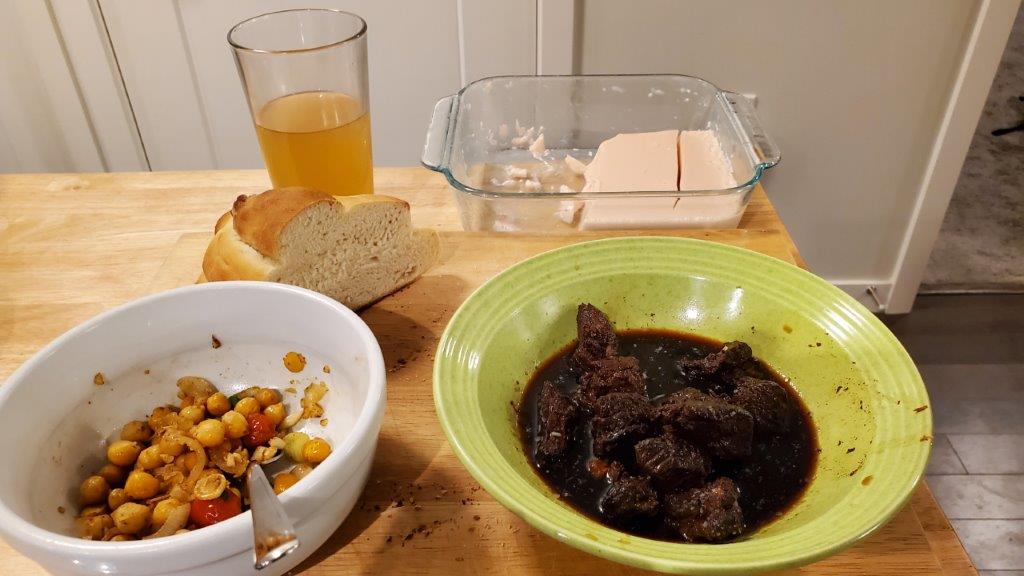
First off, I’d like to add a confirmation that we rarely get with these meals – we actually seem to have done this one correctly. Saf confirmed that the pepperpot, channa, and limewash were all more or less bang on. The bread was a bit dense, but still great for soaking up the sauce with.
So given that we got it RIGHT, how does it taste? Delicious! The sauce on the pepperpot is like really nothing else we’ve had so far on this project. It’s an umami bomb, but also quite sweet and thick. Definitely perfect for soaking up with bread. The channa was quite spicy, thanks to the peppers, and was a great compliment to the sweetness of the stew. Vanilla makes a great addition to limeaid, which I will have to remember in the future, and the dessert made for a nice refreshing finish to the meal.
All in all, Guyana was DEFINITELY worth waiting for, and we’re very grateful to Saf and her friend for joining us, and for making the meal even possible in the first place!
Next up, we return to your regularly scheduled alphabetical order with Iraq, unless we decide to wander off and do the Marshall Islands or something else inexplicable like that…
Recipes:
Pepperpot
Guyanese boil & fry channa
Guyanese plait bread
Limewash