As the world slowly returns to – well, not normal exactly, but at least begins providing us with more options for things to do OTHER than cooking, these meals are probably going to slow down to something closer to their pre-pandemic pace. We’ll see. With Guyana still on hold for the time being, next up was Hungary, which meant it was time to return to my friend Walt, our expert on all things eastern European.
Because this is so tightly in his wheelhouse, there weren’t actual recipes, per se. Rather there was a long phone conversation where Walt described his process for making these dishes, and I tried to take careful notes. Then there was some more back-and-forth via Facebook. And maybe a panicked phone call or two. Maybe.
At any rate, we started the day with some baking. I found a recipe online for a Hungarian country loaf. Fairly simple – yeast, flour, water, salt. But it turned out to be a monster of a product:
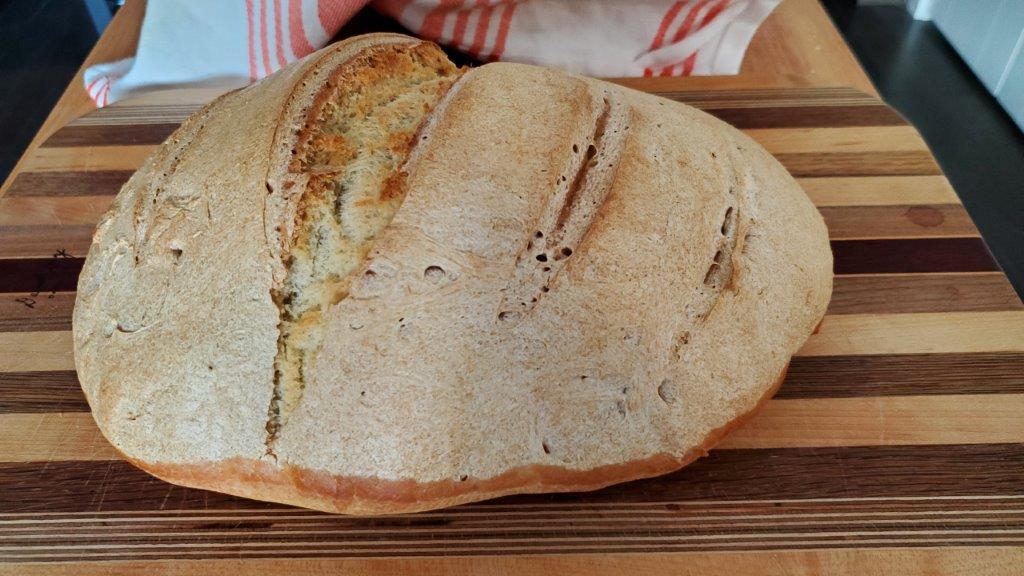
I don’t know what caused that line around the bottom, other than possibly steam from the shortening we greased the pan with.
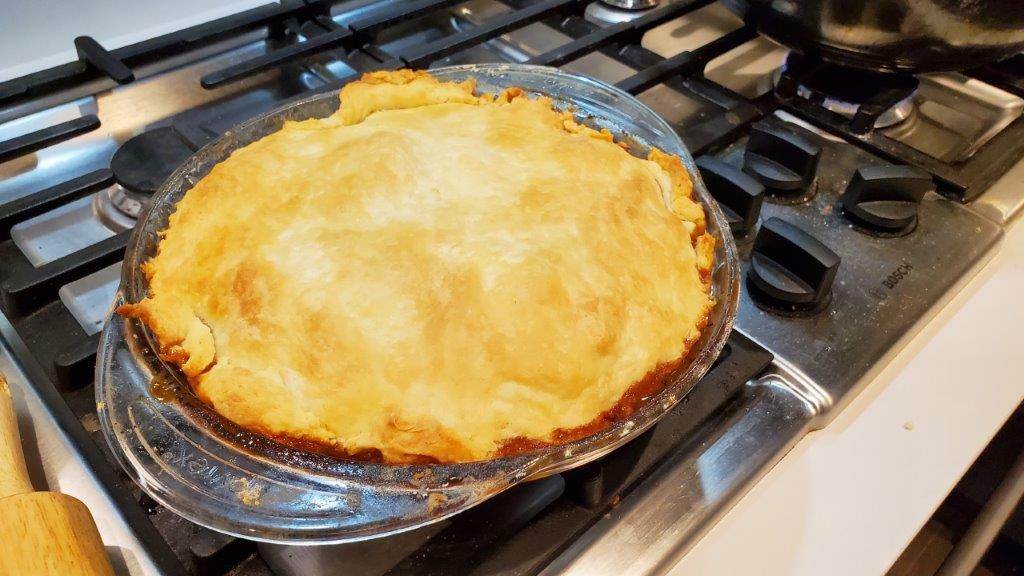
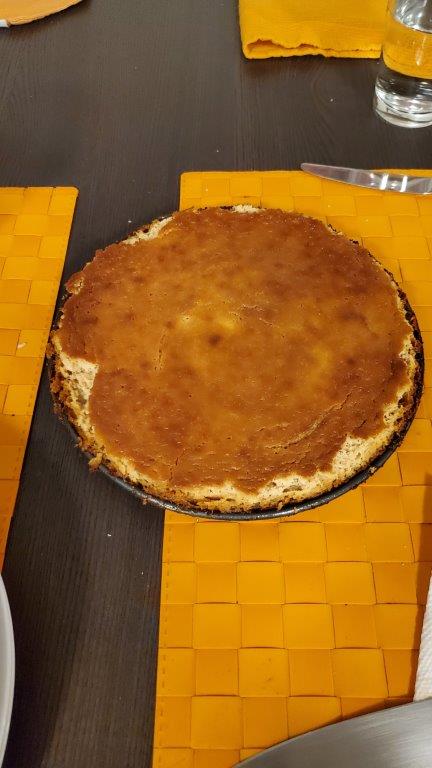
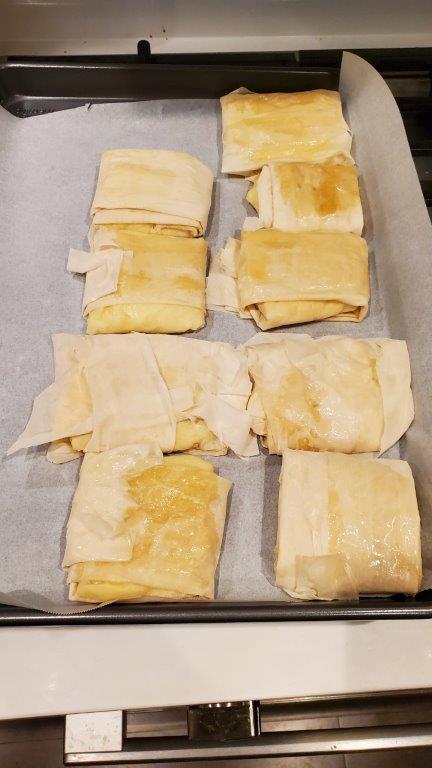
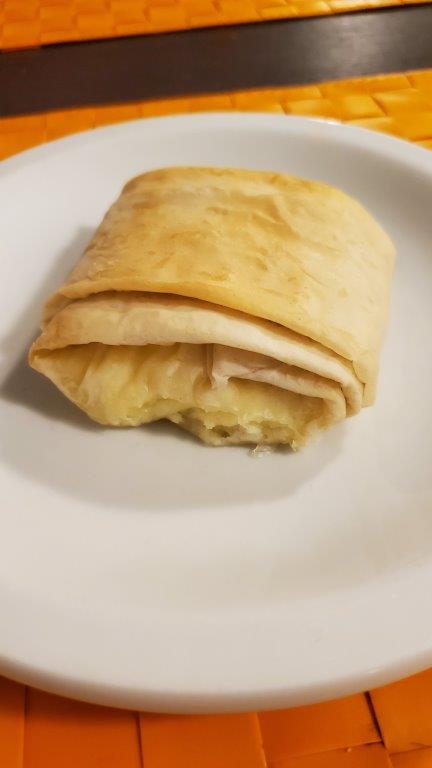
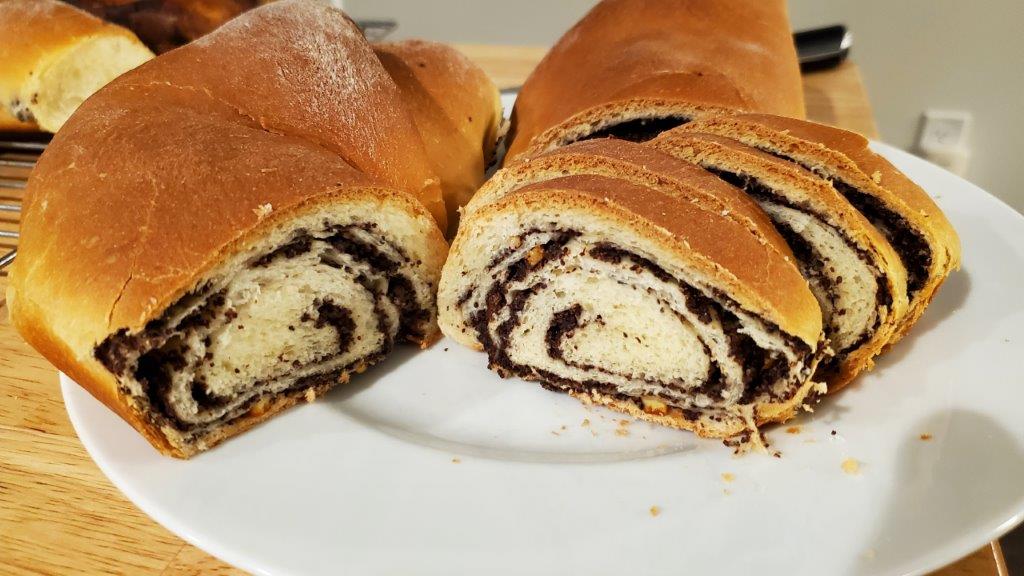
Baking takes a while – by the time this loaf was done, it was already early afternoon, and we had another baked good to produce. Our Hungarian dessert was a roll similar to the one we made for Croatia, but with a poppyseed, rather than walnut, filling. Which segues nicely into our trip to the deli.
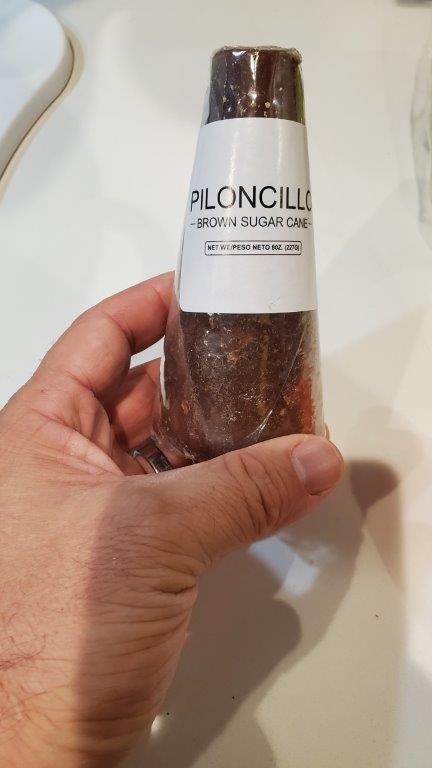
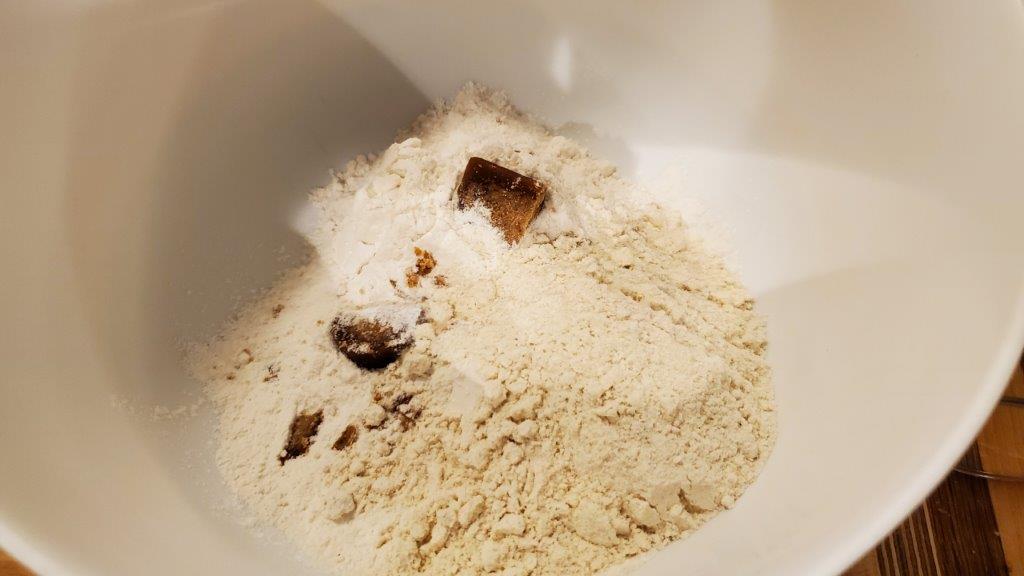
Walt was very adamant that high-quality paprika was critical for our main dish, so we found an incredibly long and narrow European deli that had paprika that met with his approval. While we were there, we picked up a can of poppyseed filling. Also pictured, lard.

Those of you who know your flags may have twigged that this poppyseed filling is actually Polish. I’m sure it’s fine.
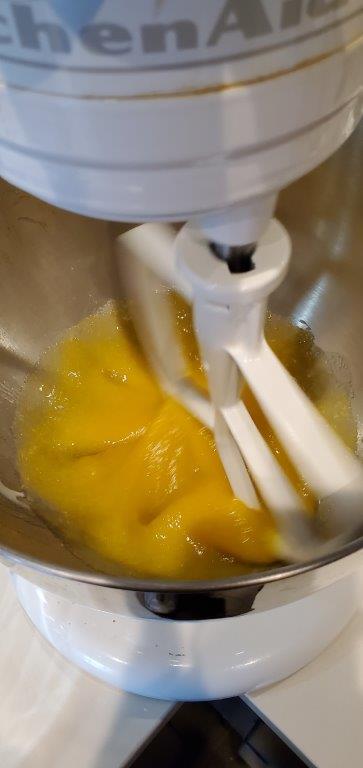
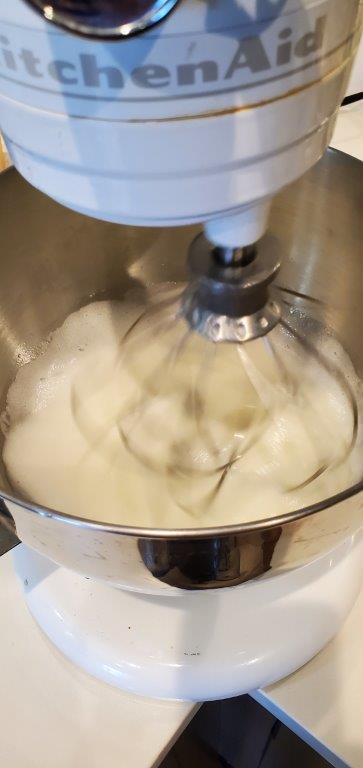
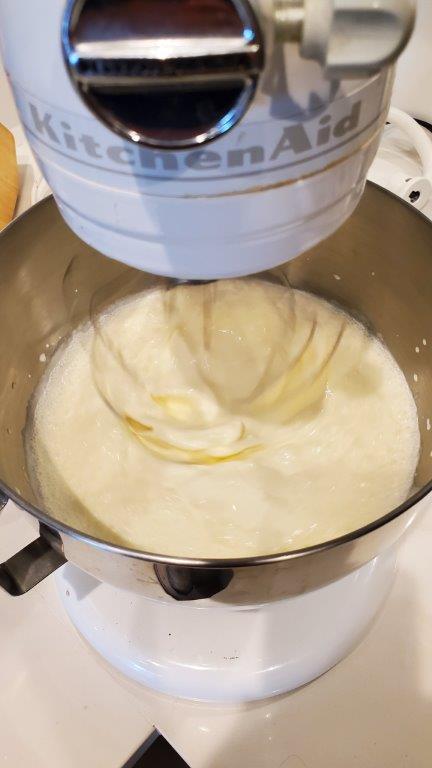
The dough process was the same as the Croatian one – a very slow addition of flour to the fat and liquid that took half an hour to eventually come together. Since we ended up with more dough than filling, we made two small rolls that were DEFINITELY not authentic – one with butter, sugar, and cardamom, and one with cloudberry jam. (Thanks, IKEA!) Authentic or not, they were tasty.
For some reason, the rolls puffed up a LOT more than the Croatian ones did:

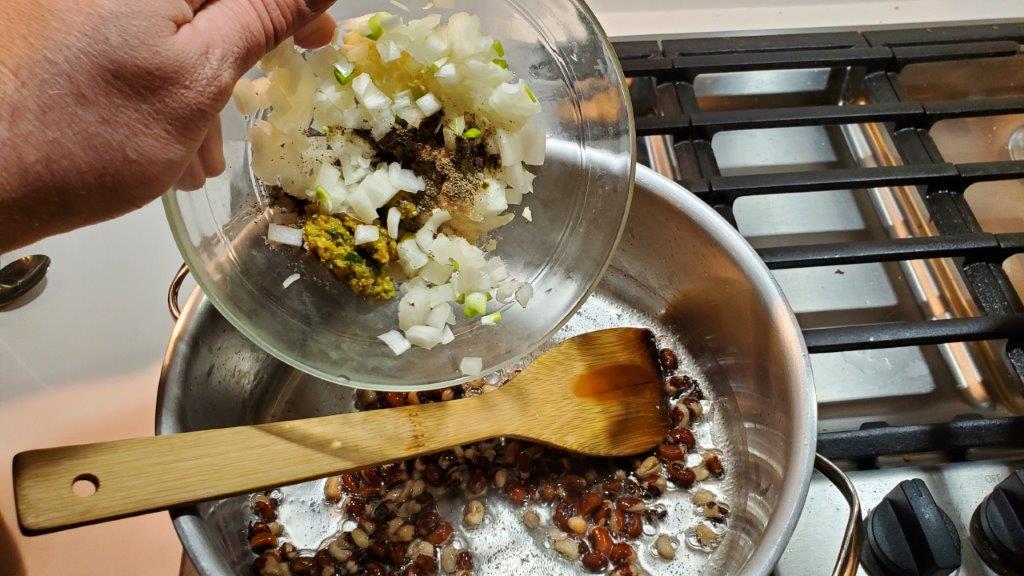
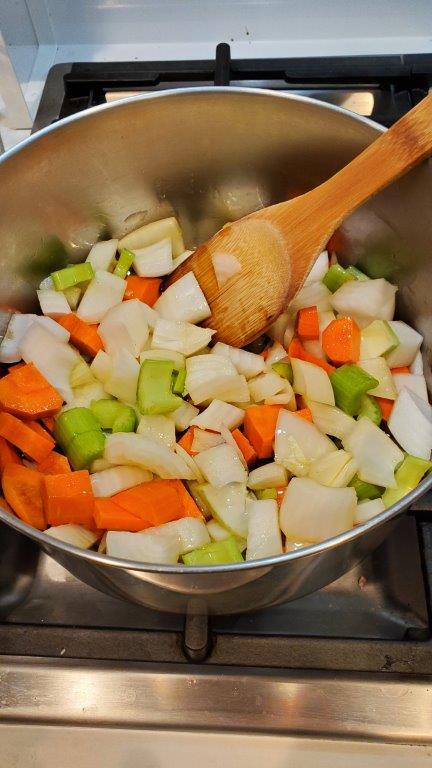
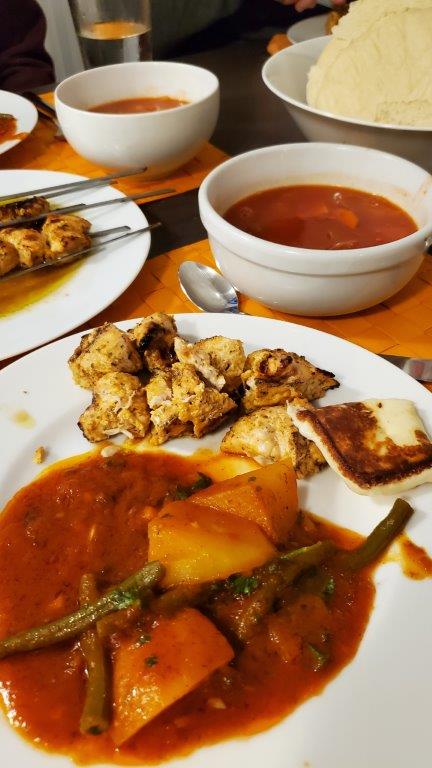
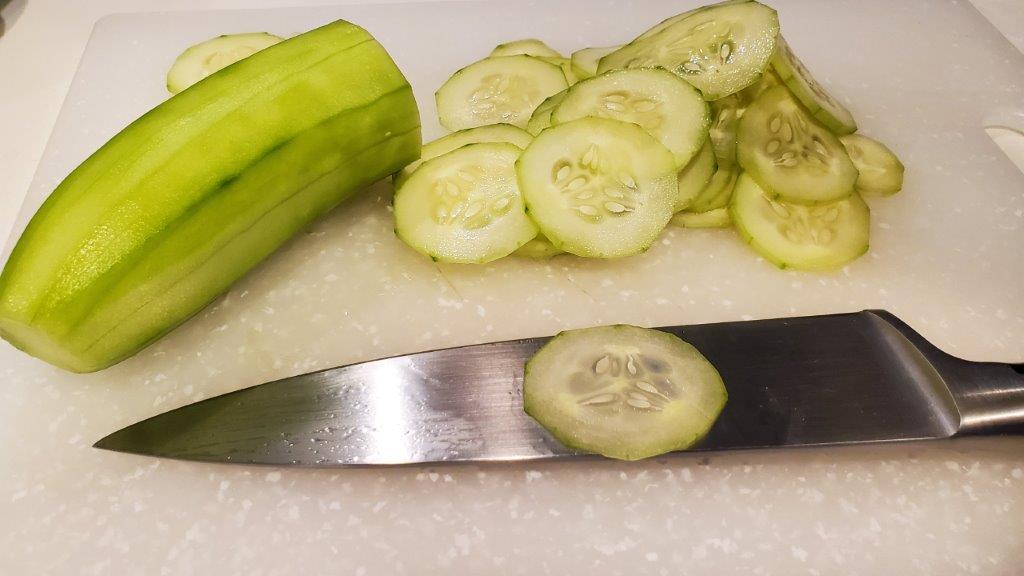
With our baked goods out of the way, it was time to finally start in on our main dishes -chicken paprikash, dumplings, and a cucumber salad.
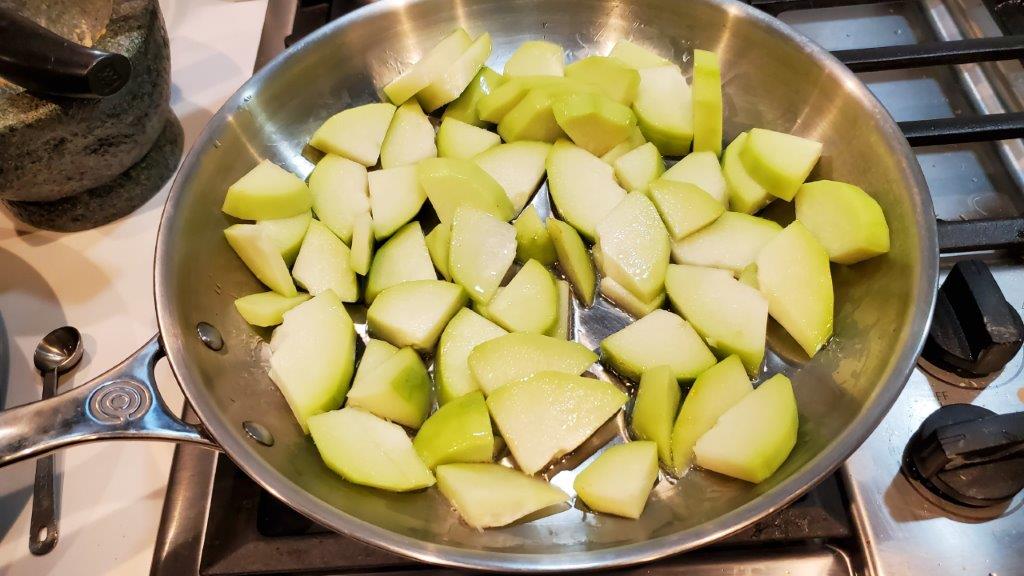
The last was quite simple. Slice a cucumber paper thin, then combine with an onion, vinegar, and a little paprika.
But that one onion was just a tease.
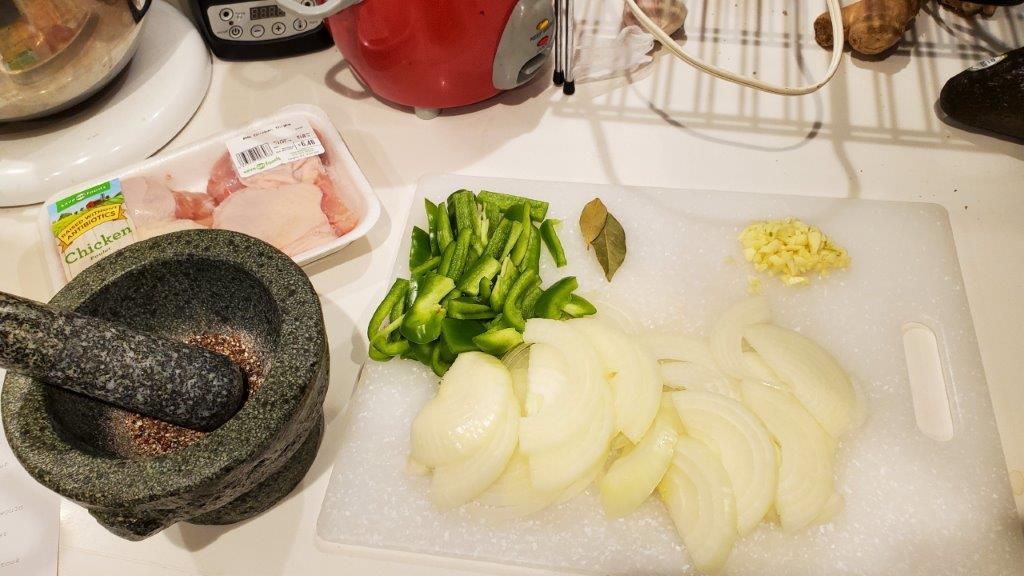
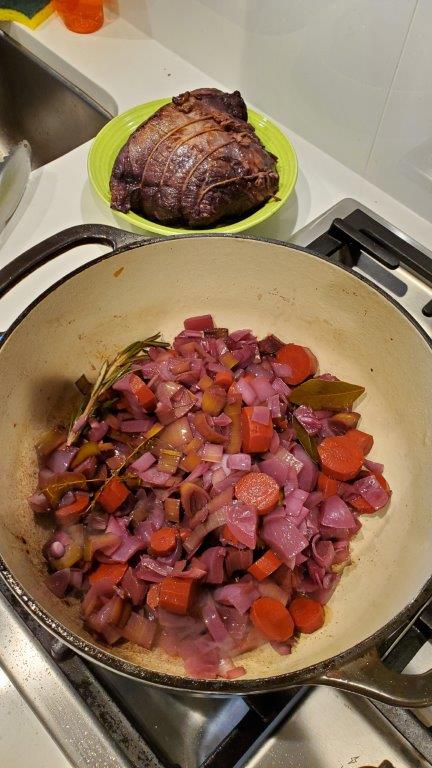
Walt’s recipe for paprikash involves… rather a lot of onions.
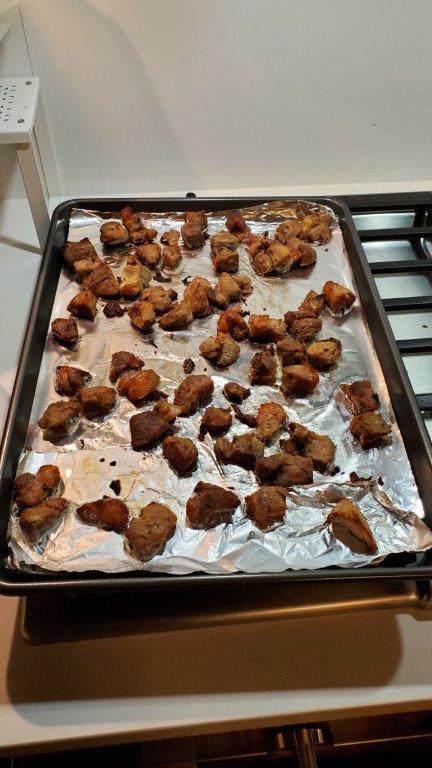
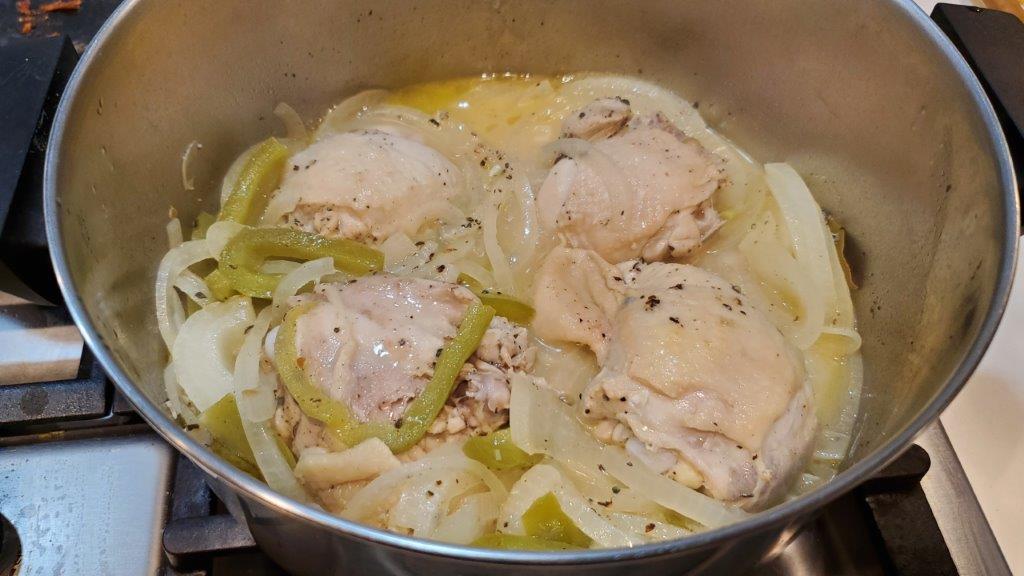
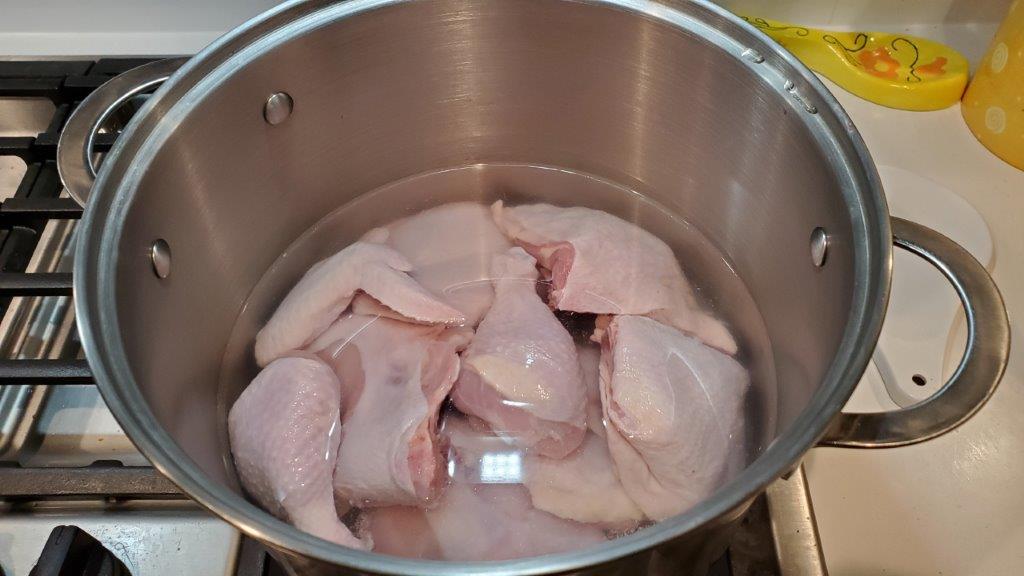
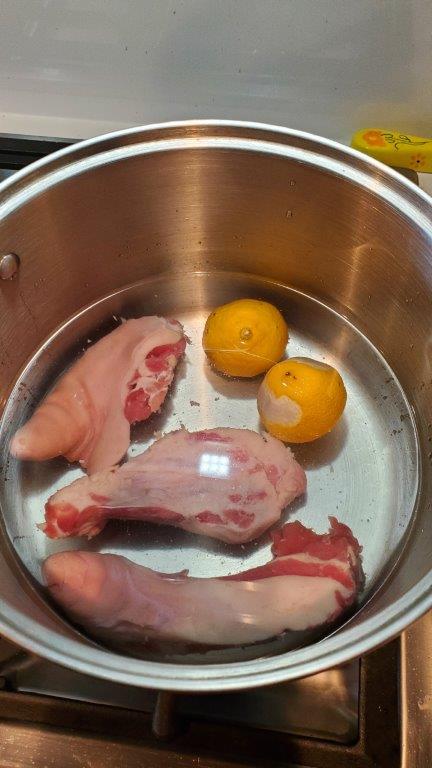
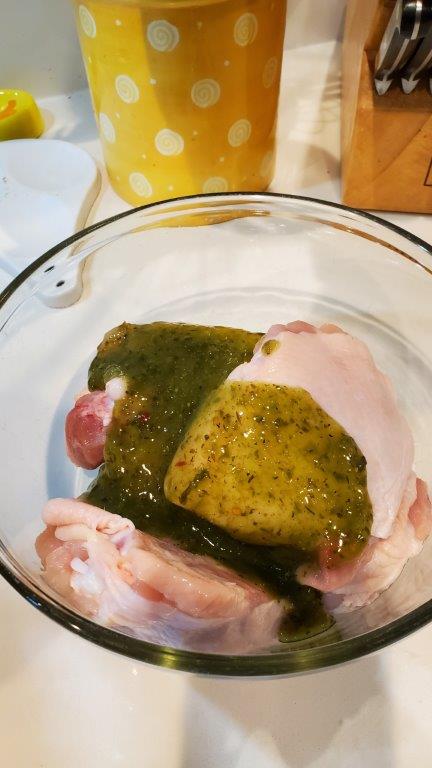
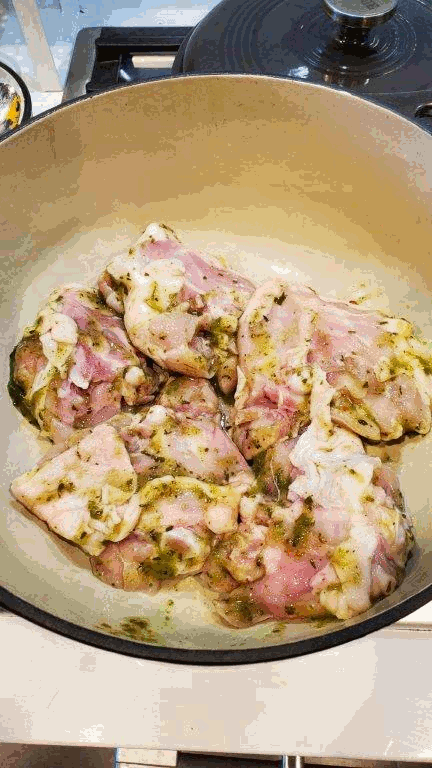
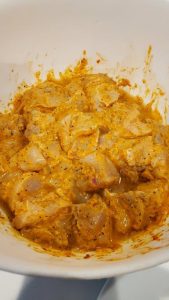
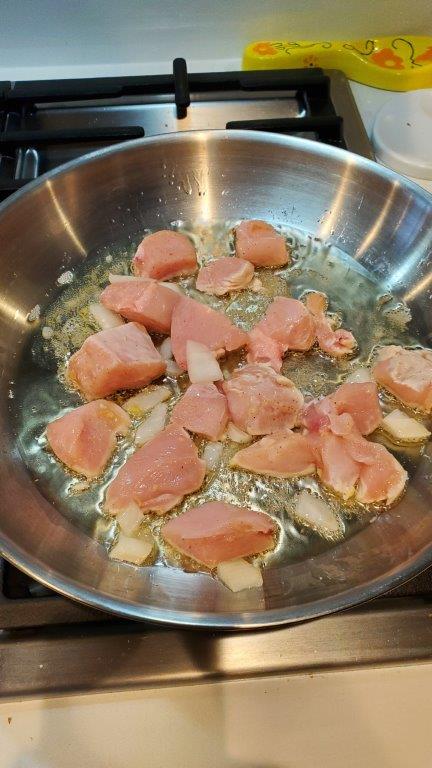
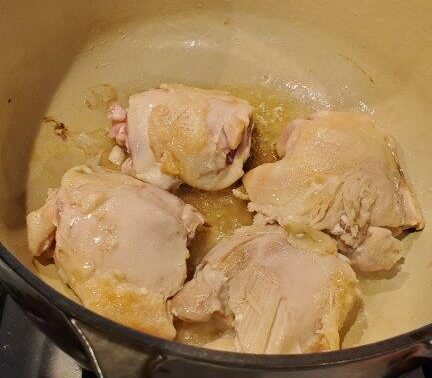
To start, you brown bone-in, skin-on chicken in lard or smoked bacon fat.
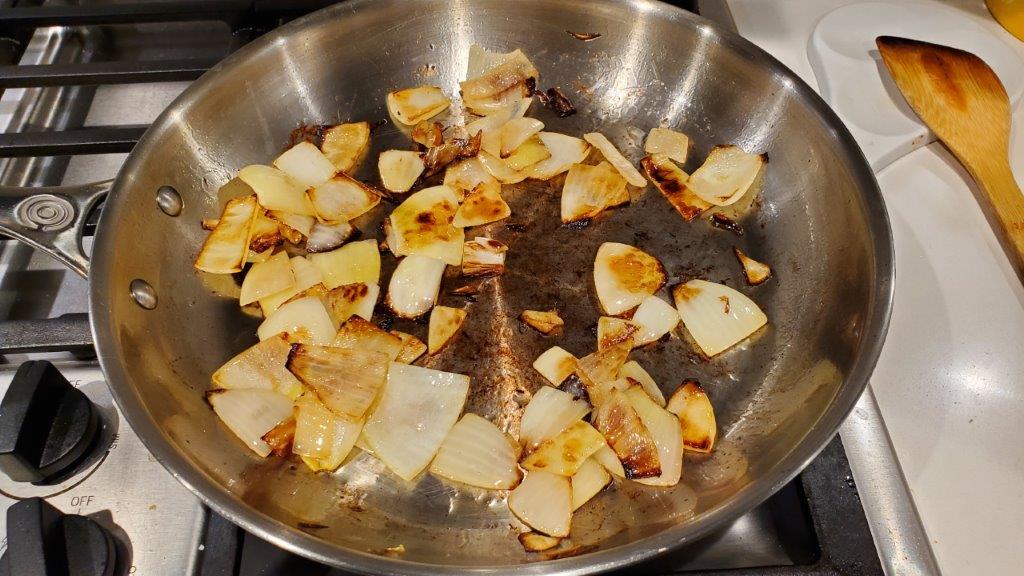
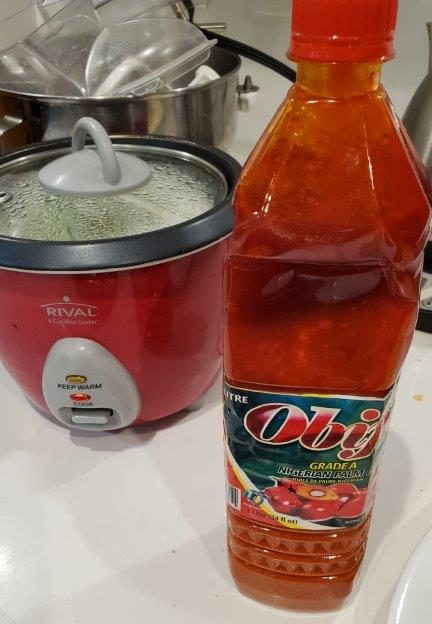
Then, you combine the chicken with an equal weight of onions. We had about 3 lbs of chicken, so here’s what an equal weight of onions looks like. Rice cooker for scale.
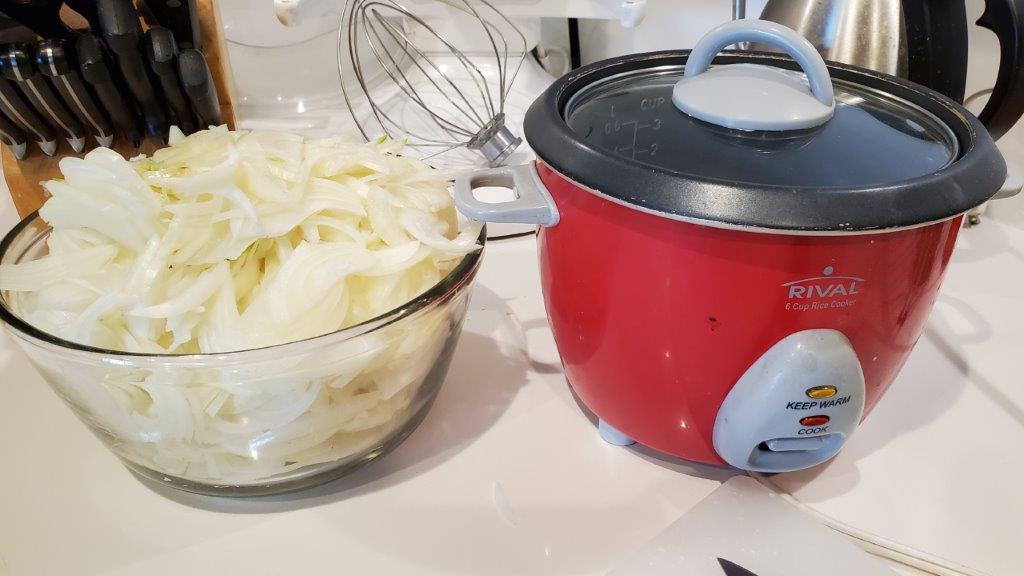
I was NOT a happy camper after chopping up that many onions, but we got it done.
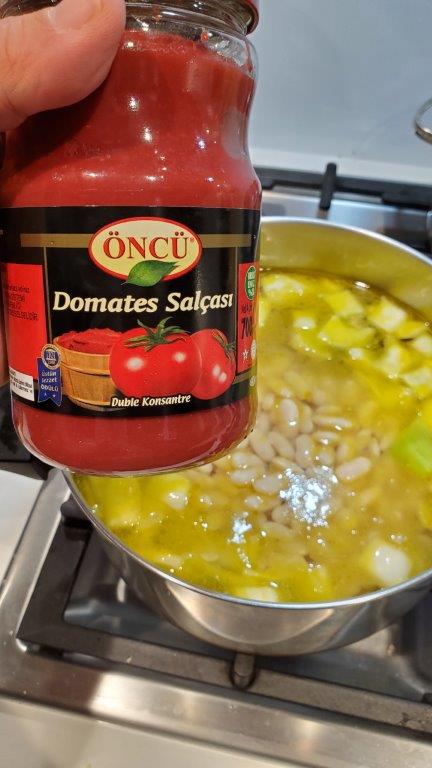
The really amazing thing about this recipe is that there is no other liquid OTHER than what sweats out of the onions and the chicken. Most paprikash recipes you find online call for stock, tomatoes, or other additional liquid. Not this one!
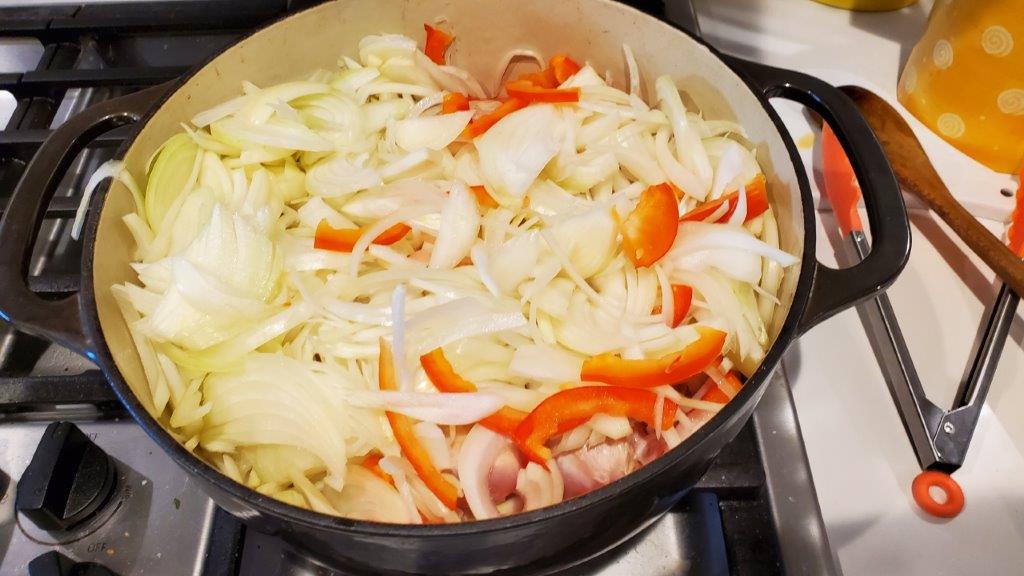
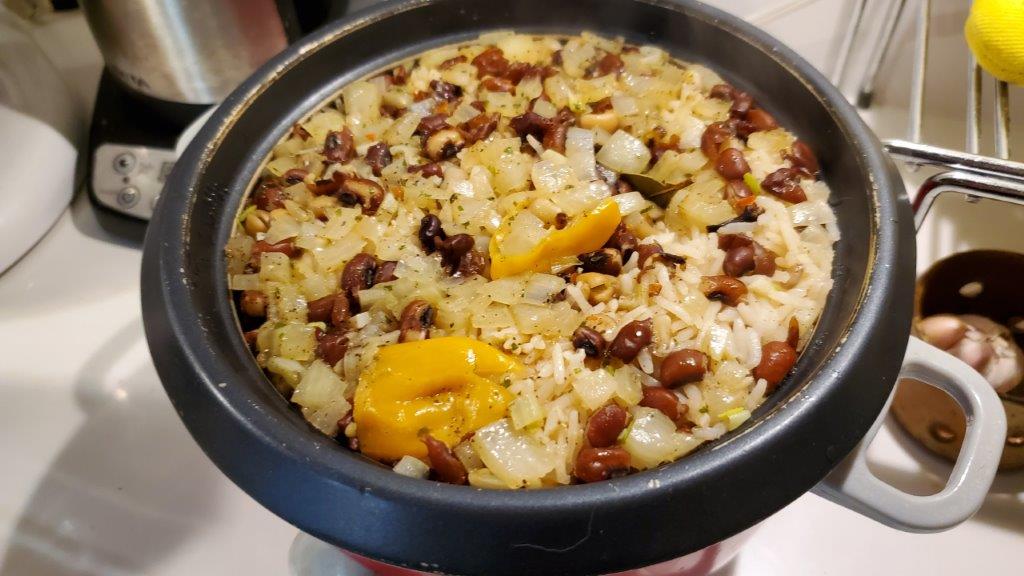
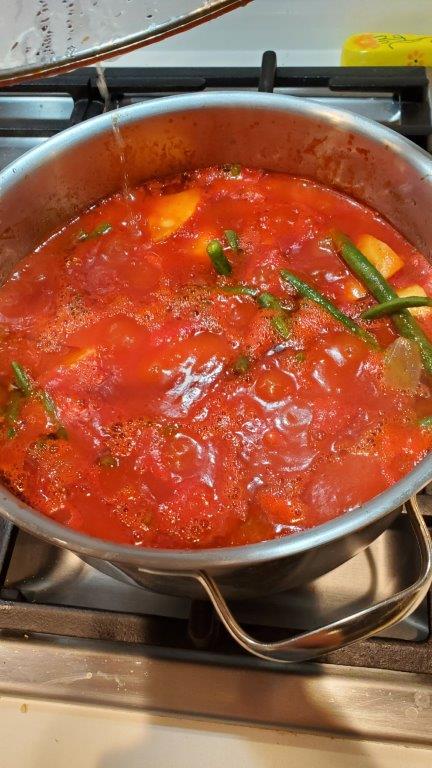
Onions, chicken, a single bell pepper, and seal the pot. Fortunately, we had a Dutch oven with a nice heavy lid to hold everything in. Halfway through cooking,, it was time to dump in a whole bunch of paprika.
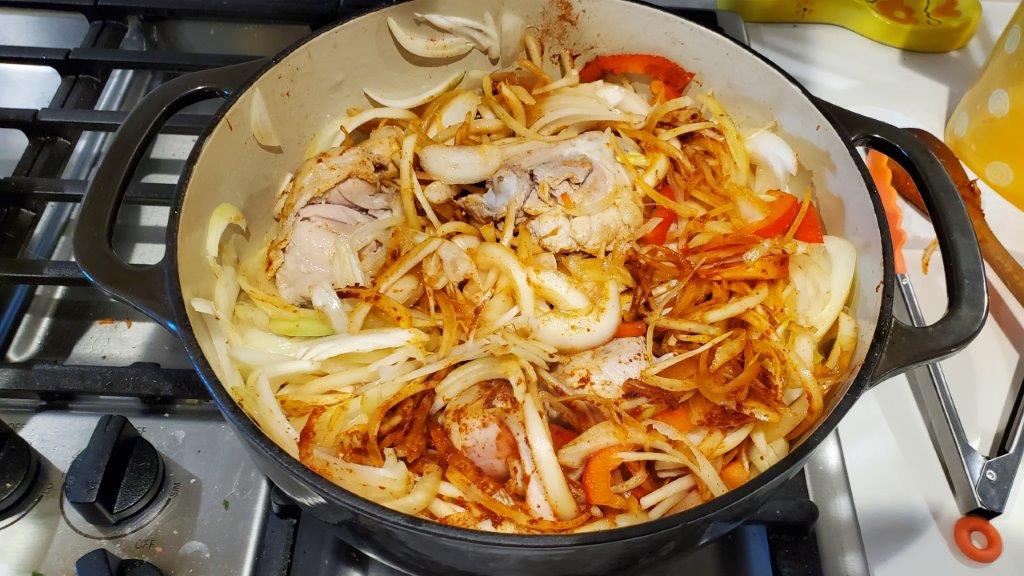
By this point, there was plenty of liquid in the pot, but the eventual goal was to have the onions completely dissolve. After an hour, they kinda hadn’t, so I called Walt. He gave me two suggestions.
1. Pull the chicken out so it doesn’t overcook.
2. Use an immersion blender to cheat.
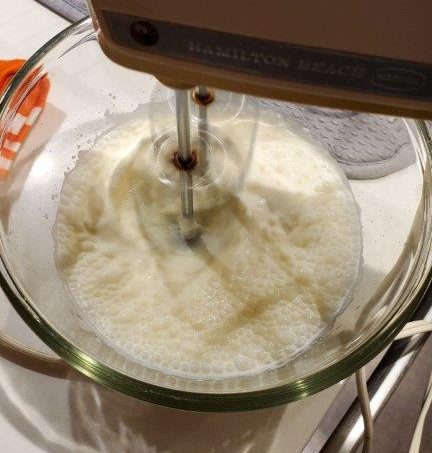
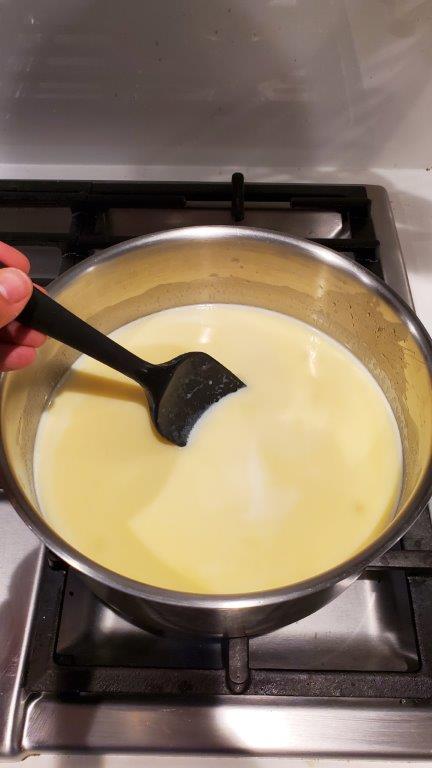
So that’s what we did. Chicken to one side, we went in with the immersion blender to deal with the remaining solid pieces of onion. To finish the sauce, we tempered some sour cream, by mixing in some of the hot onion liquid, then poured that back into the pot.
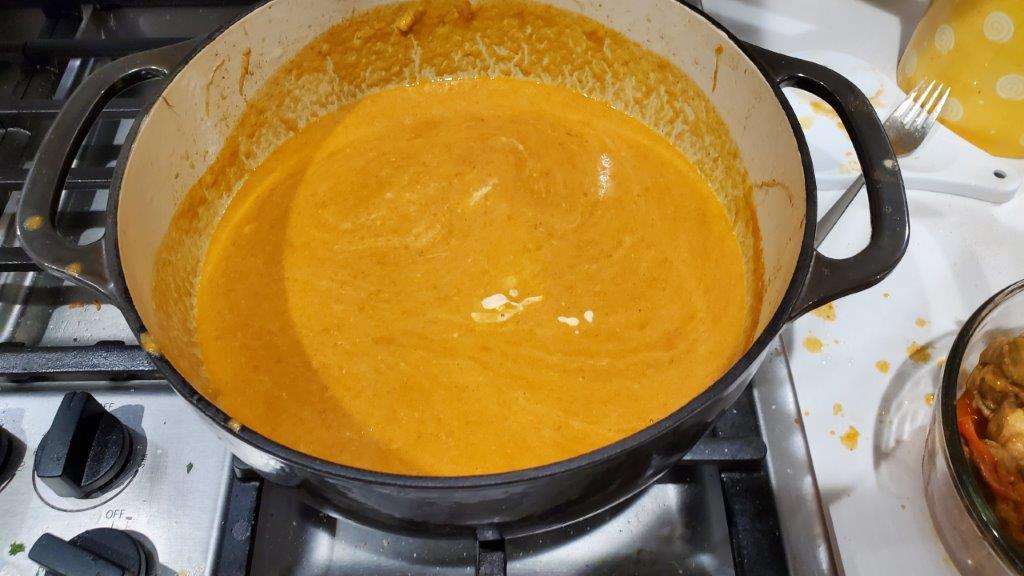
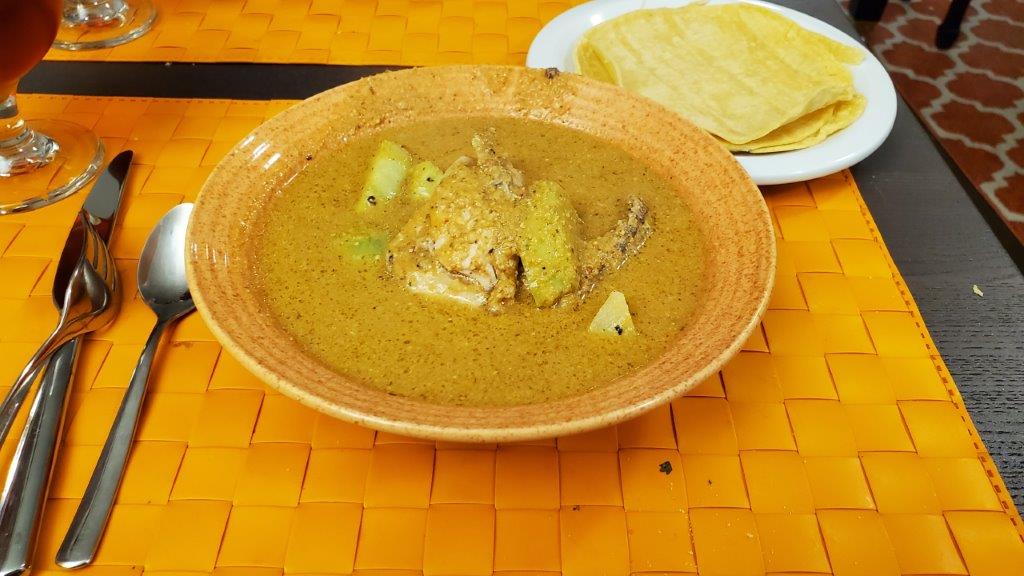
Pretty, innit?
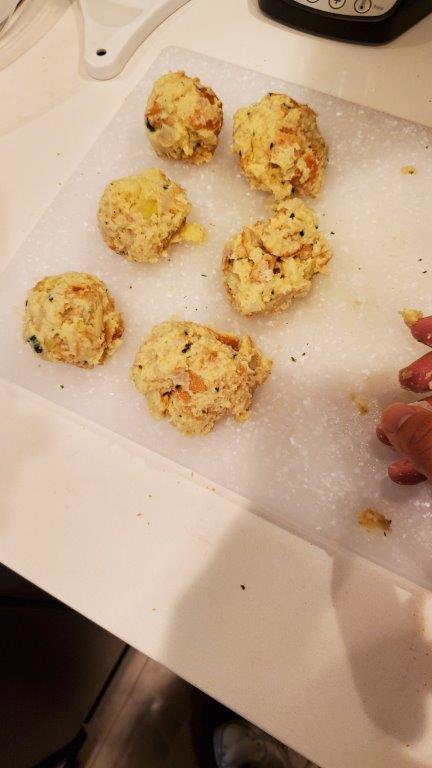
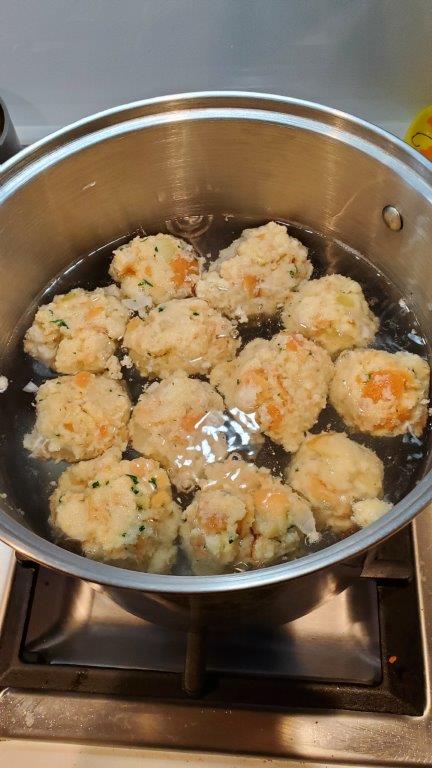
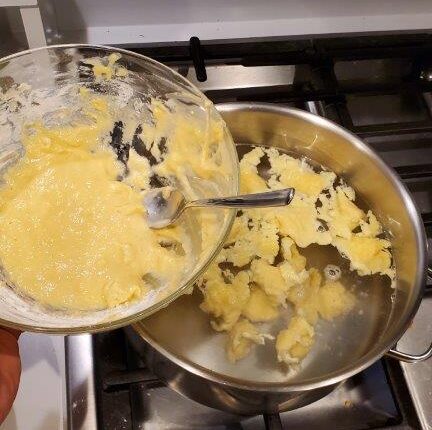
For our side dish, we made nokedli – simple egg and flour dumplings. After you mix up a batch of batter and let it rest for a bit, you donk it a half tablespoon at a time into boiling water to get irregular little chewy tasty bits. It’s a similar technique to spaetzle, but a bit more irregular. Then again, our spaetzle were pretty dang irregular too.
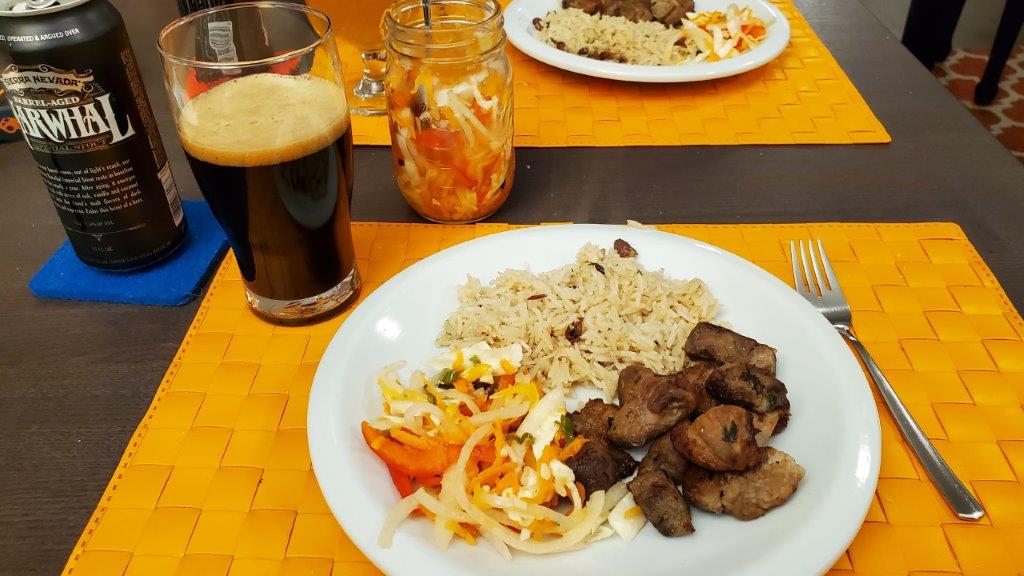
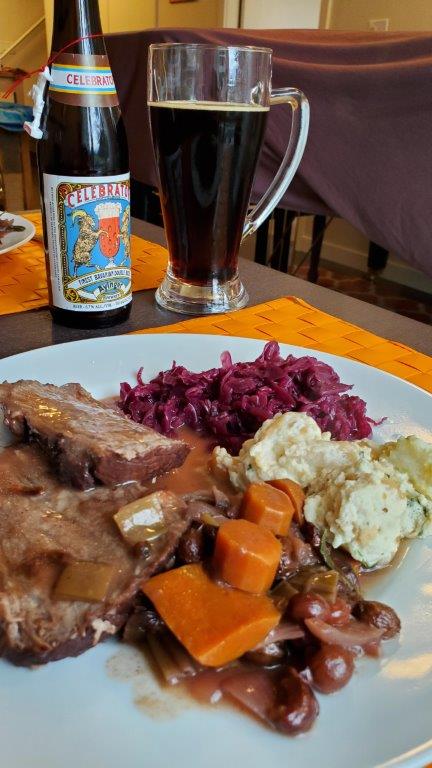
And with the dumplings done, we had our meal – paprikash, nokedli, cucumber salad, bread, and a nice Hungarian wine we found at our neighborhood liquor store.
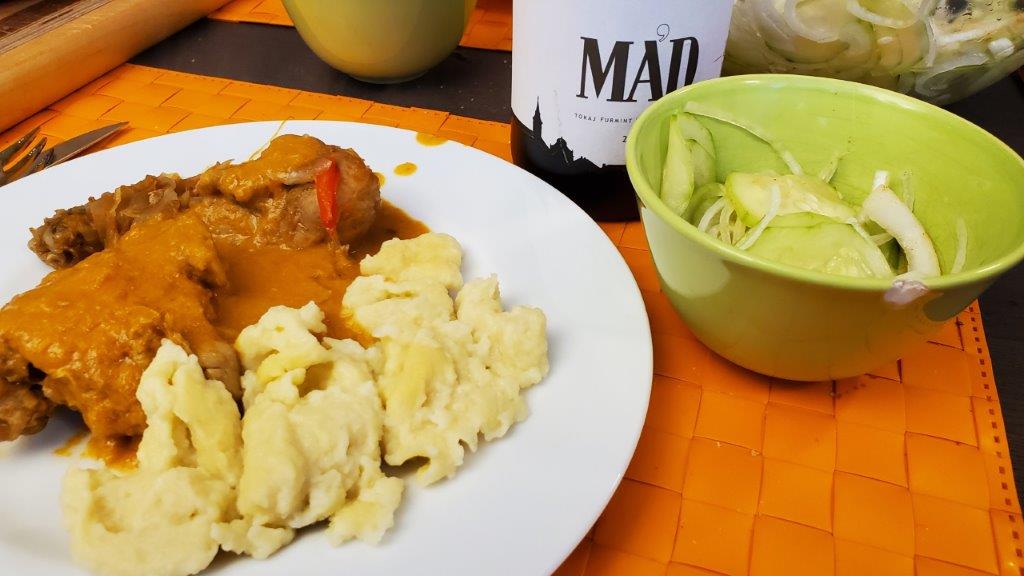
This was REALLY tasty. Allowing the sauce to come entirely from the onions gave it a much richer flavor than it would have had if we’d tried to hurry things up with stock. The dumplings were great at soaking up the sauce, and the cucumber salad was a lovely contrast. Overall, a delightful meal.
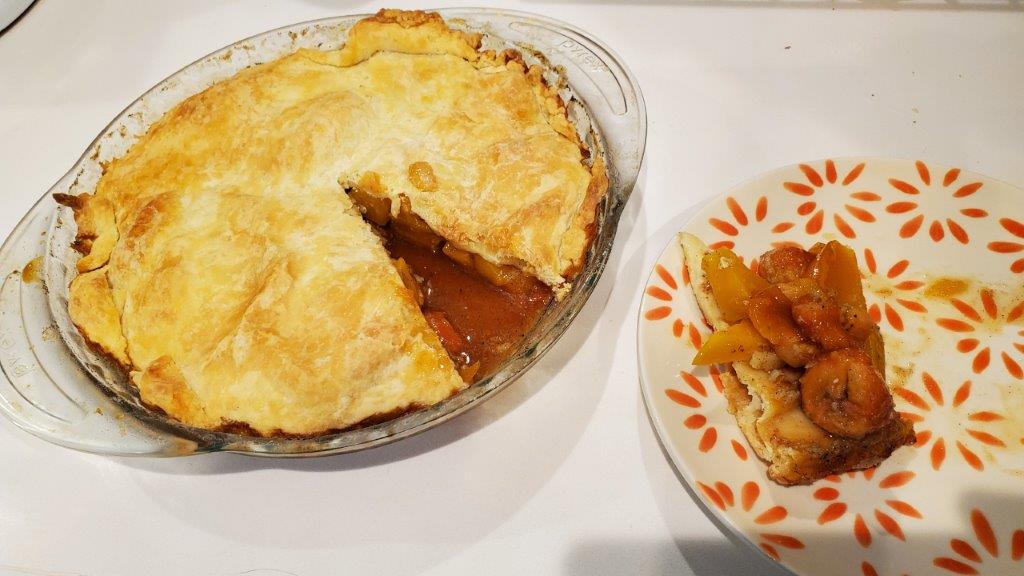
For dessert, the poppyseed roll, which also turned out delicious.
We’re so grateful to Walt for sharing his expertise. Our next trip to the area is for Kosovo, so that’s not for a little while. But it’s always great to be eating family recipes from a friend!
Next up, either Guyana or Iceland!
Since the recipes were basically notes I typed up from a phone conversation, I’ll just include them here rather than linking. The bread we made was this one.
Chicken Paprikash
* 1.5 kg or so whole chicken legs or thighs (with skin & bone)
* ~2 tbs Smoked bacon fat, chicken fat, or lard (sufficient for browning)
* 1.5 kg or so of yellow or Spanish onions (same weight as chicken)
* 1 clove garlic, mashed
* 1 red bell pepper or long sweet red pepper, thinly sliced
* 3 heaping tbs Hungarian sweet paprika
* 1 cup sour cream
* Salt to taste
* Season chicken with salt (not black pepper)
* Brown chicken in fat. (Skin side down ~6 minutes, skin side up ~3 minutes)
* While browning, thinly slice onions pole to pole.
* Add onions and chicken to pot. Cover tightly, cook on low.
* Halfway through (about 25 minutes), add garlic and red pepper.
* Remove from heat, add paprika
* Return to heat on low
* Cook until chicken is done. (45 minutes or so)
* Remove chicken from bowl and cover to keep warm
* Add 1 cup sour cream to some of the liquid to temper it, then pour back in.
* Simmer on low heat until onions are completely dissolved, or use an immersion blender to hurry things up.
* Return chicken to pot, taste and adjust salt
Nokadly dumplings
* 2 eggs
* pinch salt
* water
* All purpose flour
* Beat eggs with a pinch of salt, using a fork.
* Add a little water, then flour by the tablespoon to make a soft dough – closer to bread dough than pancake batter.
* Cover and let sit for a while.
* When chicken is ready, boil salted water.
* Using a wet teaspoon, dip 1/2 tsp of dough into water.
* Cook for a few minutes until done.
Uborka Salata
* 1 cucumber, sliced very thin
* 1 yellow or Spanish onion, sliced paper thin across equator
* salt
* paprika
* Dressing:
* White vinegar
* Water
* pinch of sugar
* small amount of sour cream (optional)
* Peel and very thinly slice cucumber
* Sprinkle with salt and allow to sit for about half an hour to draw out water
* Drain, and mix with onion
* Dress and top with paprika