Those of you who take too many Sporcle quizzes may be immediately aware that we have skipped a country. The next country in alphabetical order after Laos is Latvia.
Of course, given the amount of methodical consistency we have brought to the alphabet so far, the next country could very well be Narnia. However, we have actually skipped Latvia for a reason, and will return to it as soon as our supply chain issues resolve themselves.
Or maybe we’ll do Narnia next – how DO you make Turkish delight, anyway?
But for THIS meal, we are returning the Mediterranean for Lebanon. And we’re making almost nothing that we haven’t had before, made better, in a restaurant. But these are national dishes that the country takes great pride in, and they are delicious, so who are we to argue?
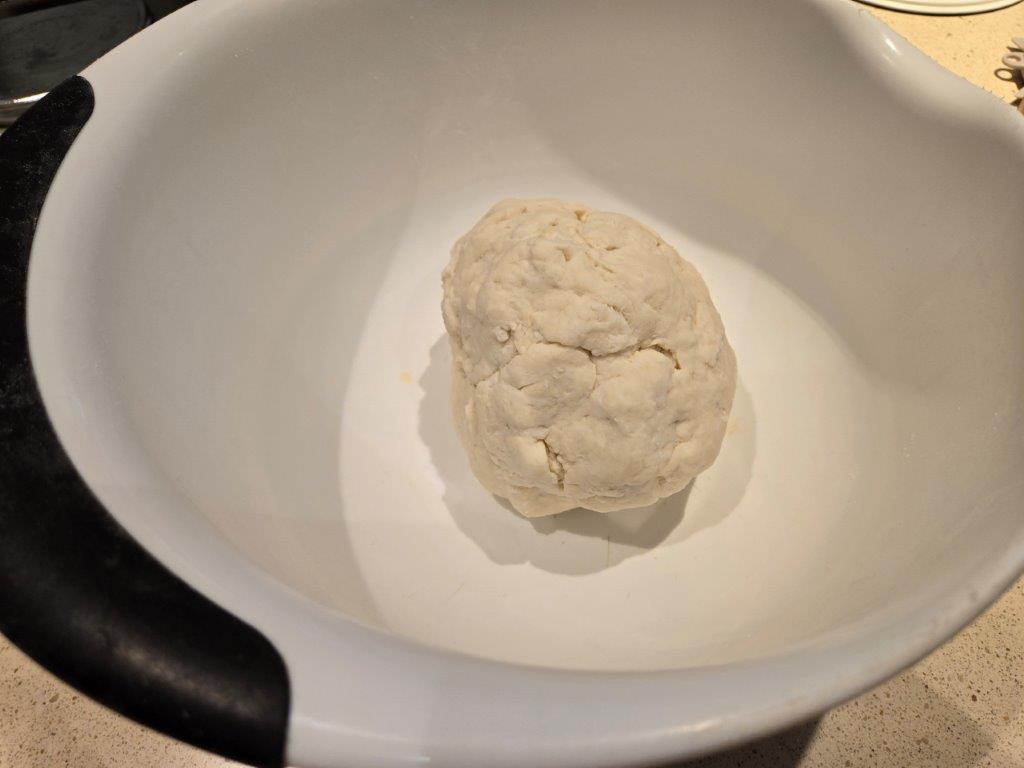
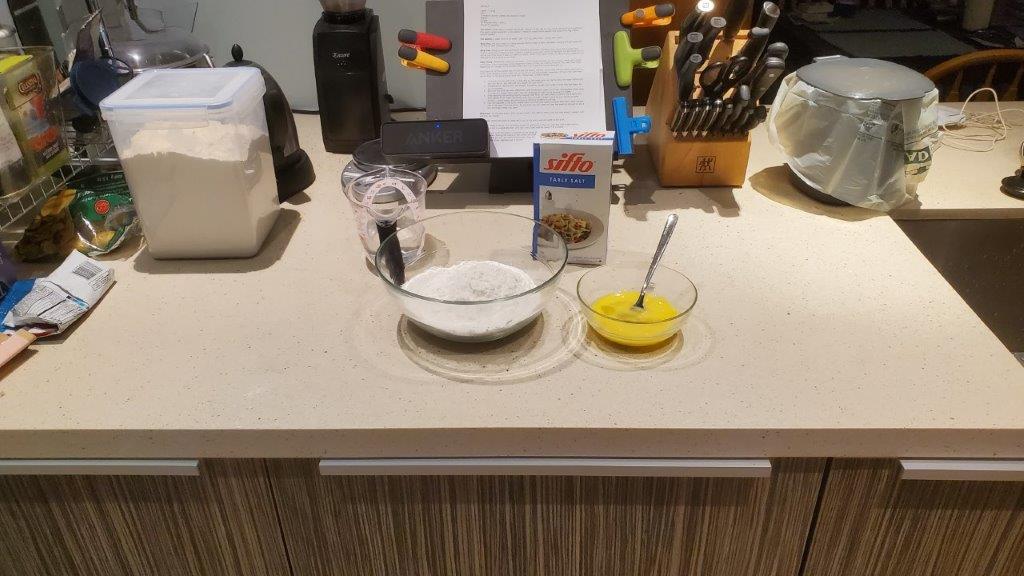
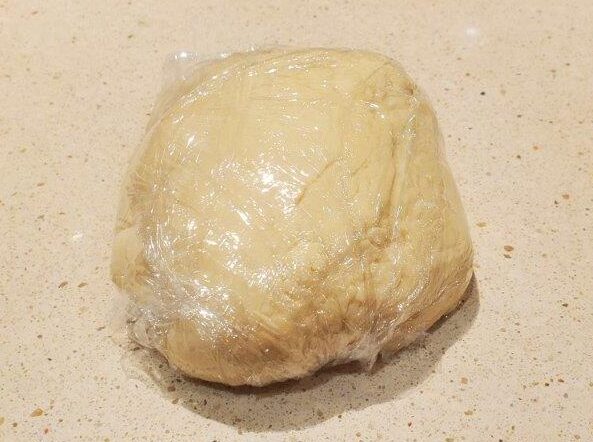
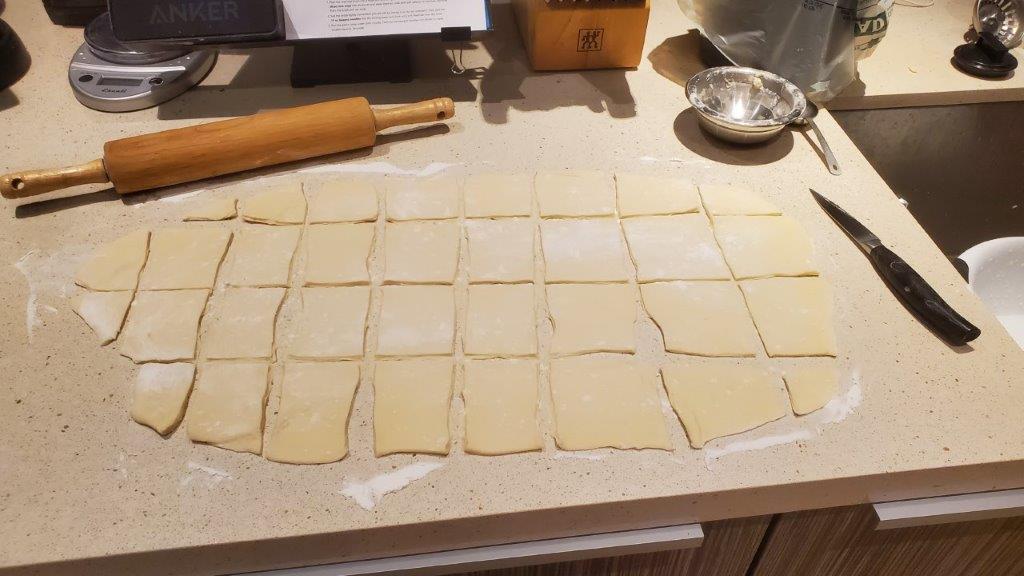
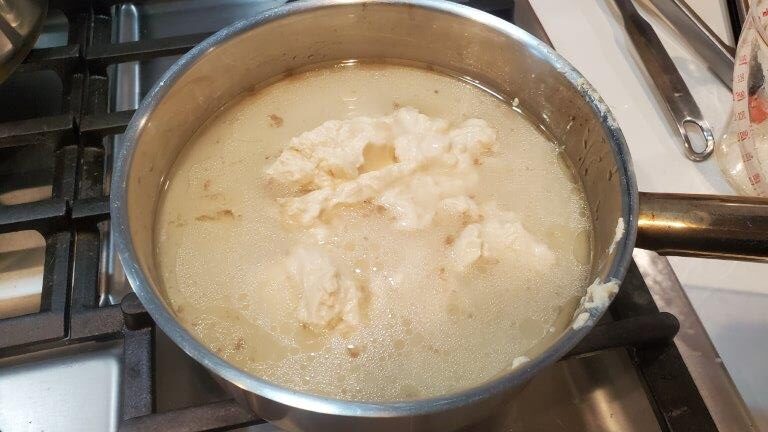
First, lets try to make pita bread. I don’t know if the flour I had available had soaked up an insane amount of water or what, but by carefully following the ratios in the recipe, we made… soup. We had to add something like double the amount of flour the recipe called for to get a dough that even SORT of came together.
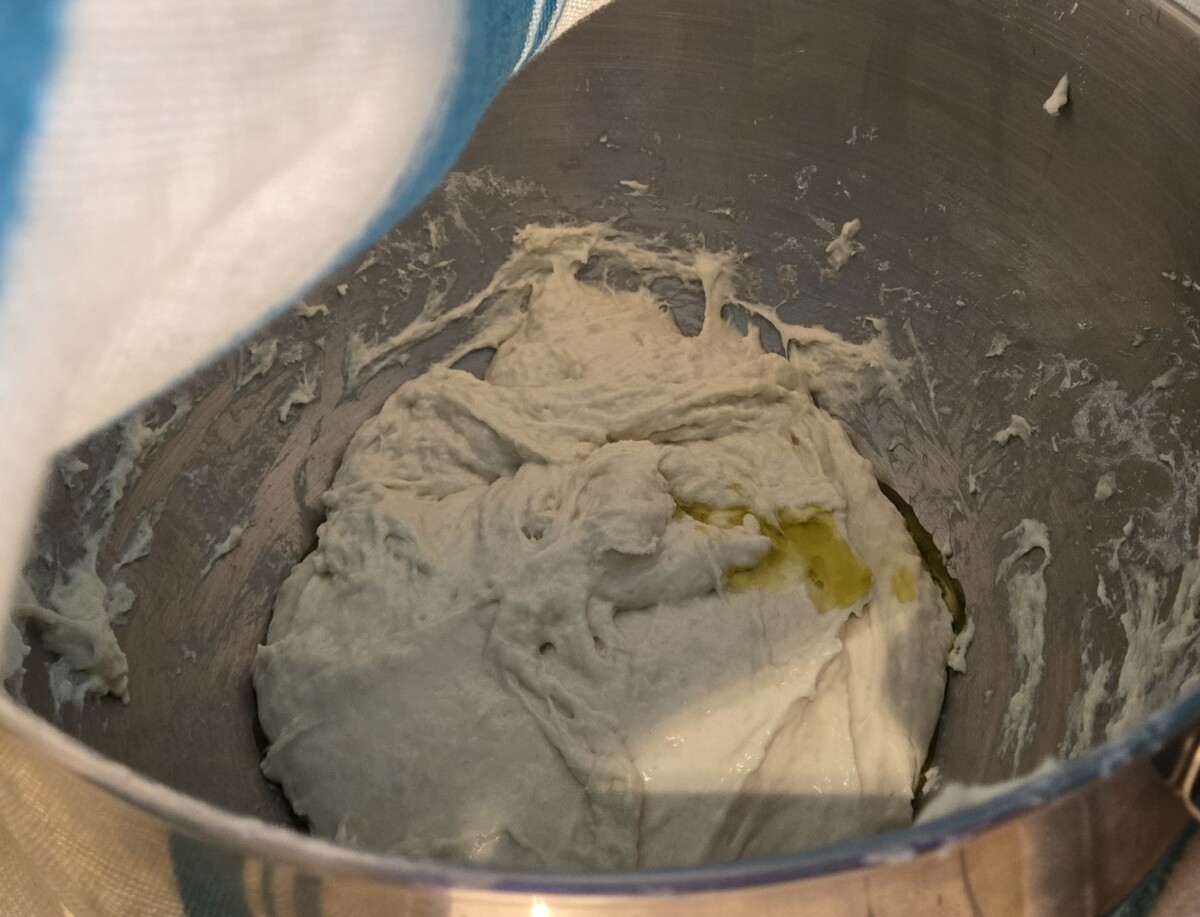
That’s supposed to be a ball, not a mush. I really don’t know what happened.
When we cooked it on the stove, it didn’t puff up a LOT, probably because it was horribly overworked over the length of time the mixer was running as I desperately poured in more and more flour to try and get it to solidify.
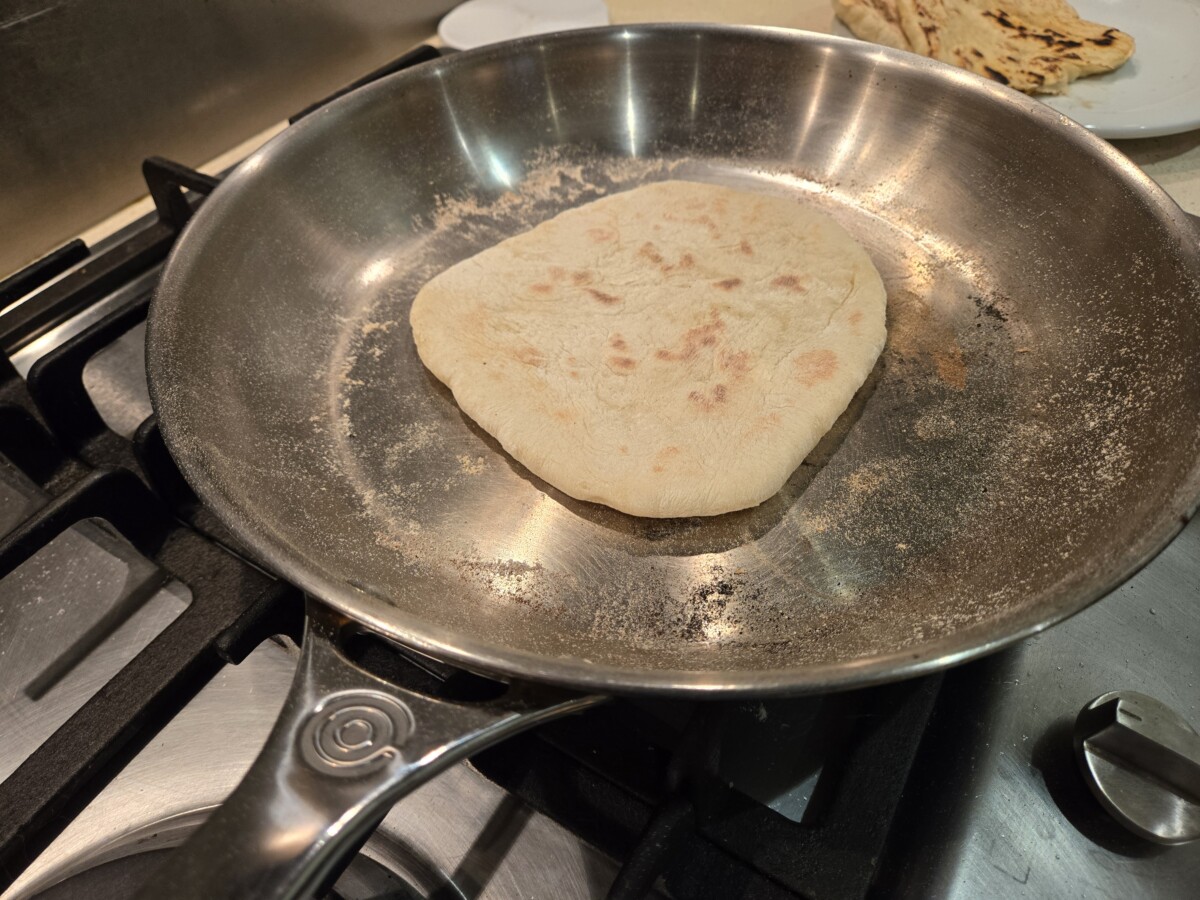
That said, when we went to EAT it – it was fine. Perfectly cromulent pita. Just goes to show.
(I have no idea WHAT it goes to show, but there you are.)
(Wherever you are, I have no idea.)
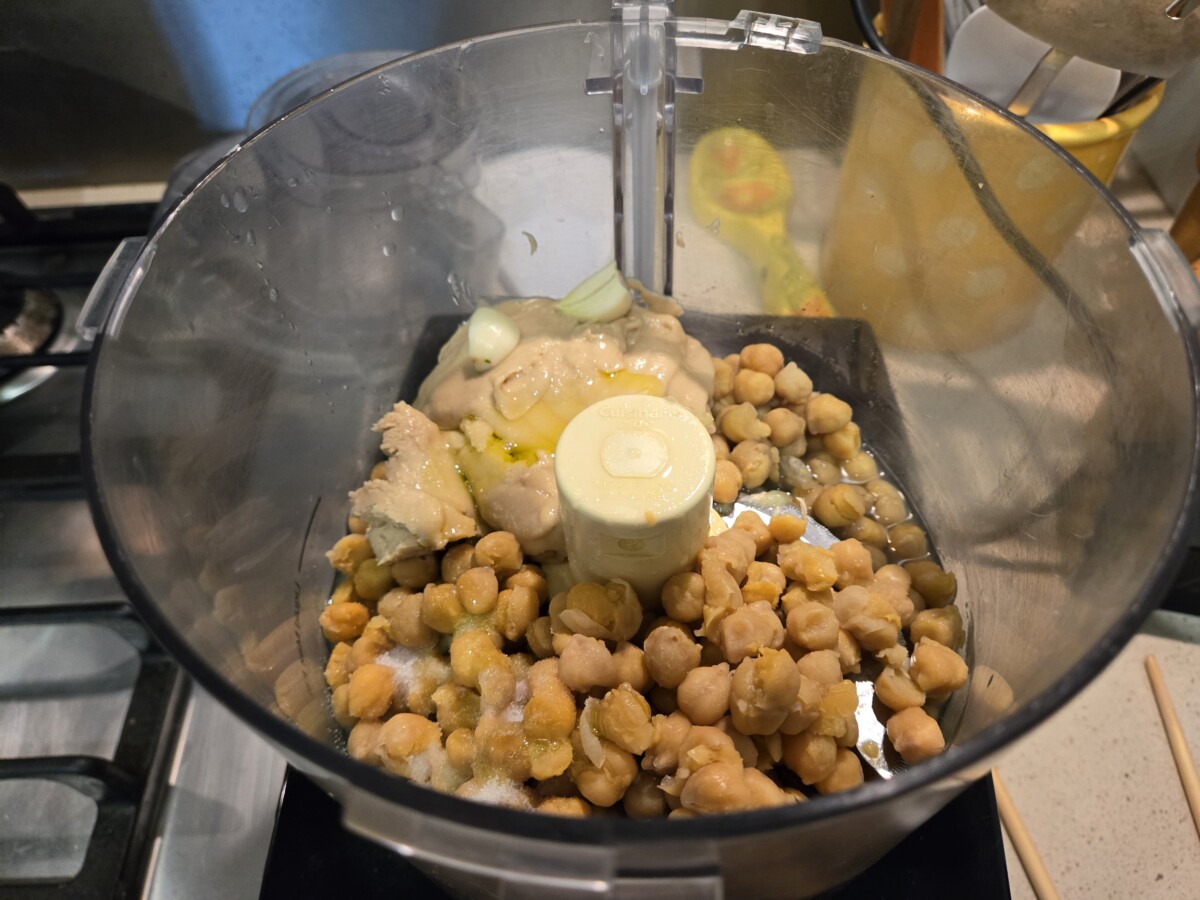
OK, so what are we going to be eating with this pita? Well, hummus, of course! Israel and Lebanon have a huge rivalry over whose hummus is best and most original, so since we made Israeli style hummus for Israel, we decided to make Lebanese style hummus for Lebanon. There’s just one problem with that…
…they’re exactly the same. You can find recipes online for “Lebanese style hummus” or “Israeli style hummus,” and they all vary slightly in the proportions of lemon juice, tahini, and garlic. But as far as we can tell, they vary within the same range. The average values may be slightly different, but they are WELL with a standard deviation of each other.
So here’s some hummus – chick peas, tahini, lemon juice, garlic, salt.
Check. What’s next?
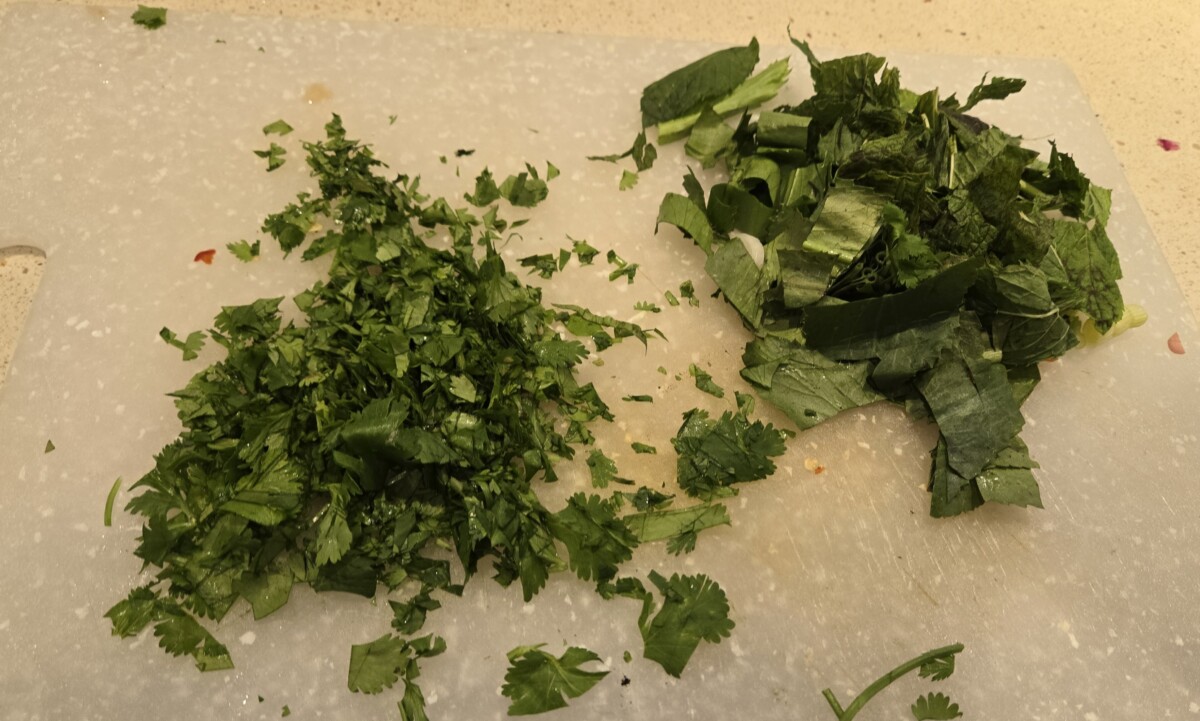
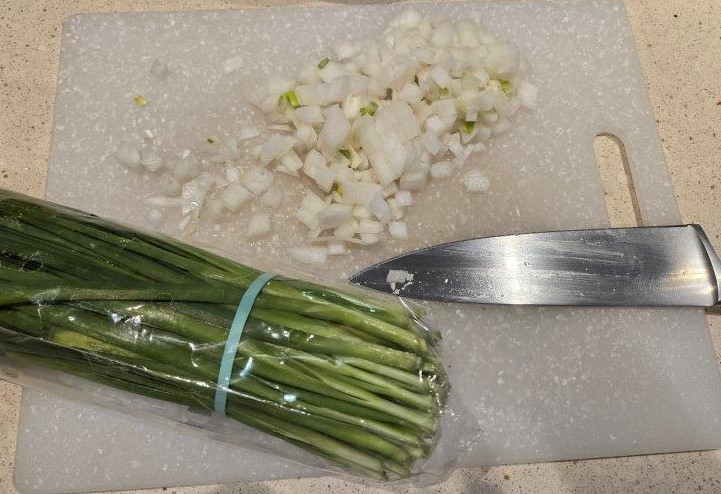
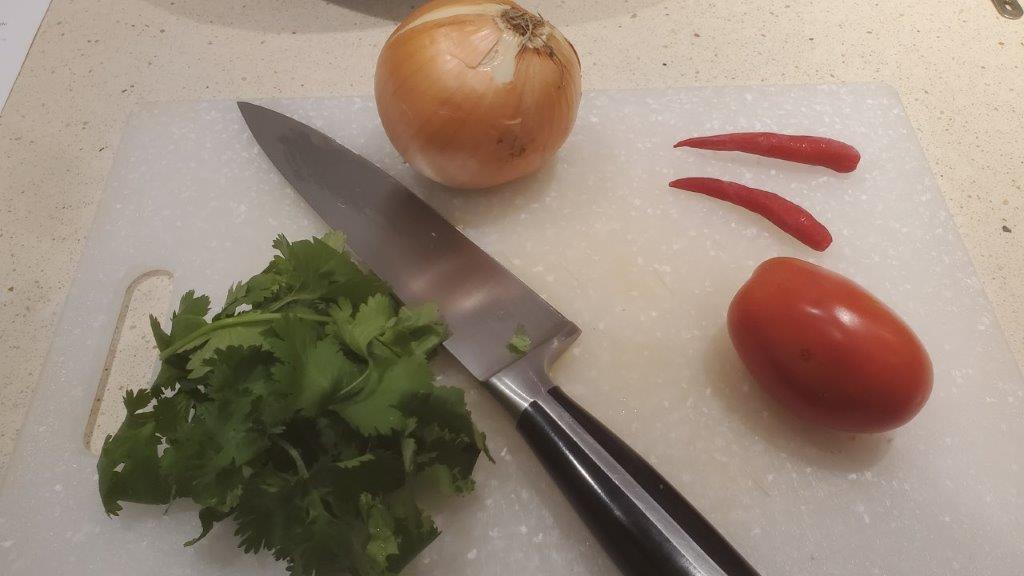
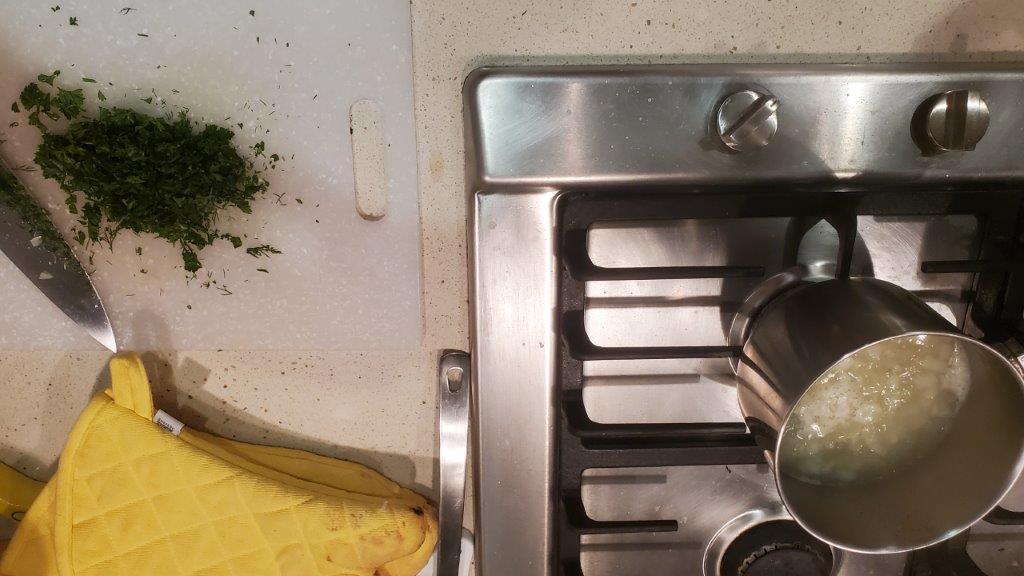
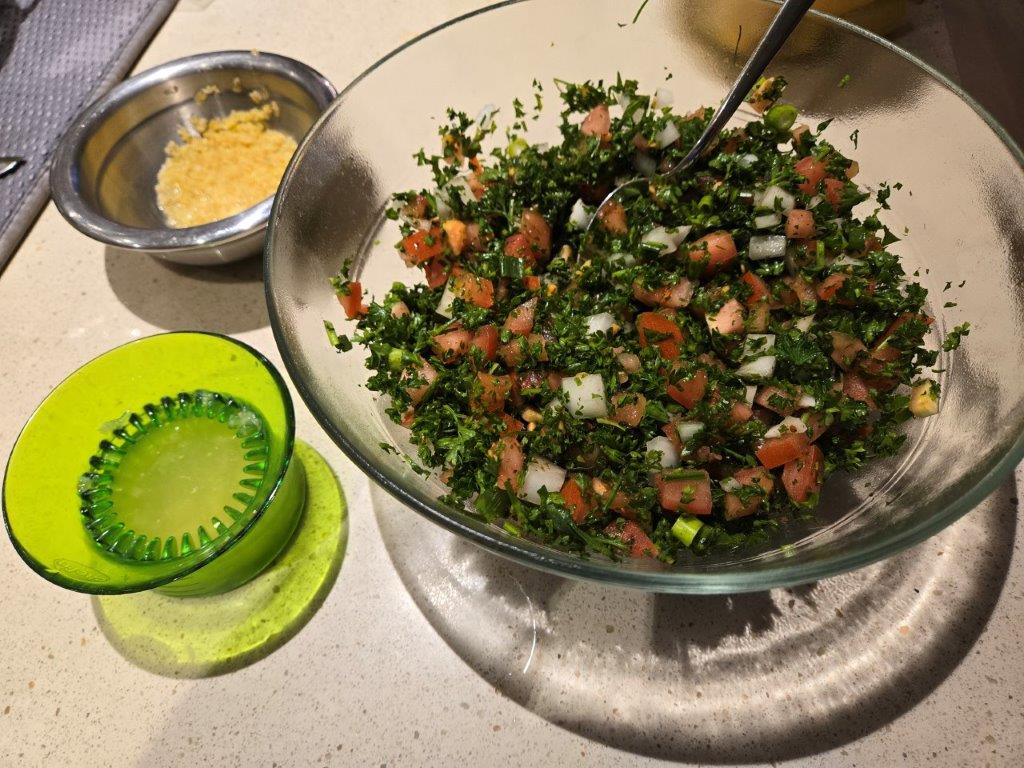
Tabbouleh. The website we got our recipe from was at pains to explain that this is a parsley salad with a little bit of bulgur wheat, NOT a bulgur wheat salad flavored with parsley. Still, very straightforward to construct – chop parsley, onion, scallion, mint, and tomato. Season with sumac and 7-spice. Just before serving, top with a bit of soaked bulgur and lemon juice. Done!
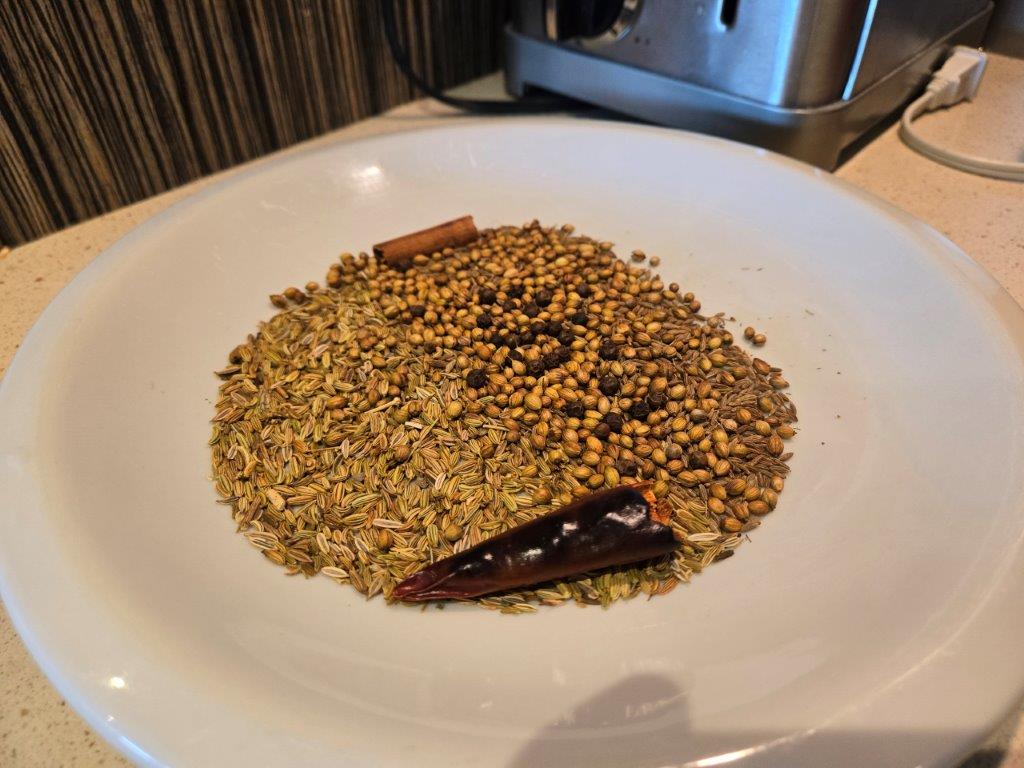
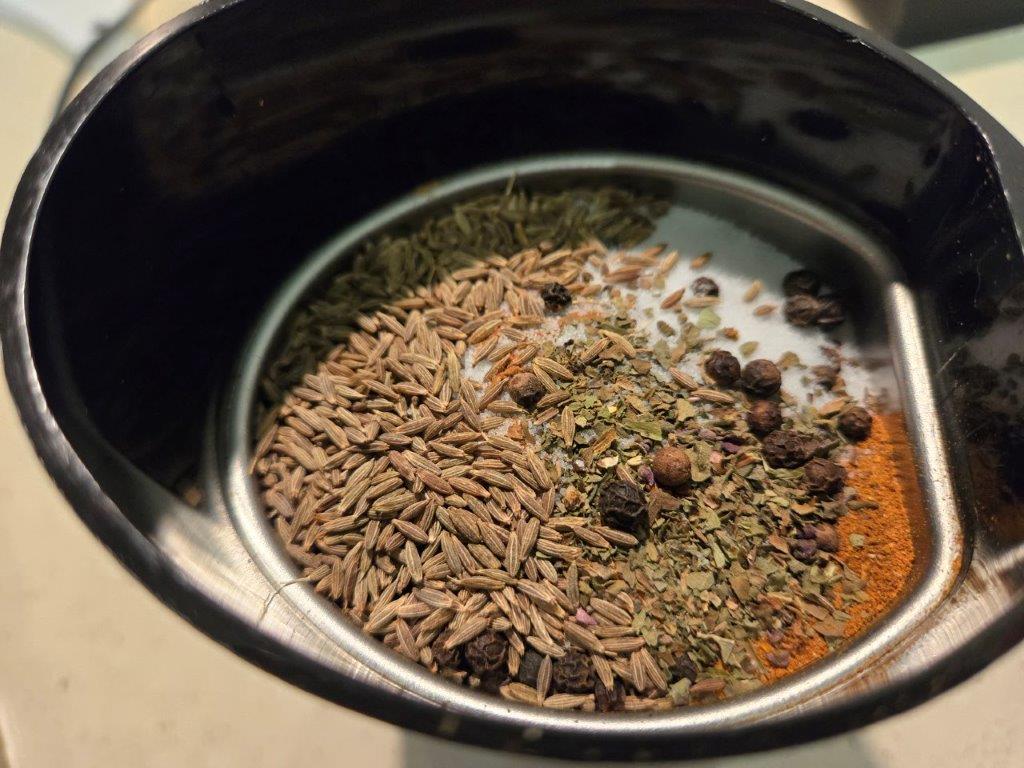
Wait, 7-spice? What’s that? Well, since we’ll need it for the next dish, let’s talk about the two spice mixes that go into this.
So just as a reminder – five spice is star anise, fennel, Sichuan peppercorn, cloves, and cinnamon. Thirteen spice is orange peel, cinnamon, cumin, ginger, angelica, Sichuan peppercorn, star anise, nutmeg, galangal, white pepper, cloves, licorice, cardamom. But those are both Chinese.
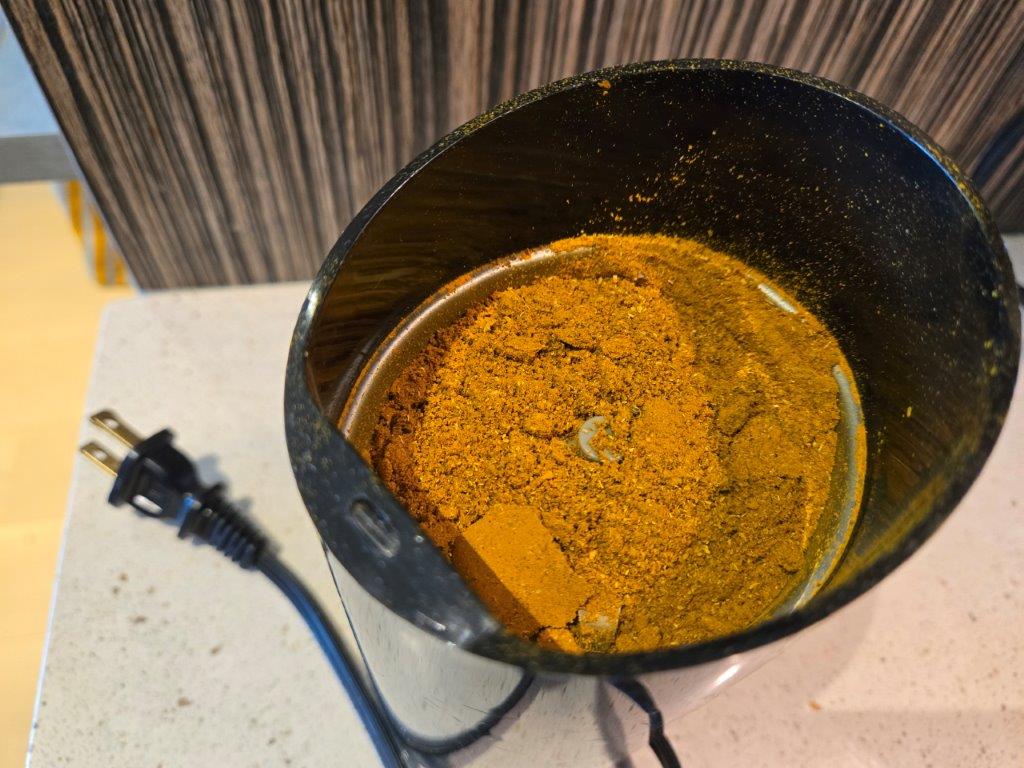
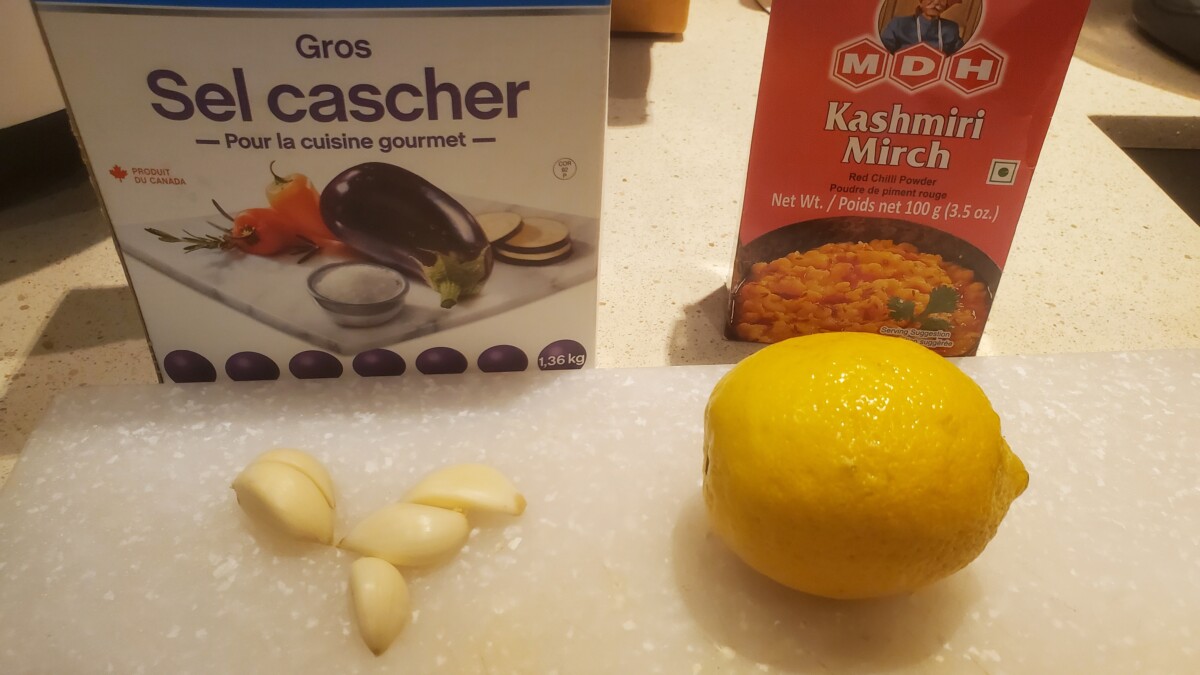
Lebanese seven spice is totally different. It contains turmeric, cinnamon, paprika, ground coriander, black pepper, cayenne, and cumin.
Well, SOME of those are different. Plus, the recipe we used added some garam masala as a base, which is ANOTHER spice blend. That’s actually a little odd, now that I come to think about it, but we just followed the recipe.
In addition to seven spice, the next recipe also calls for a blend called kahmouneh, or “kibbeh spices.” Since we’re making kibbeh. Kahmouneh contains cumin, dried rose petals (which we didn’t have), black peppercorns, marjoram (also left out), basil, mint, cinnamon, and 7 spice. Which itself contains a whole bunch of spices plus garam masala. Which in turn contains a whole bunch of spices.
It’s a spice-ception!
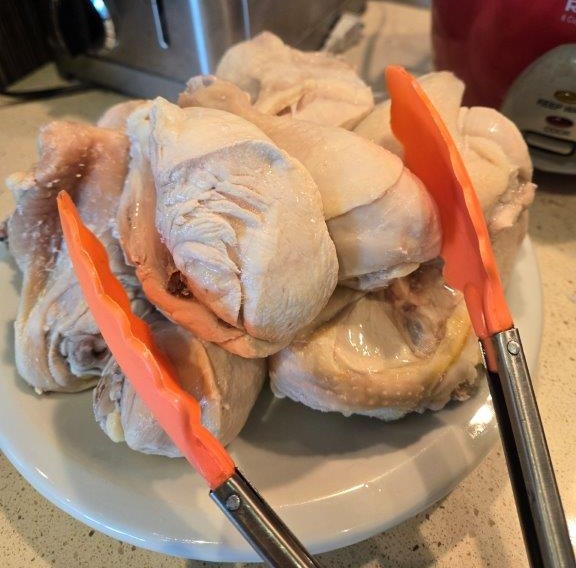
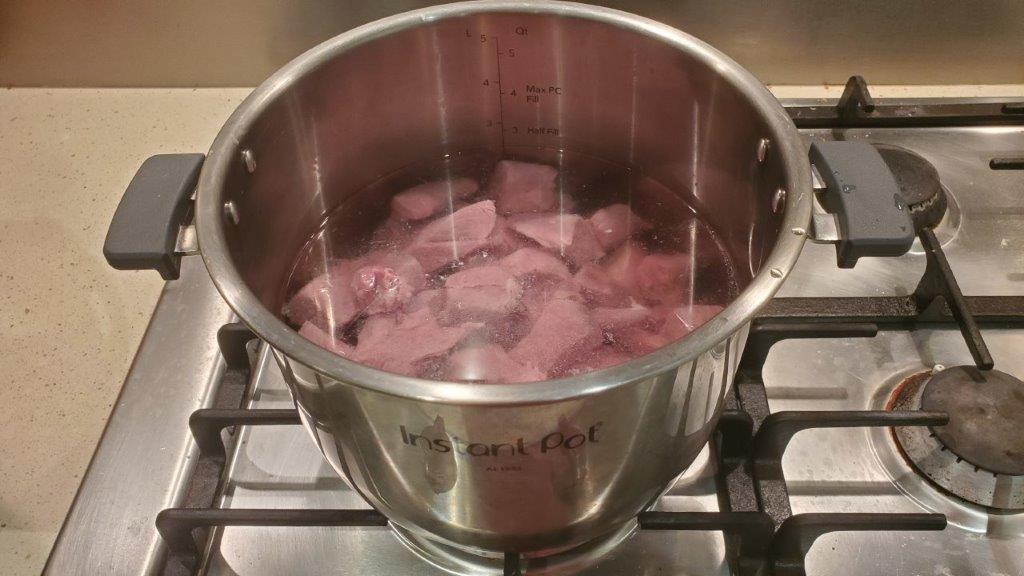
So what are we doing with these spices? As alleged, we’re making kibbeh, which is basically either a meat ball or a meat pie, stuffed into (checks notes) more meat.
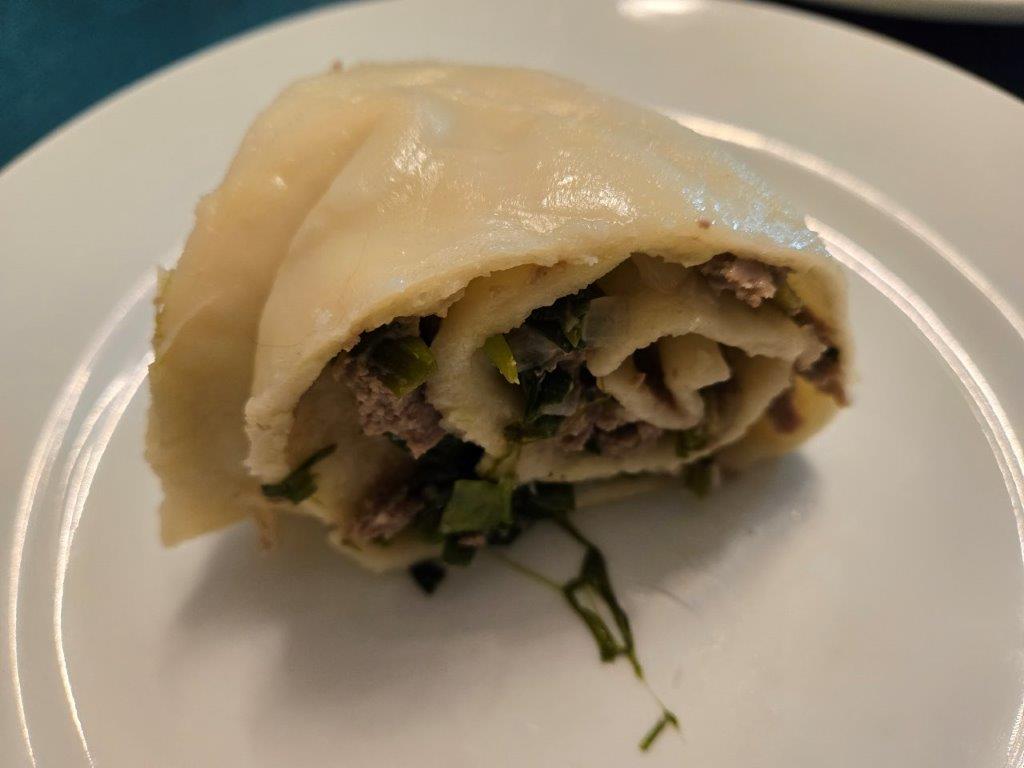
Specifically, the outer layer / crust is meat blended to a paste with bulgur wheat and spices.

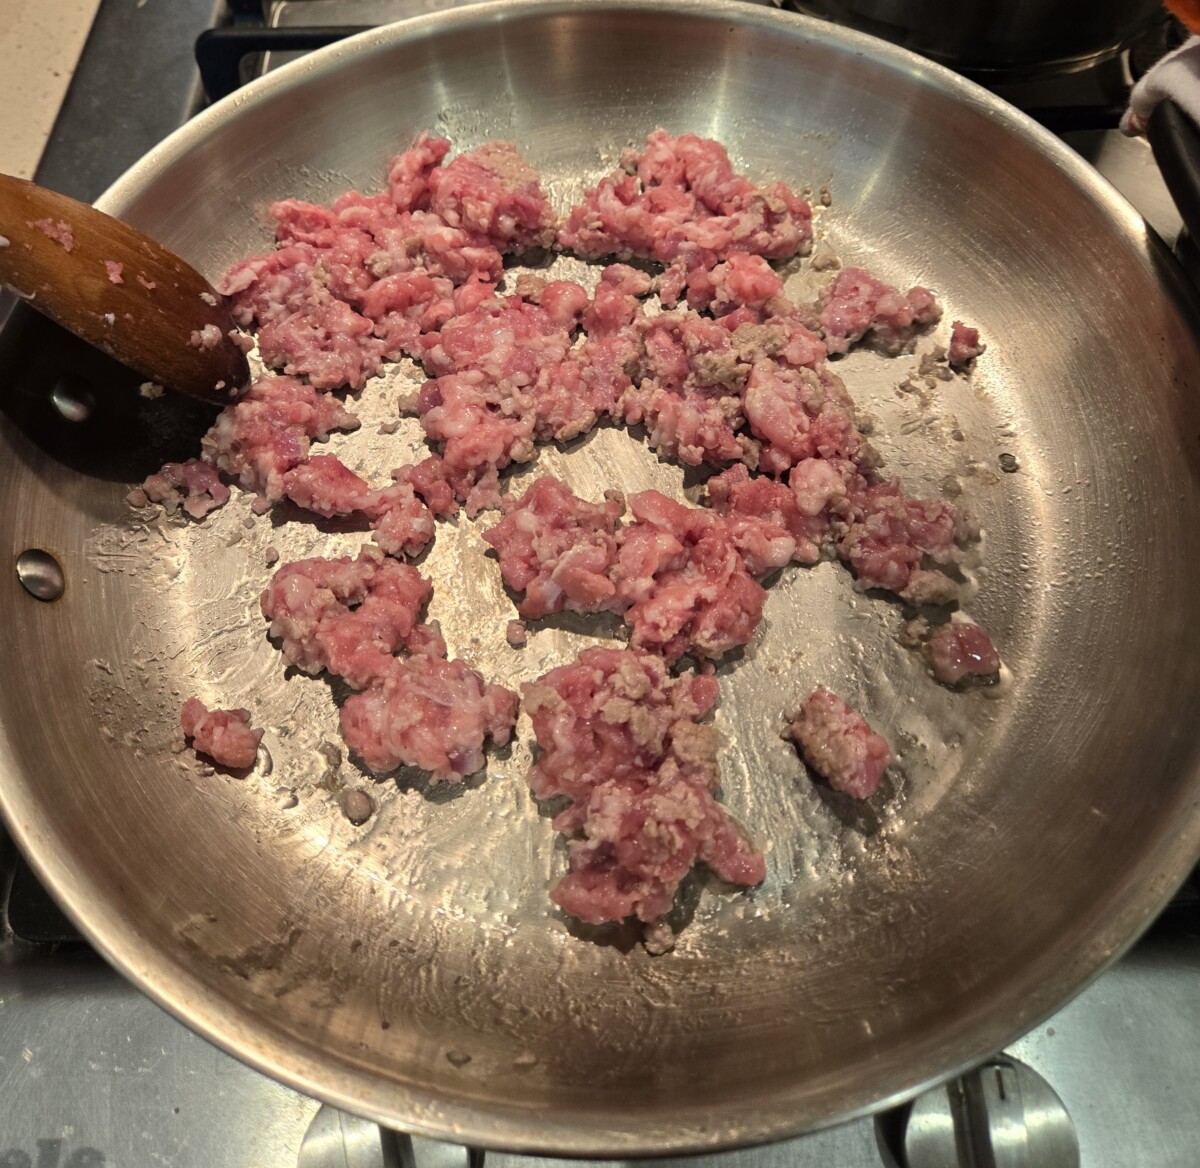
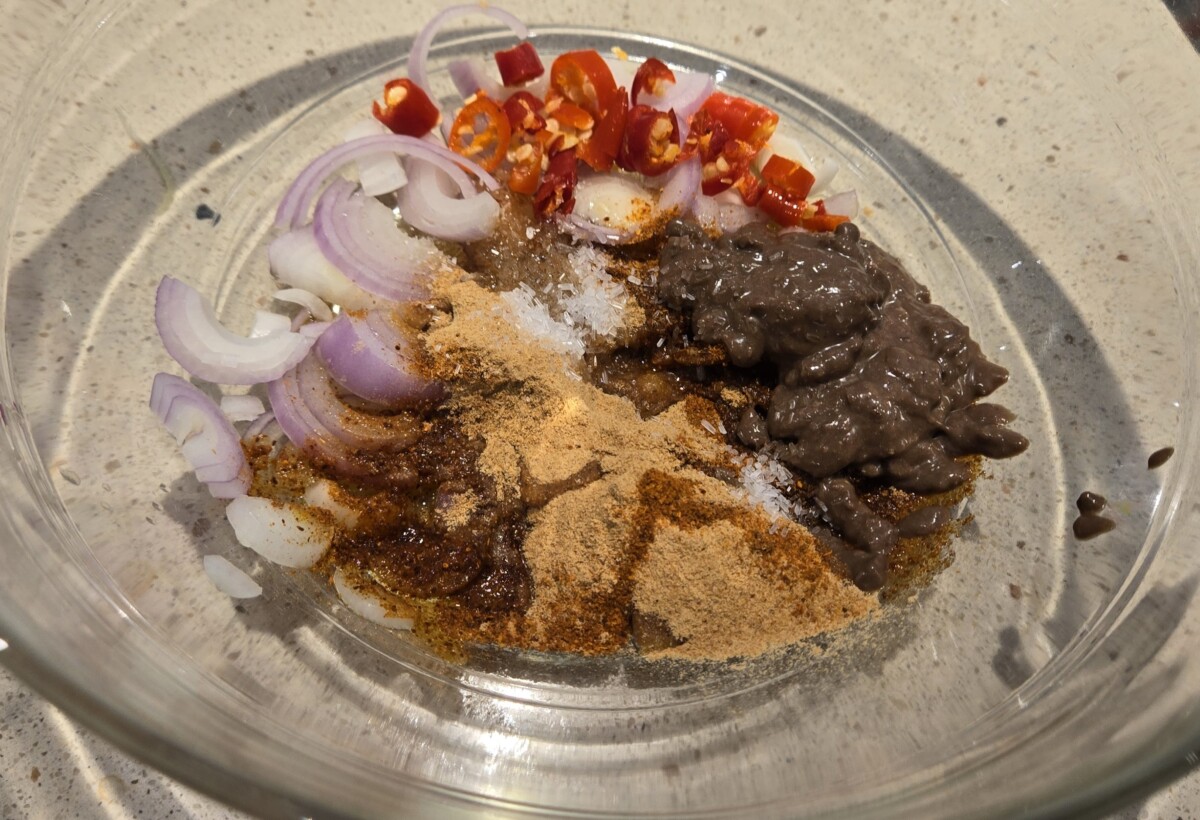
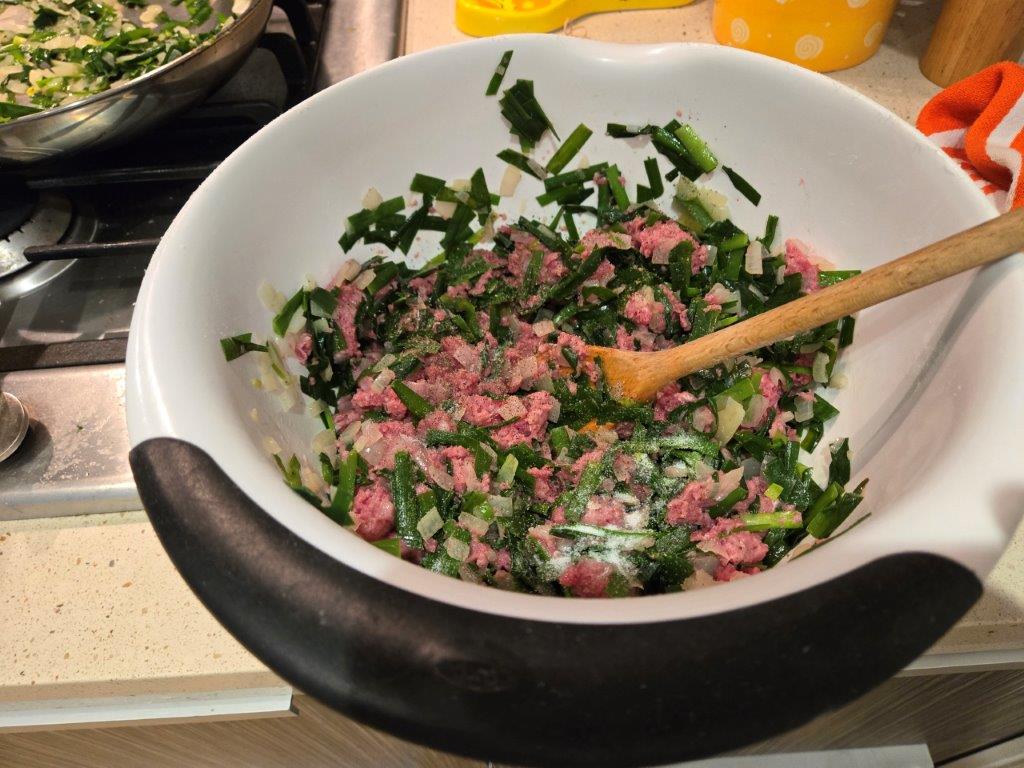
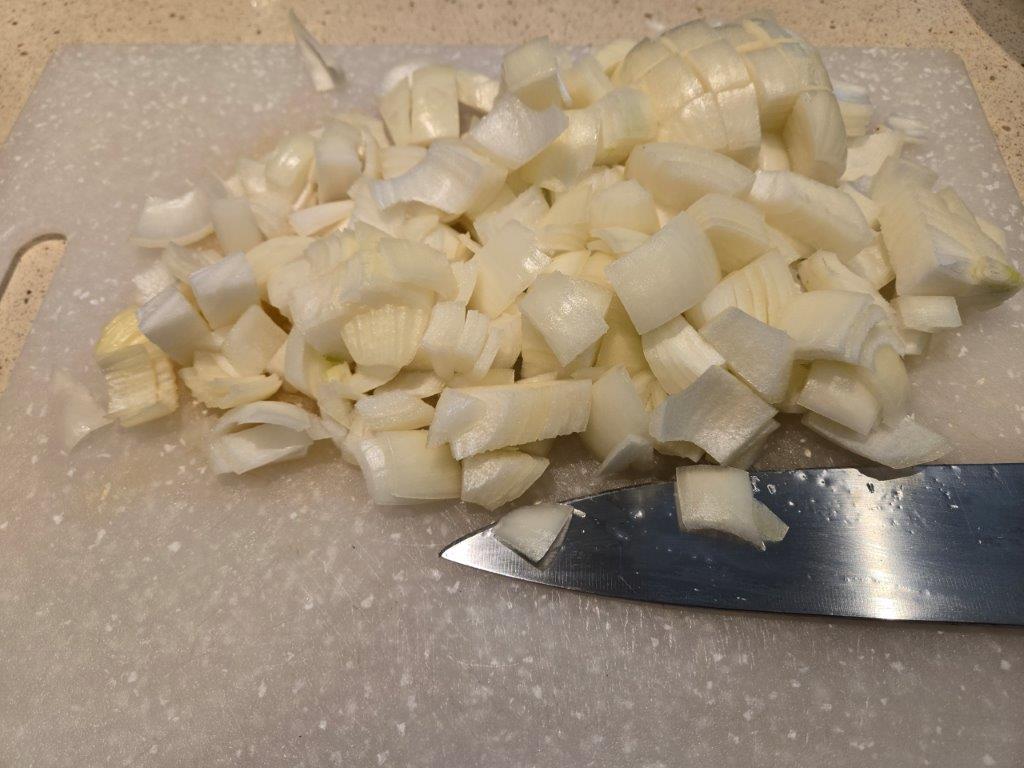
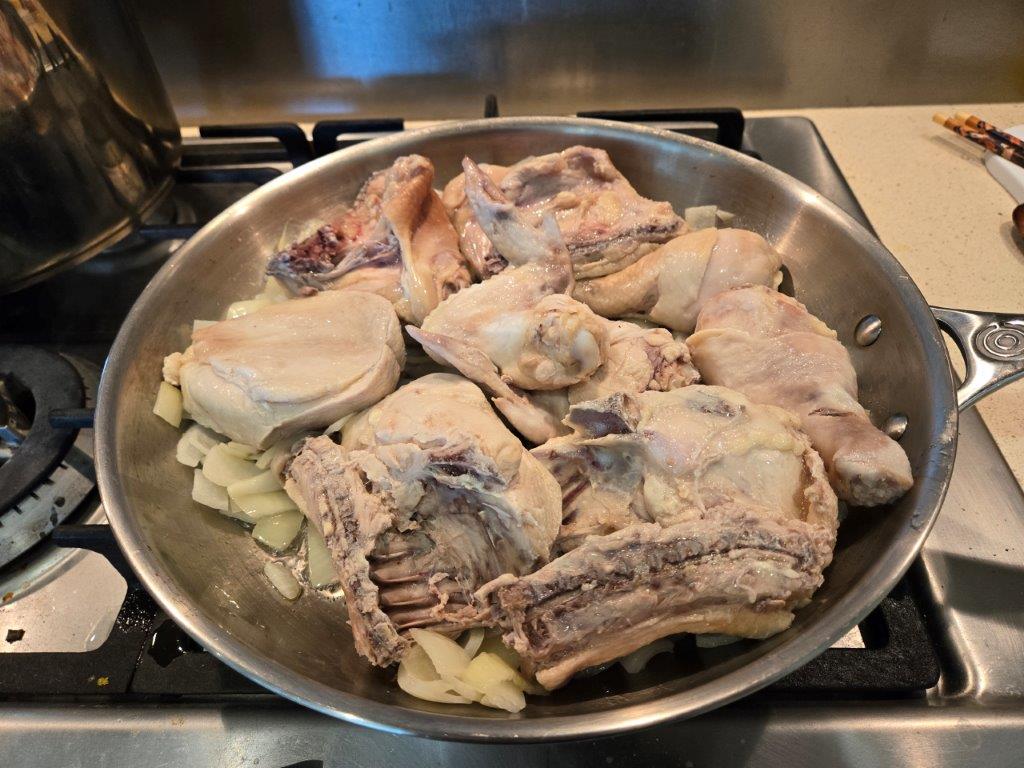
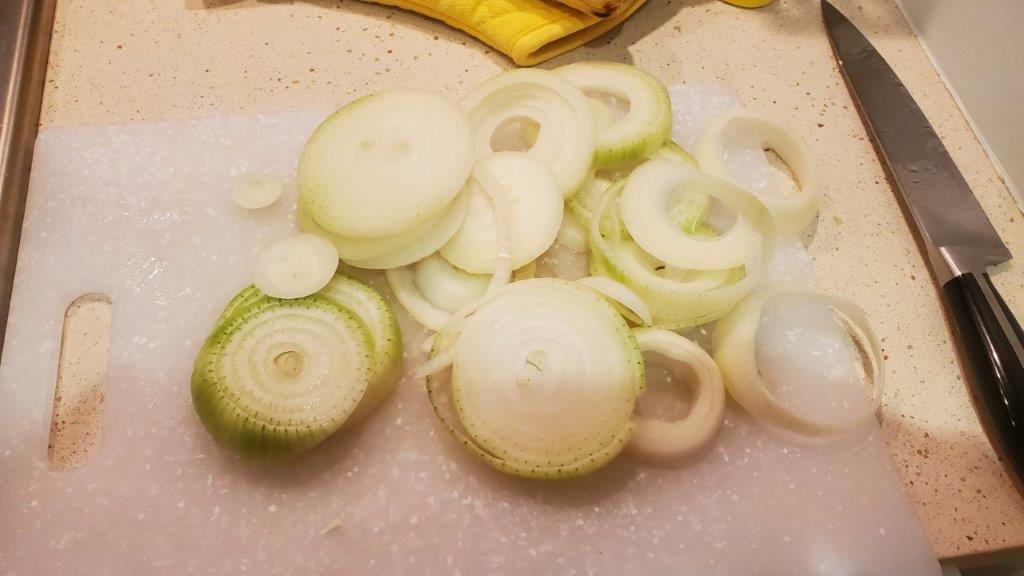
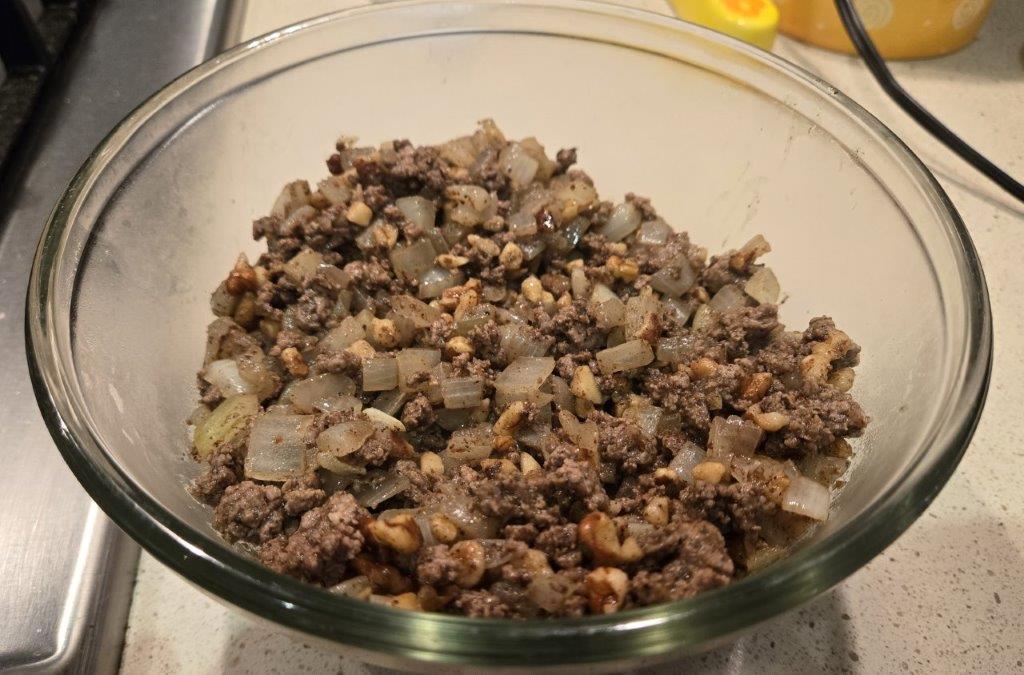
The inner layer is sautéed onions with with much less finely ground meat, and lots more spices.
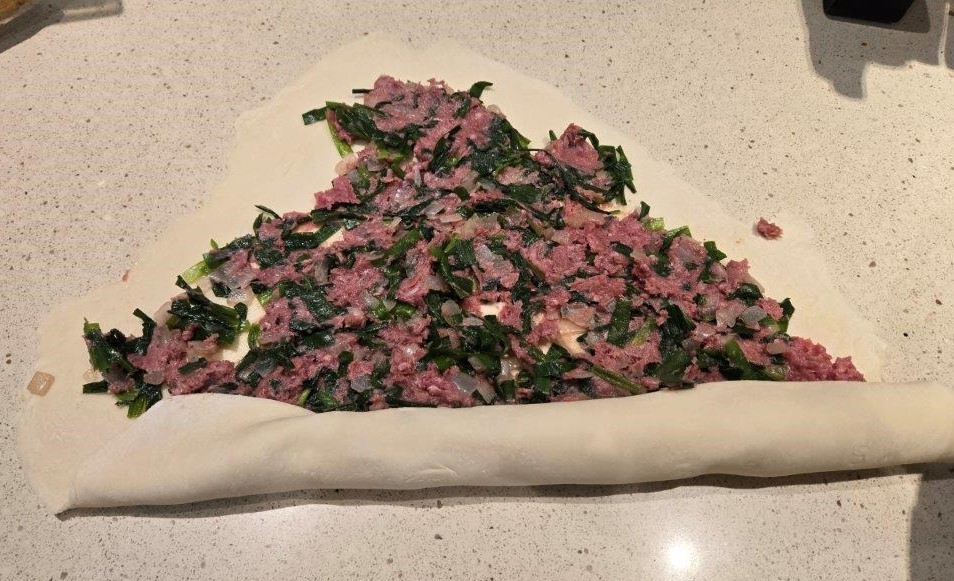
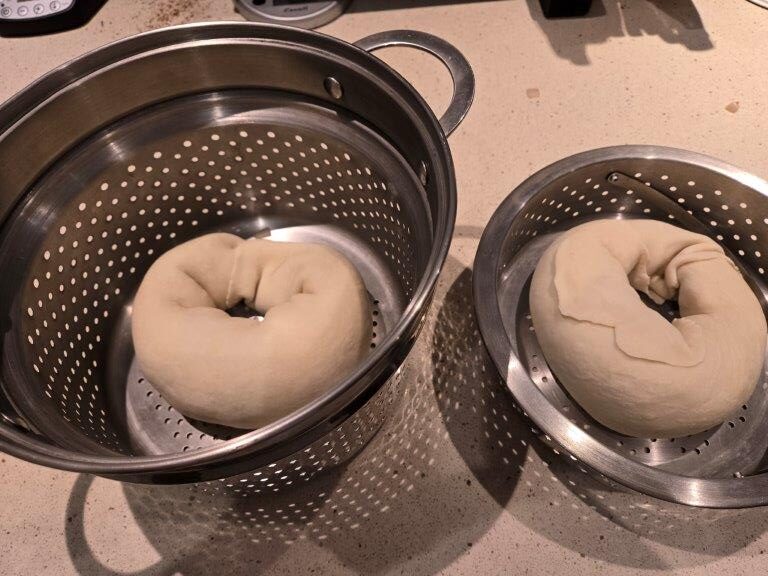
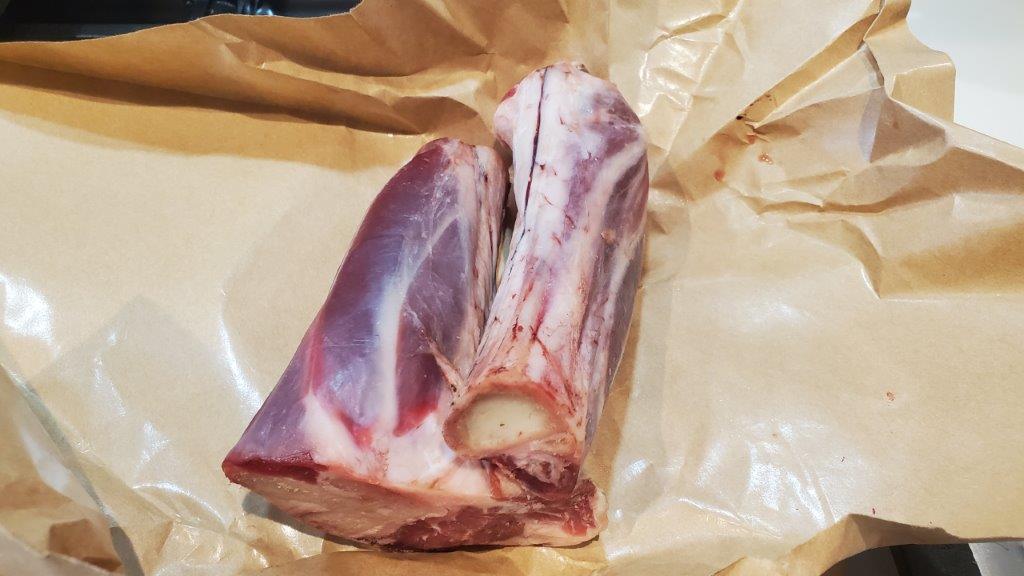
Now, there a few different ways to make kibbeh – you can make balls and deep fry them, or you can make a baked kibbeh in the oven. Deep frying sucks at home, so we decided to go with the baked version. You make a pie crust out of meat and bulgur (we’re using lamb and beef here, by the way.)

Then you fill the meat with meat.

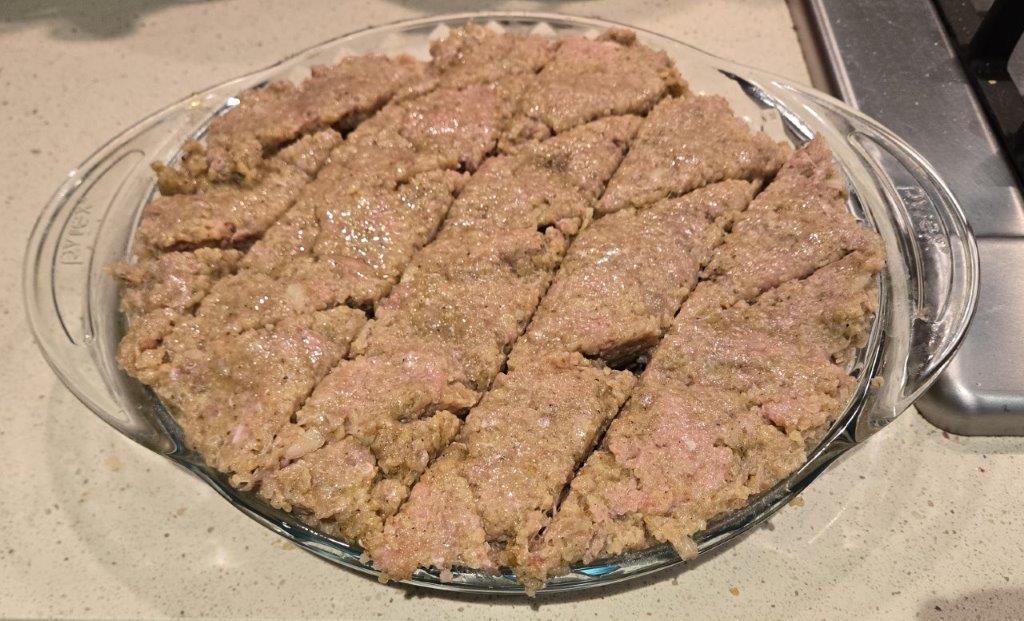
Finally you add the top crust, which is made of (surprise!) meat, and score it before baking. We gave it a 9.7, but the Venezuelan judge only gave it an 8.3
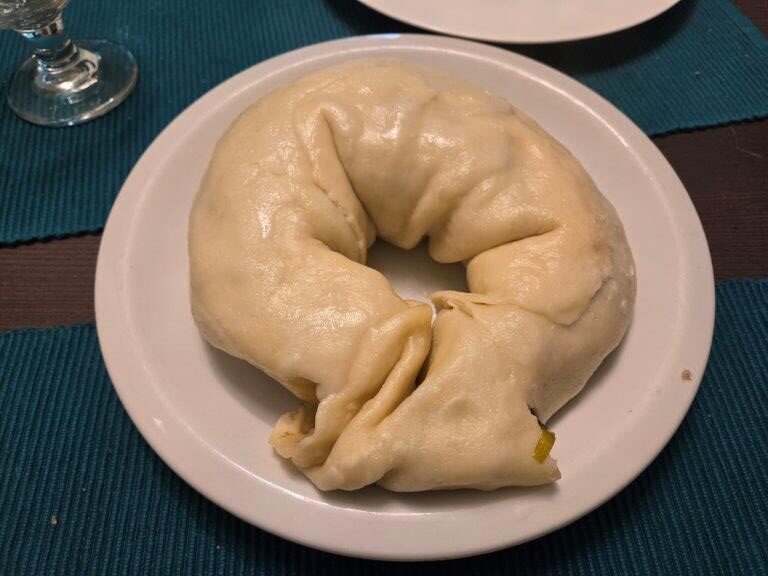
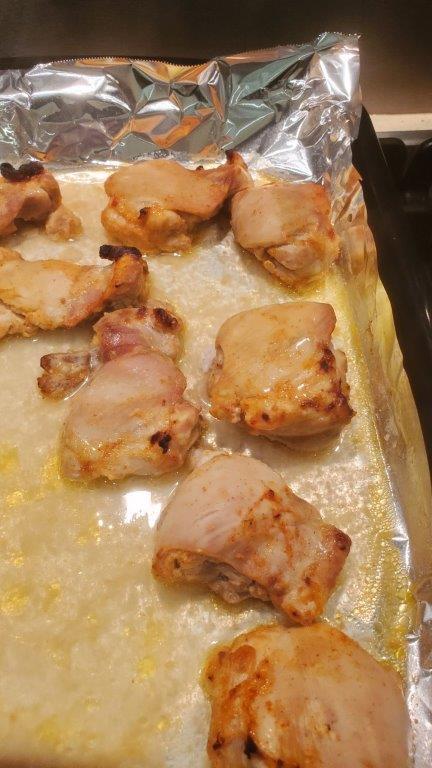
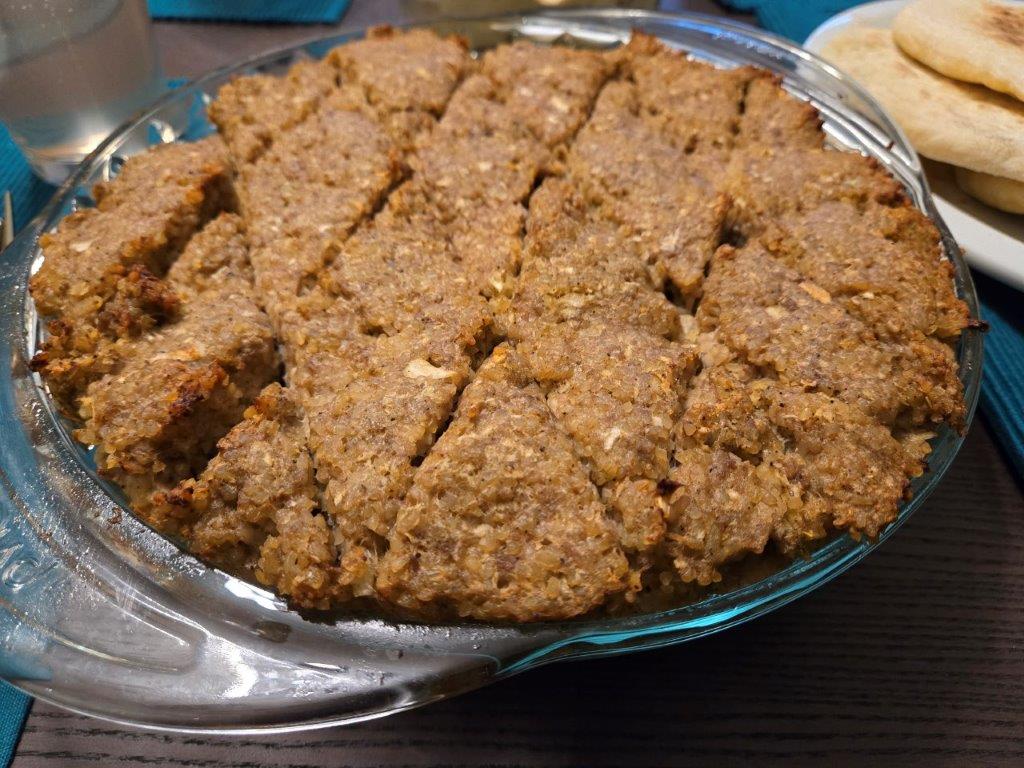
After baking, it turned a lovely crisp color on top.
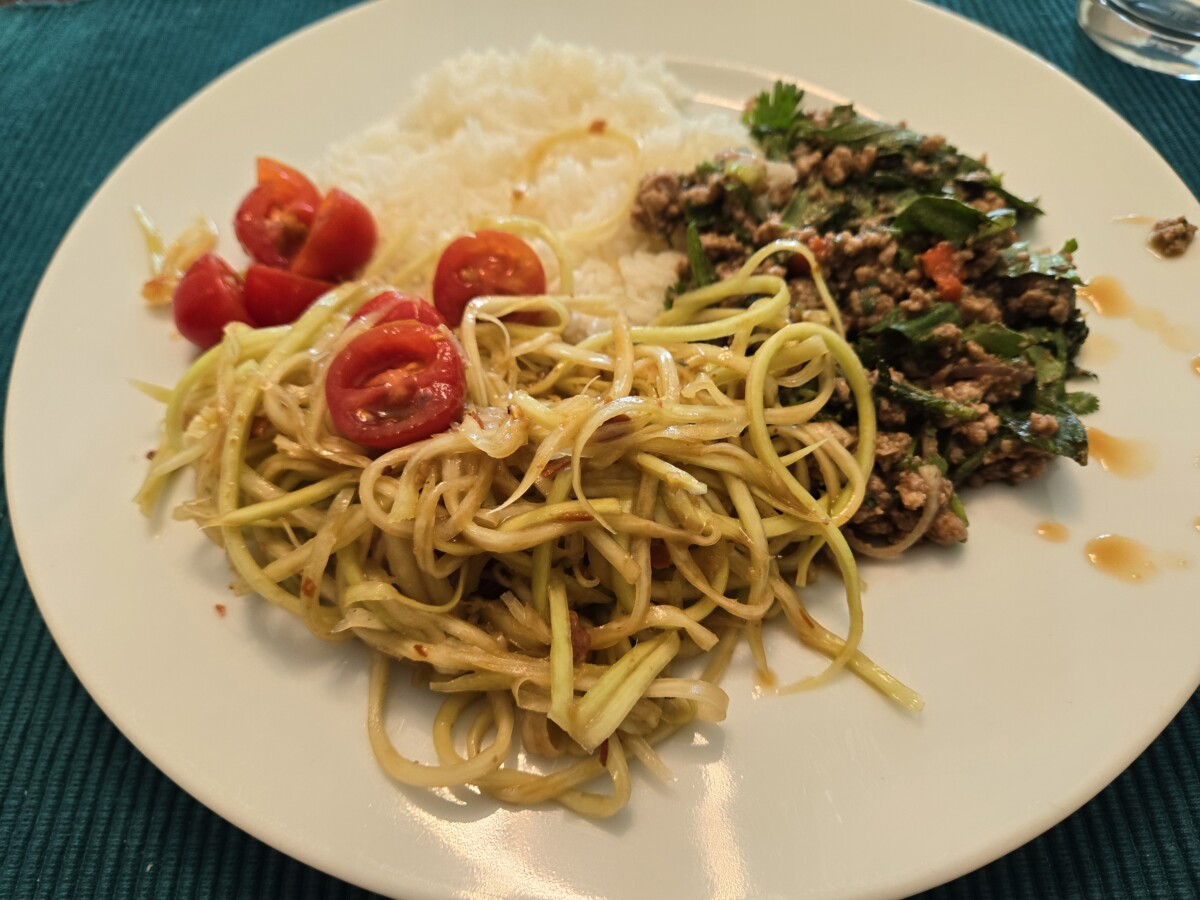
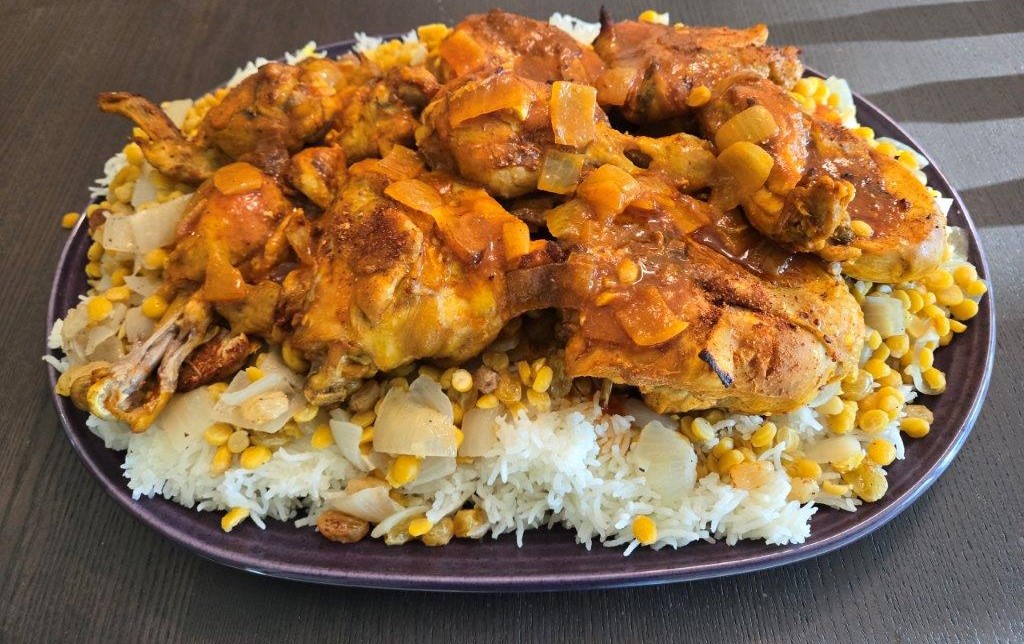
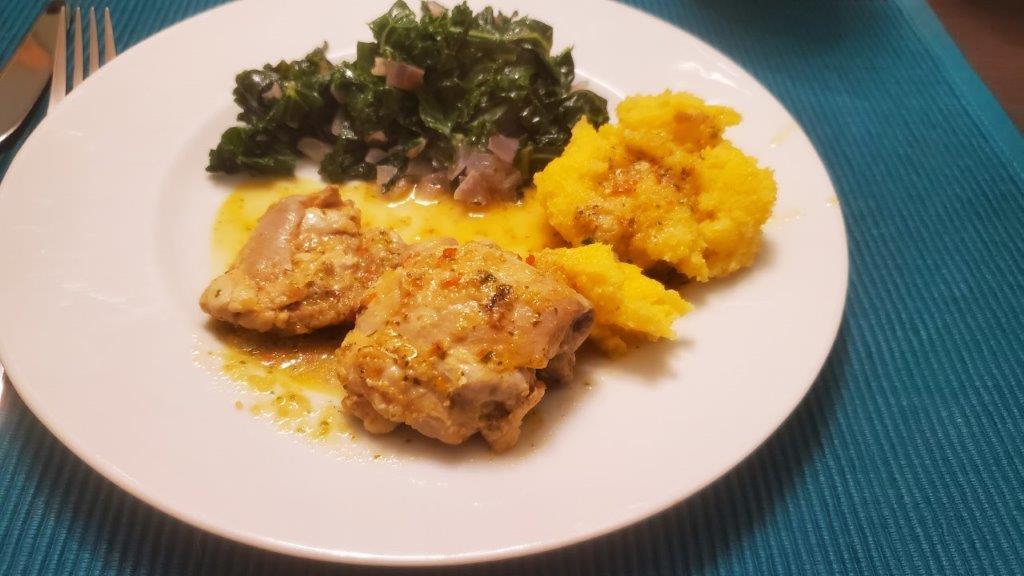
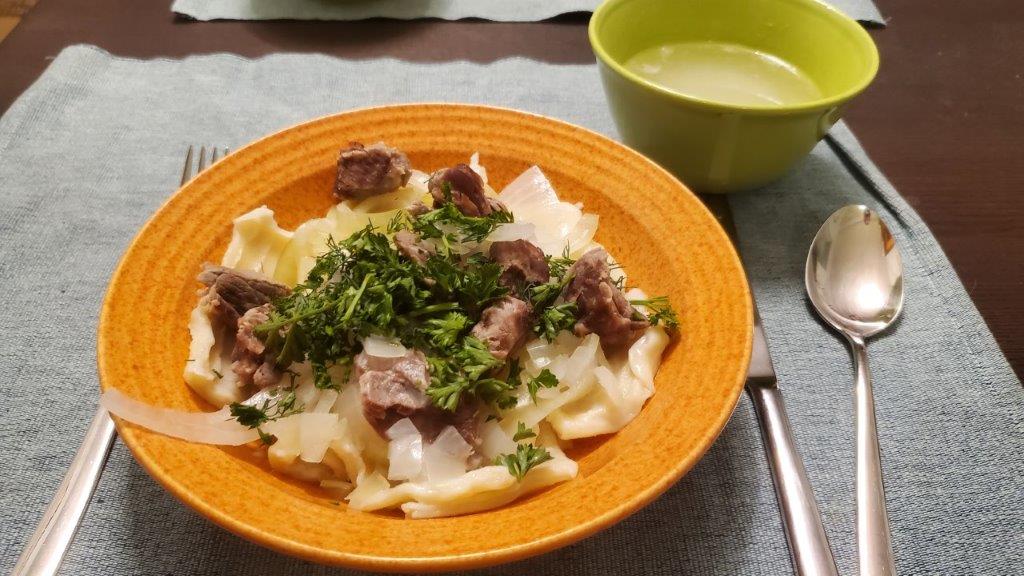
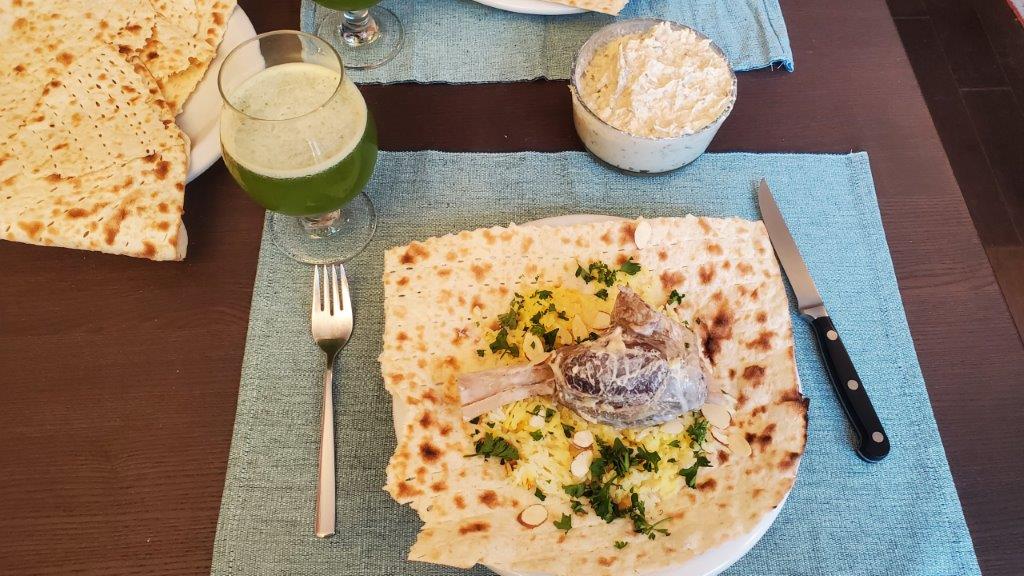
And here’s the final meal:
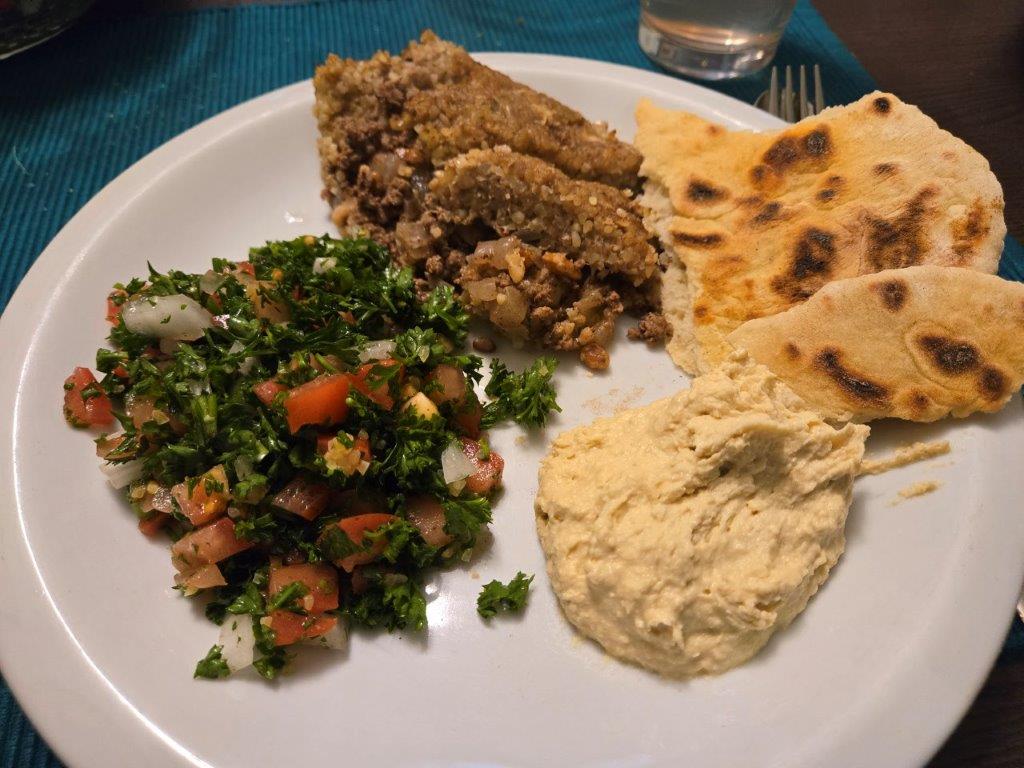
Not bad, right? Nothing we haven’t had before, but all of it super tasty.
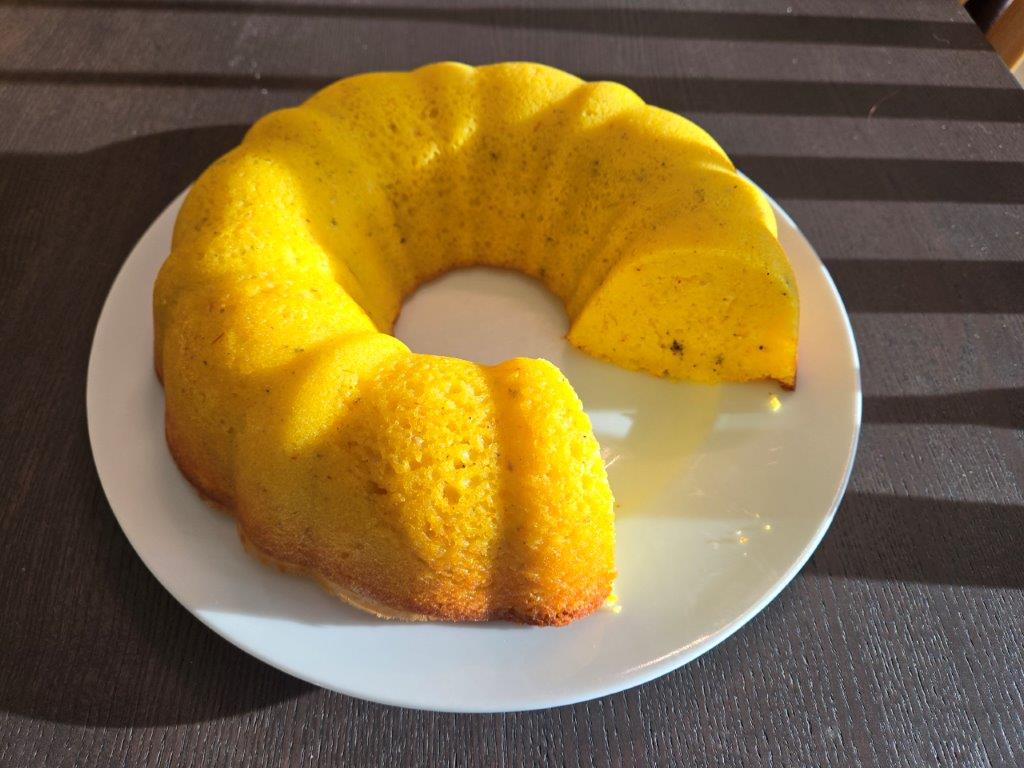
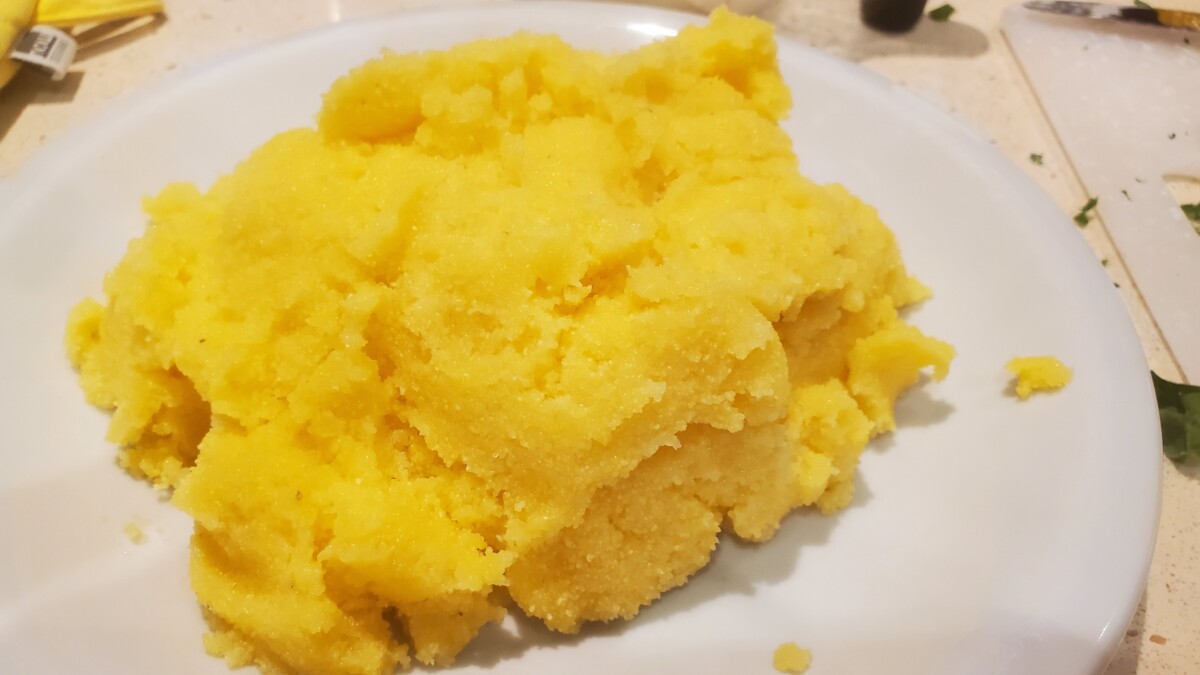
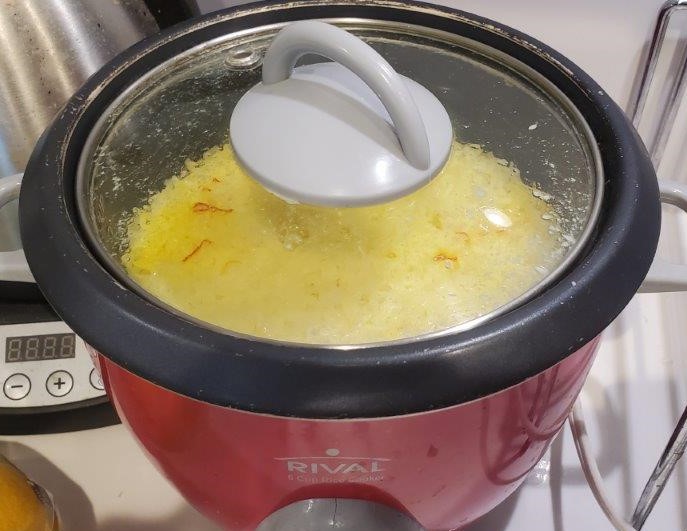
We also decided to make a cake for dessert called sfouf, which is a not terribly sweet cake made of a mix of semolina and regular flour, flavored with turmeric and rose water.
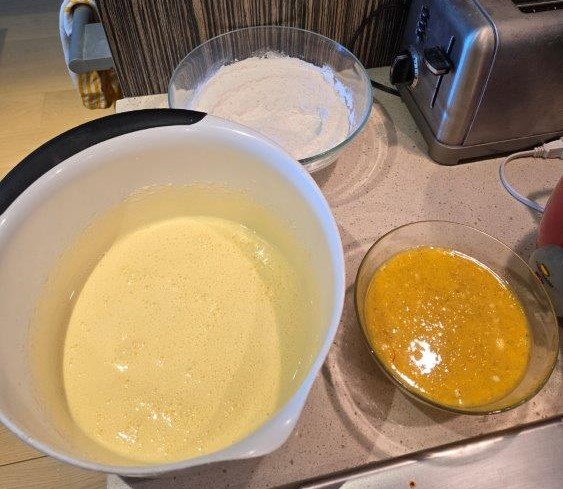
The preparation is pretty straightforward cake recipe – mix ingredients, pour in pan, bake. The only really unusual thing is that I’ve never greased a pan with tahini before.
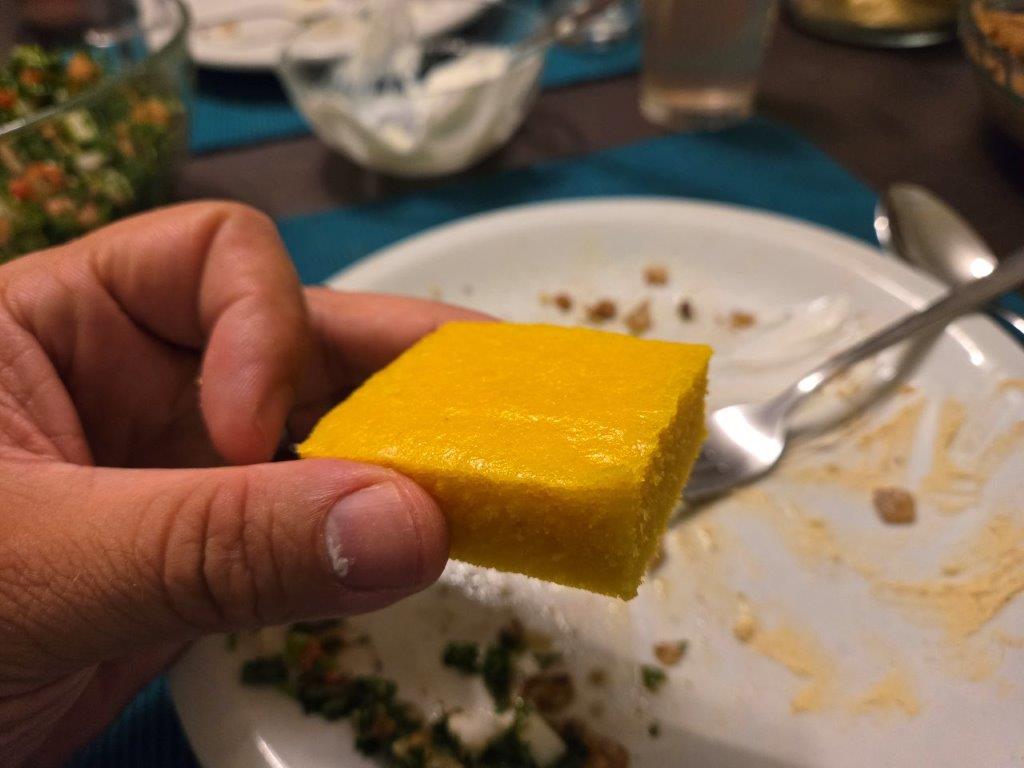
The cake was really striking in color:
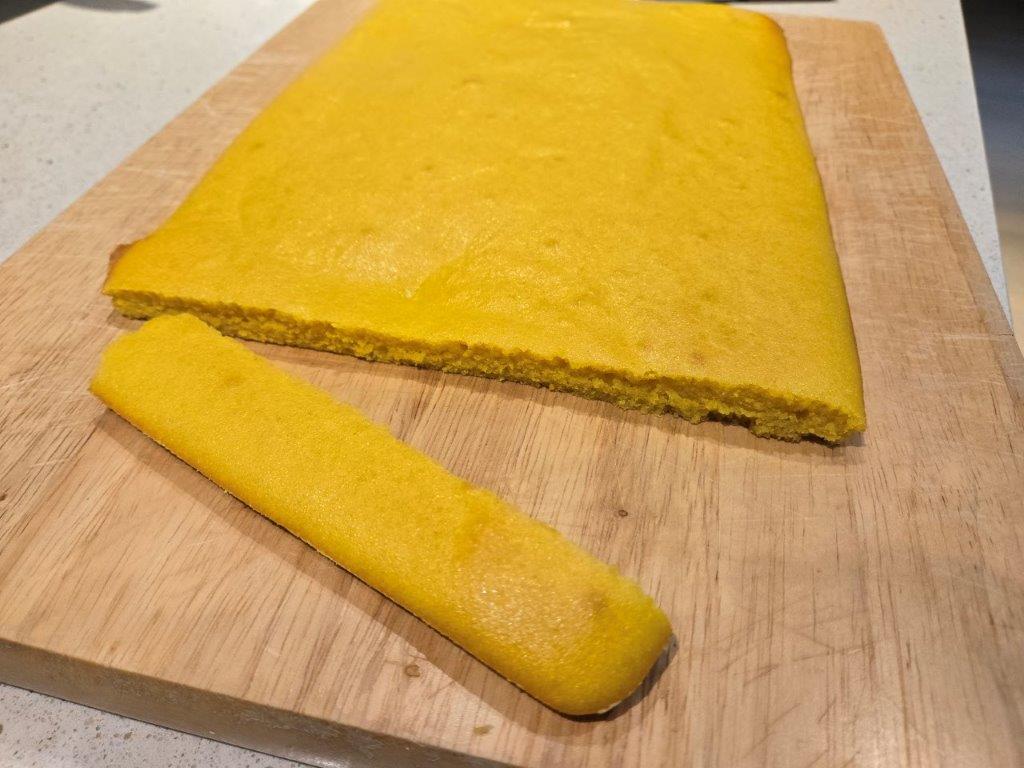
It was, however, a bit thin. I think we may have done the math wrong when we scaled it for our pan. But it was tasty! Not too sweet, and would go nicely with tea.
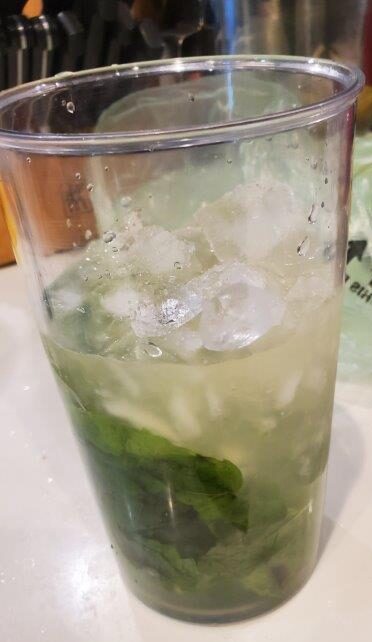
And that’s it! We continue to think Lebanese food is awesome. And since Leigh continues to despise anise flavored beverages, we didn’t bother with Arak.
Next up, either Lesotho or Latvia, depending on when we get to it.