Not to make excuses, but it’s been a really busy fall. And Lesotho was tough to research. But here we are, three months after our last meal.
I’ve mentioned it before, but there are a number of other blogs doing a similar project to this one. And among those, there’s… a range.
The gold standard was “Cooked Earth,” which absolutely bent over backwards for authenticity. Tons of research, absolutely no ingredient substitutions. If it was posted there, you could be more or less completely sure that you were, in fact, seeing an excellent attempt to replicate the food you would actually sample in the country in question.
However, this kind of approach was incredibly high effort. The blog owner went so far as to grow peppers from seed for one recipe. The meals appeared infrequently, given the commitment, and eventually stopped at Chad. Observent readers will note that we passed Chad something like four years ago.
The next tier down is “United Noshes.” While not QUITE as rigorous as “Cooked Earth,” the owners of United Noshes are very up front about their process, and they make explicit what their sources are and when they are making subsitutions. They do extensive research, and frequently talk to natives of the country or people who have lived there. They’ve received quite a bit of national media coverage, and we’d love to be invited to one of their meals before they finish. (Spoiler: we probably won’t be.)
We leaned heavily on Cooked Earth, and continue to lean heavily on United Noshes because they’re rigorous and cite their sources. We’d rather not JUST duplicate their recipes, but we could do a lot worse.
And then… there’s the rest of the cooking web.
We all know the joke. All you want is a lasagna recipe, but first you have to read through a lengthy story about the author’s childhood in Hoboken. But you know, we can’t really complain about THAT issue, because that’s literally all this blog is – we don’t even HAVE recipes, we JUST tell the story. Frankly, I have no idea why you’re reading this.
The bigger problem is that there’s no way to tell where the hell the “authentic Basotho recipe” (Lasotho is the country, Basotho is the people) reposted by six different Instagram perfect white ladies from the midwest actually came from. They all just cite to each other, and are clearly cut and pasted from the same place.
On the theory that it’s not just a “Blink” situation where the recipes are stuck in a time loop, the recipes must have come from SOMEWHERE, but we’d like a BIT more to go on than that.
Our goal with this blog is NOT to present ourselves as experts, or a source for authentic cooking. We’re looking to explore different foodways using alphabetical order as an inspiration. As such we will never say “Try this authentic recipe from Lesotho!”, or “Basotho cuisine is amazing, as typified by this completely authentic recipe!.”
Rather, “We tried to make something that approximated Basotho cuisine. In case you are interested, this was our experience, and here’s our sources. Please feel free to use this as a starting point with those caveats in mind.”
Whew. That’s a long introduction! The reason it popped up for this meal in particular is that Lesotho is TOUGH to research. It’s a quite poor country, and there’s apparently not a tradition of complex cuisines, so typical meals generally include dishes prepared simply with only a few ingredients. And dishes like that tend not to be terribly well documented.
But you know what – you can make some tasty food with just a few ingredients!
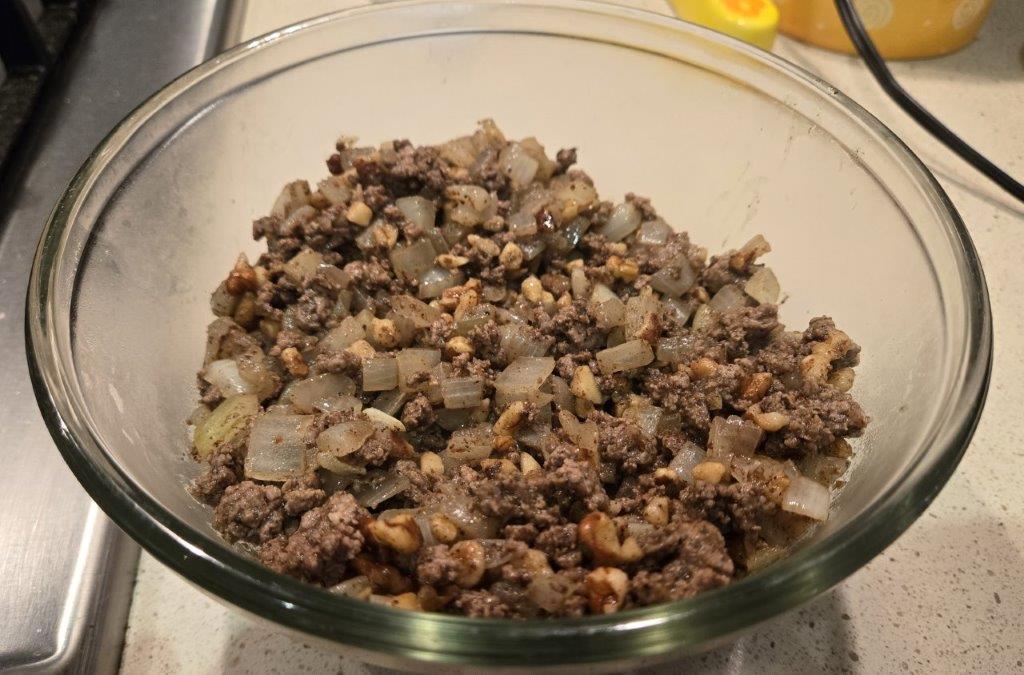
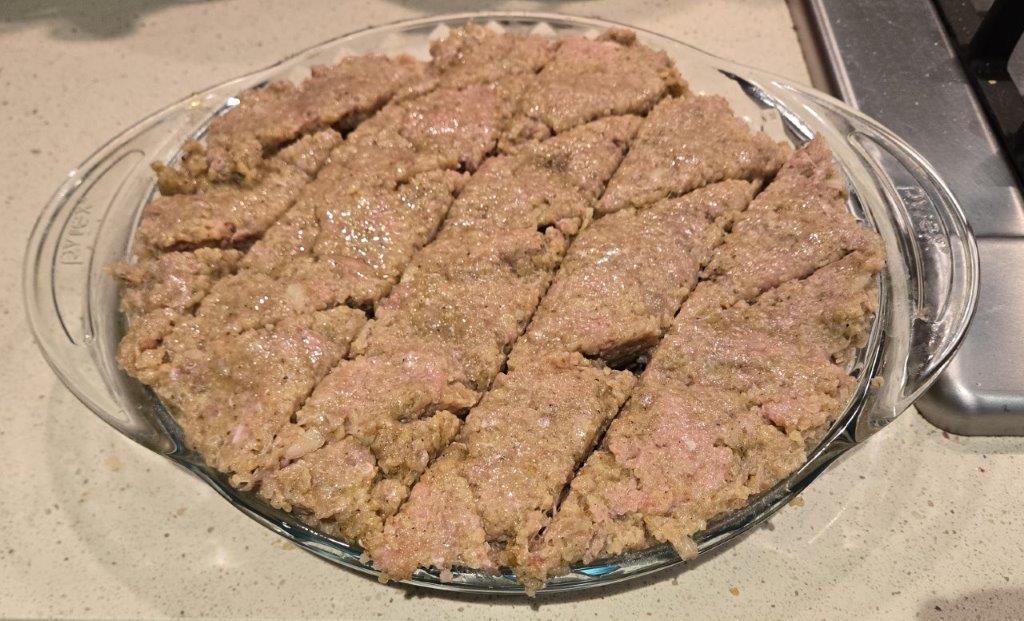
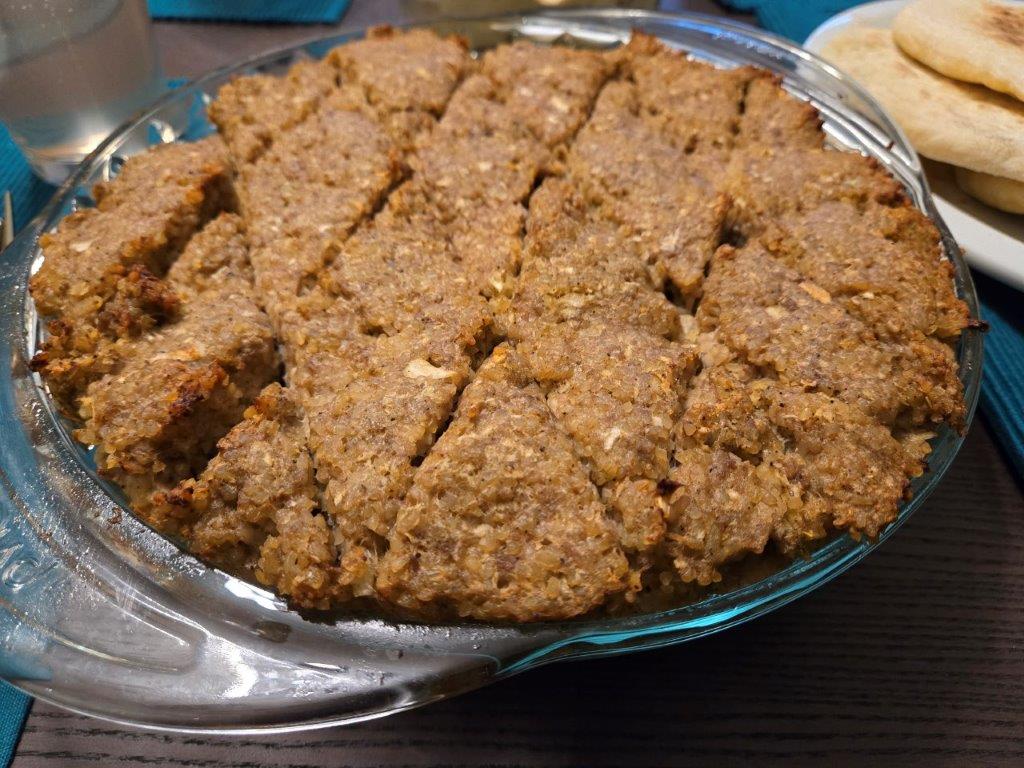
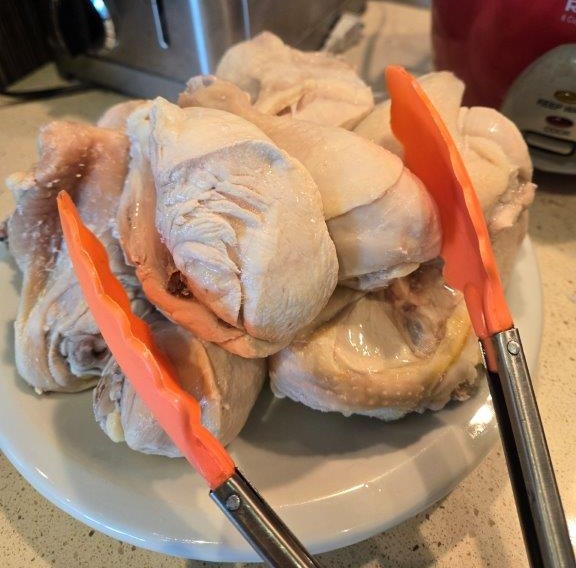
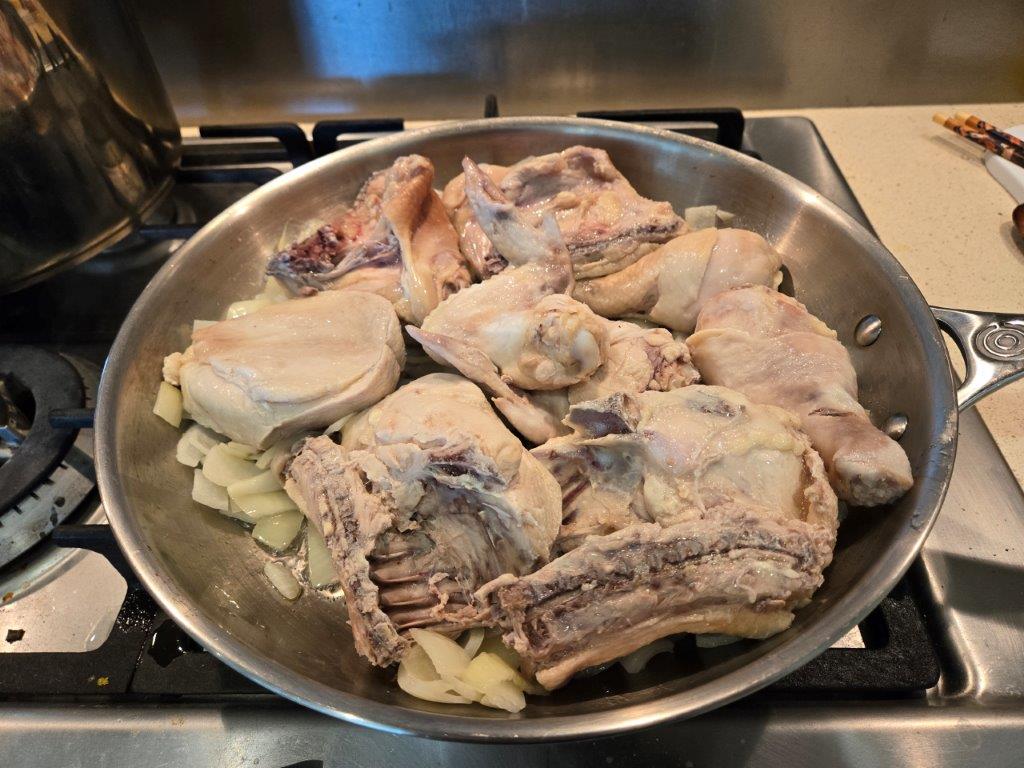
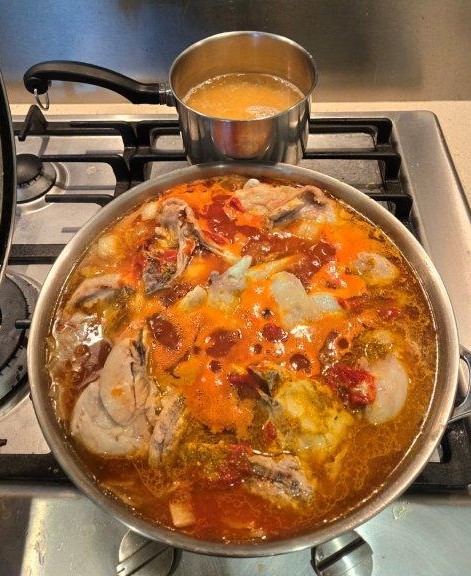
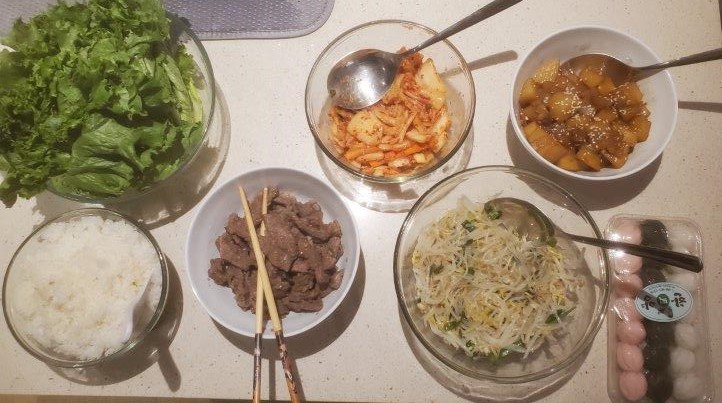
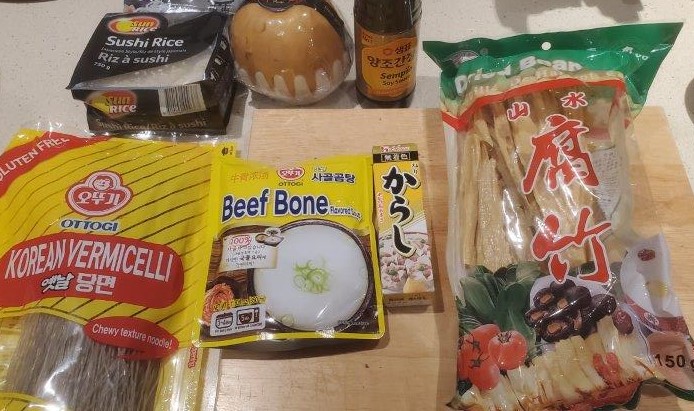
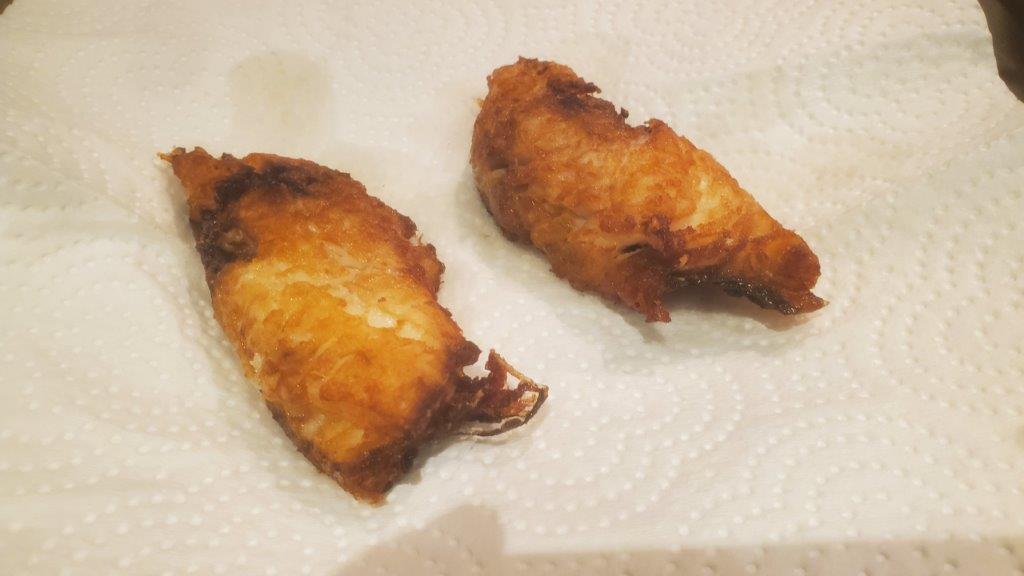
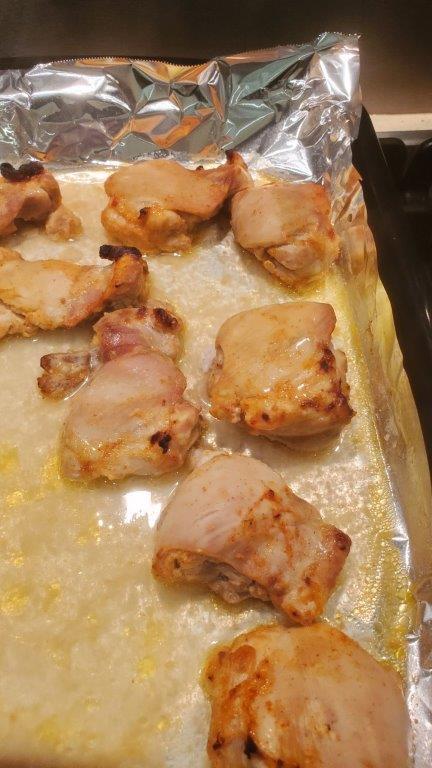
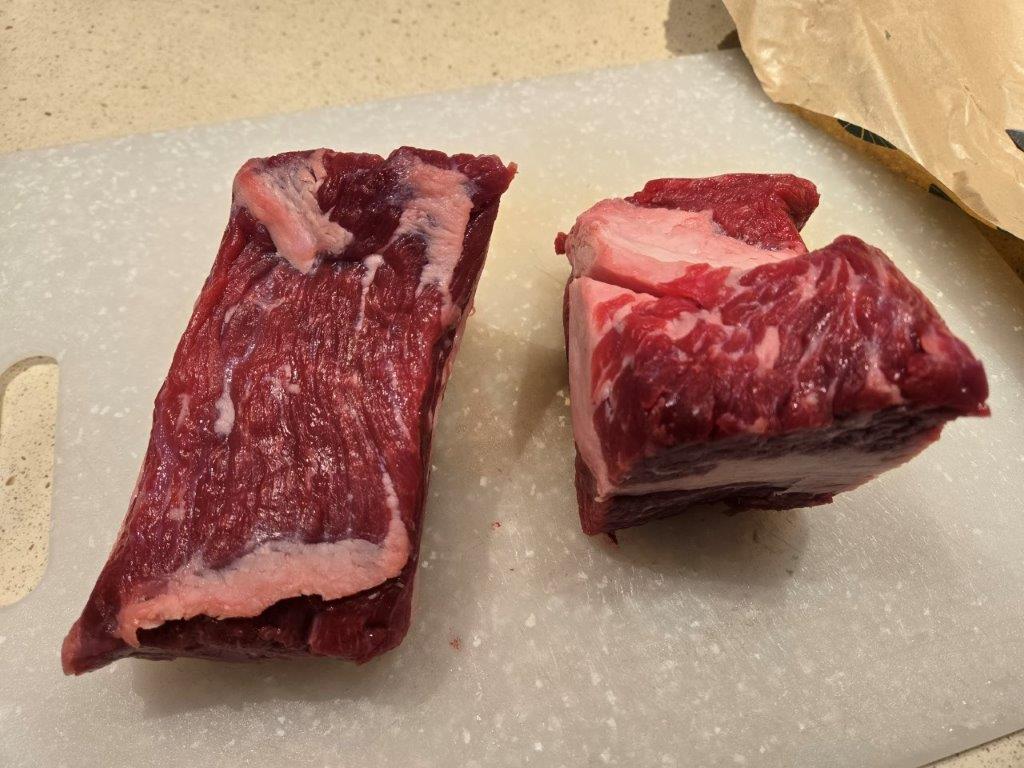
For our first dish, we’re making “bashed beef”. This is very similar to the “Seswaa” we made for our meal from Botswana. You start with a hunk of brisket, and you boil it for several hours.
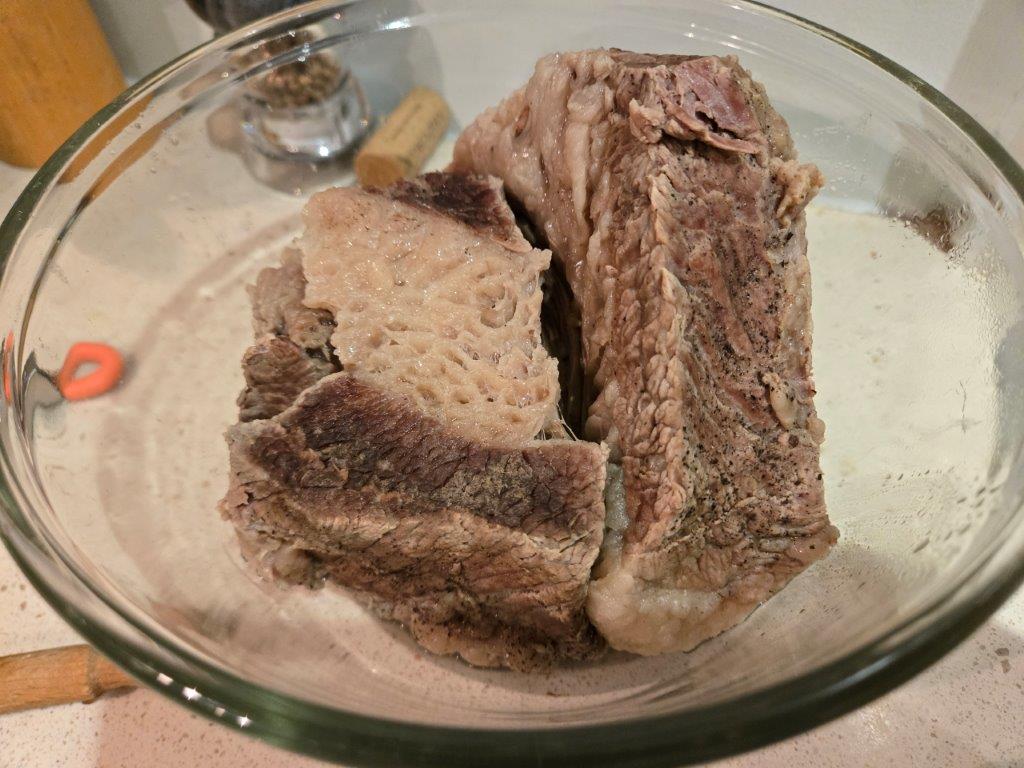
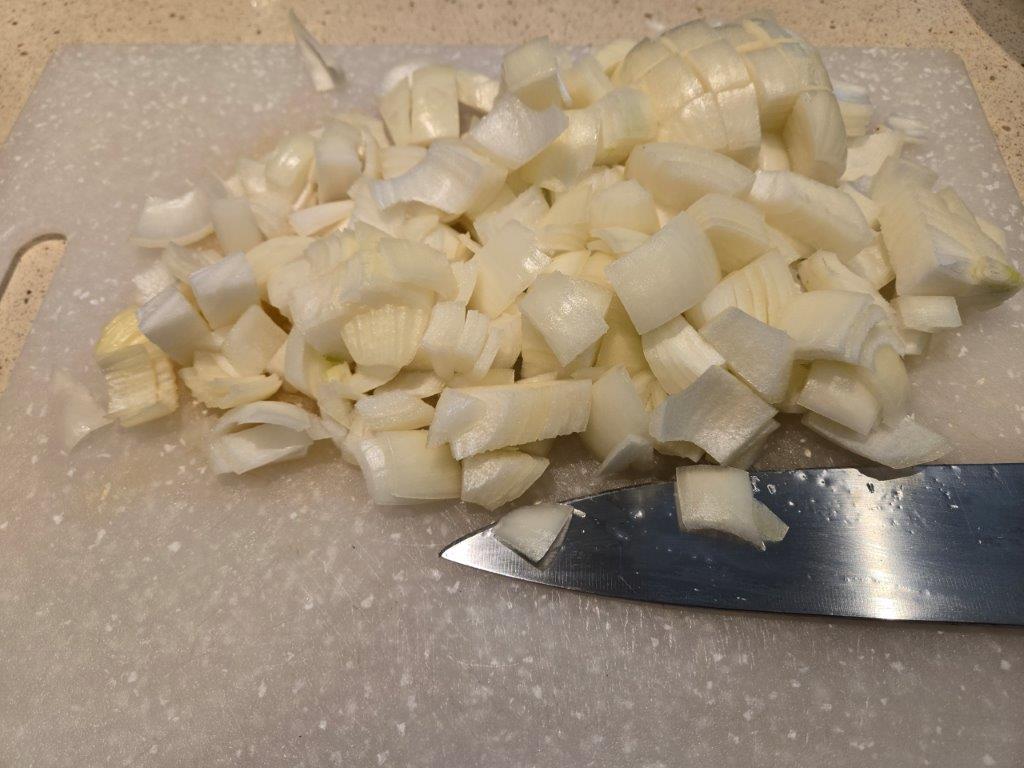
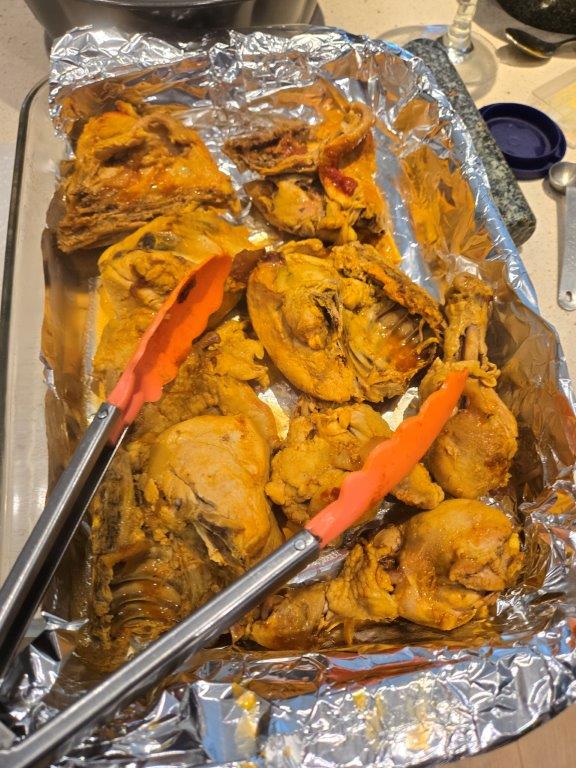
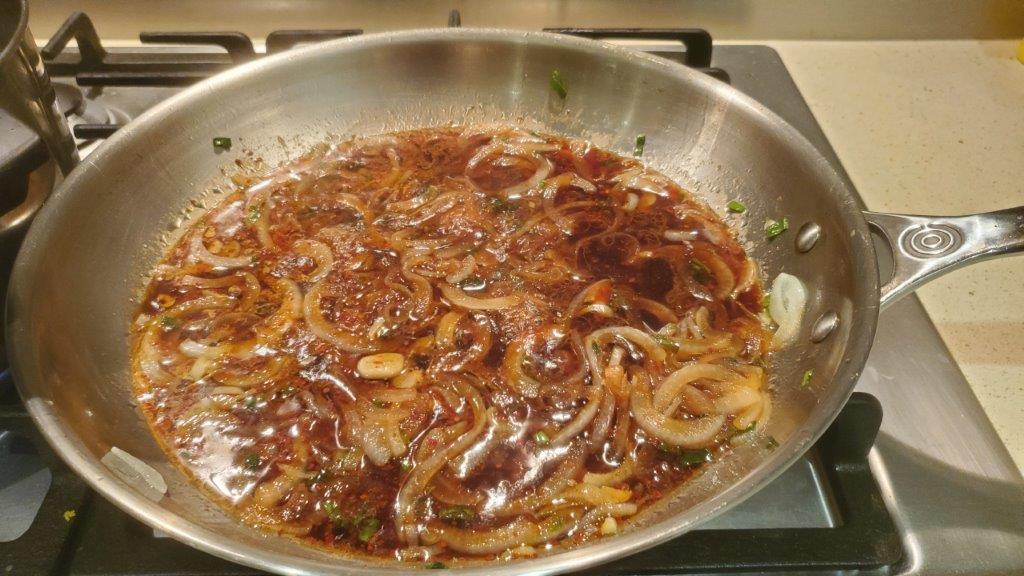
You then pound and/or shred the beef into small pieces. This is where seswaa and Basothan bashed beef seem to diverge. For the Botswanan recipe, the meat was dry fried to get crispy on the outside. The Basotho version that we found is simmered with onions for an additional thirty minutes to make a thick, saucy coating.
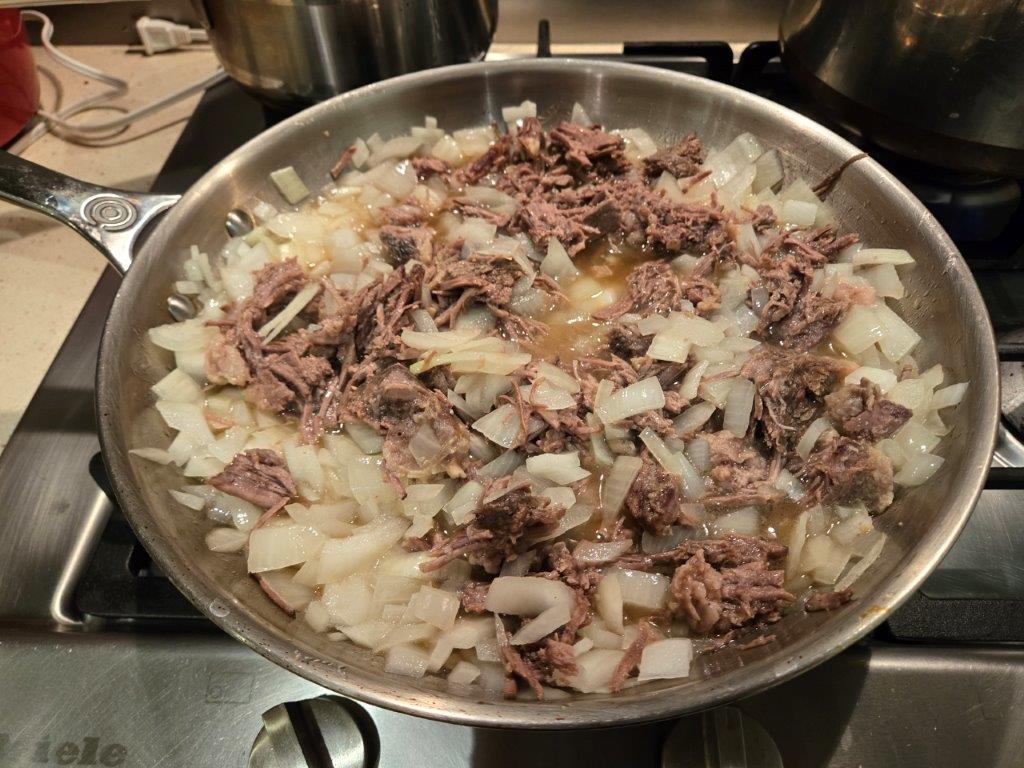
At least, I think it is. Unfortunately, the source cited by United Noshes is a dead link, so we had to go to another food blog. This LOOKS like the picture at United Noshes, anyway.
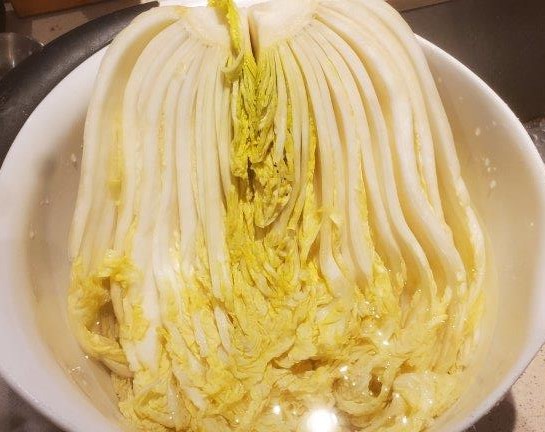
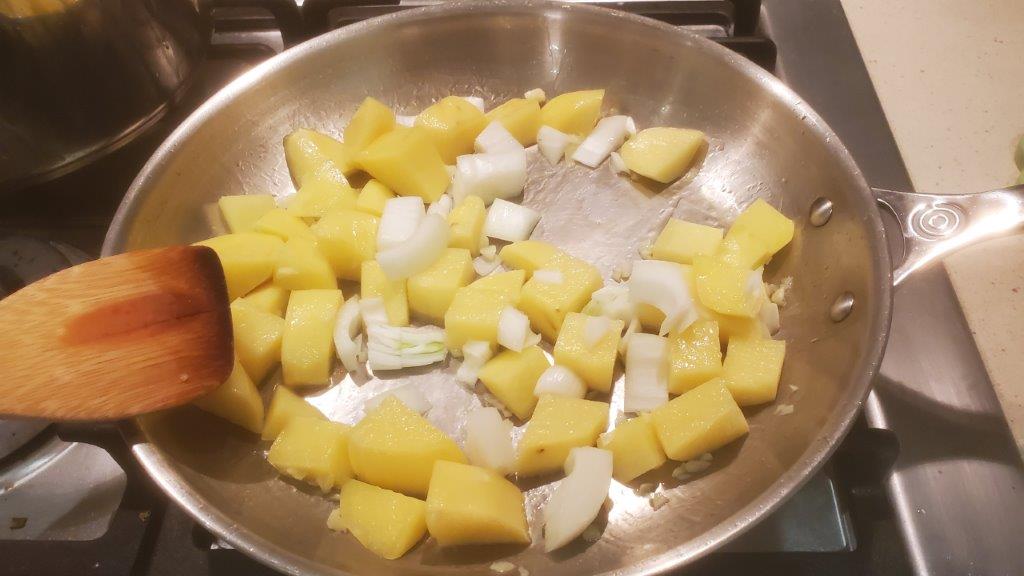
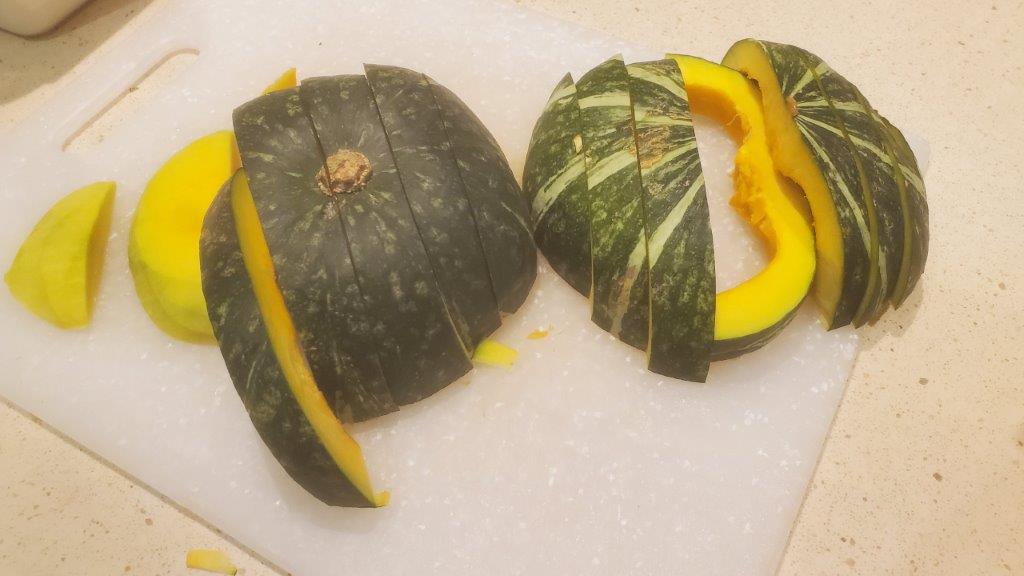
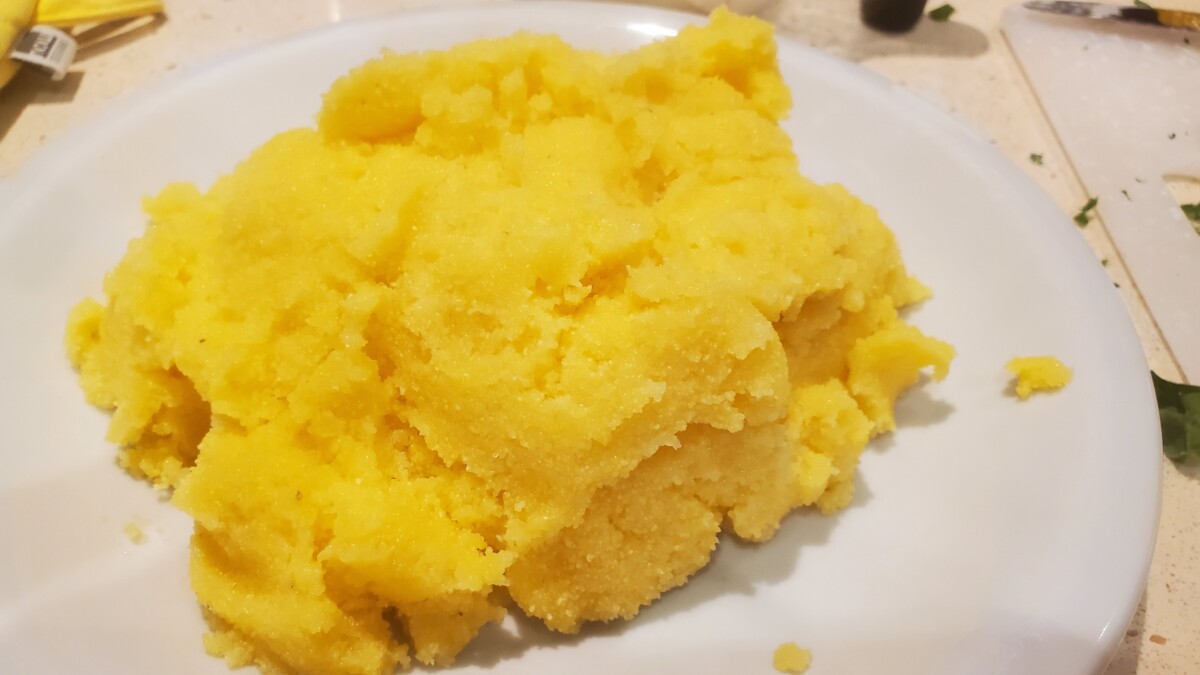
Pumpkin would probably be the most authentic vegetable to accompany this, but the beef recipe is part-and-parcel with a “potato and bitter greens” dish, so we made that. Chard was available and fresh, so we went with that.
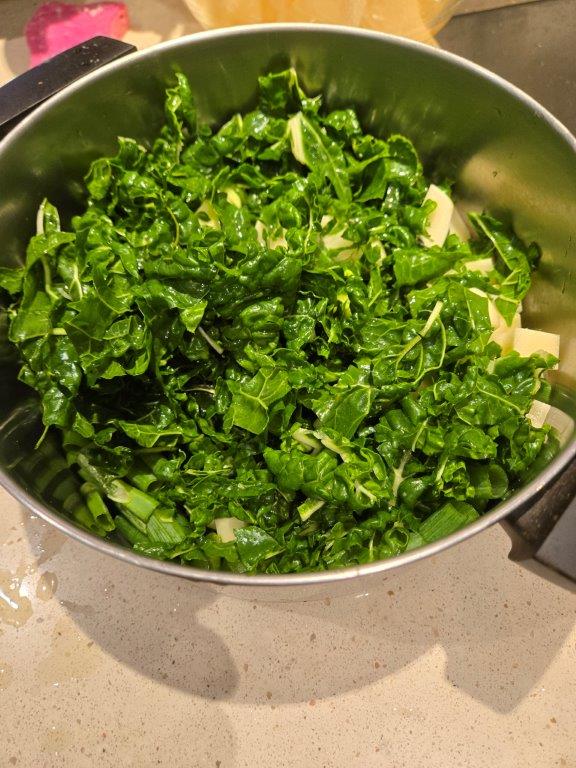
The potatoes and greens were finished with peanut butter at the very end, which is definitely a technique we’ve seen in other African recipes. I’m a bit suspicious of the source, but I’m not going to argue that the results weren’t delicious, because they definitely were.
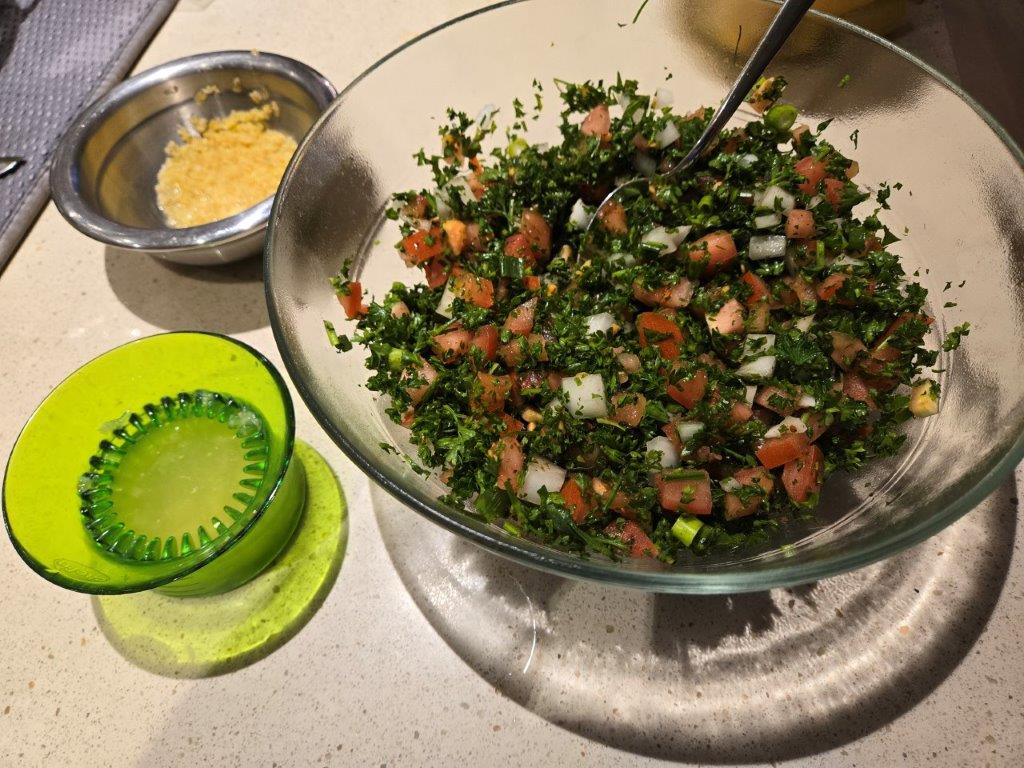
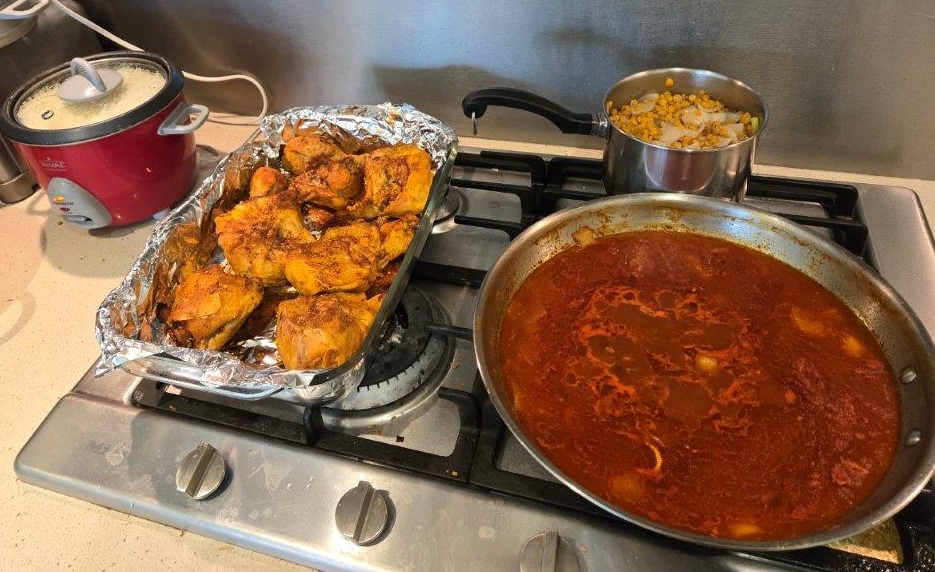
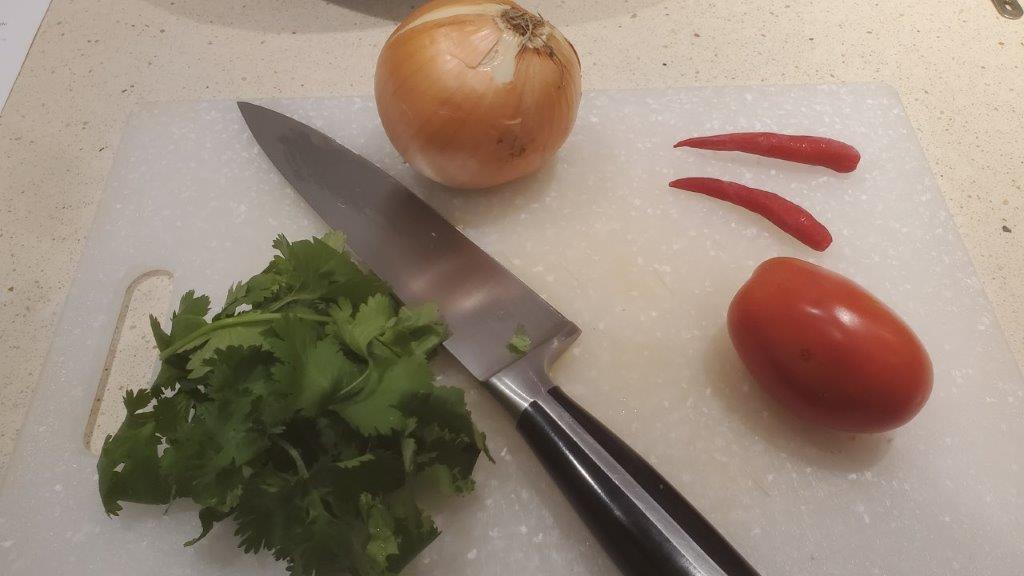
Finally, we made a simple stew of tomatoes, carrots, and onions. As simple as it was, this felt the most like something that you were likely to be served in Lesotho itself. The source of the recipe is a Peace Corps volunteer who spent extensive time in the country. 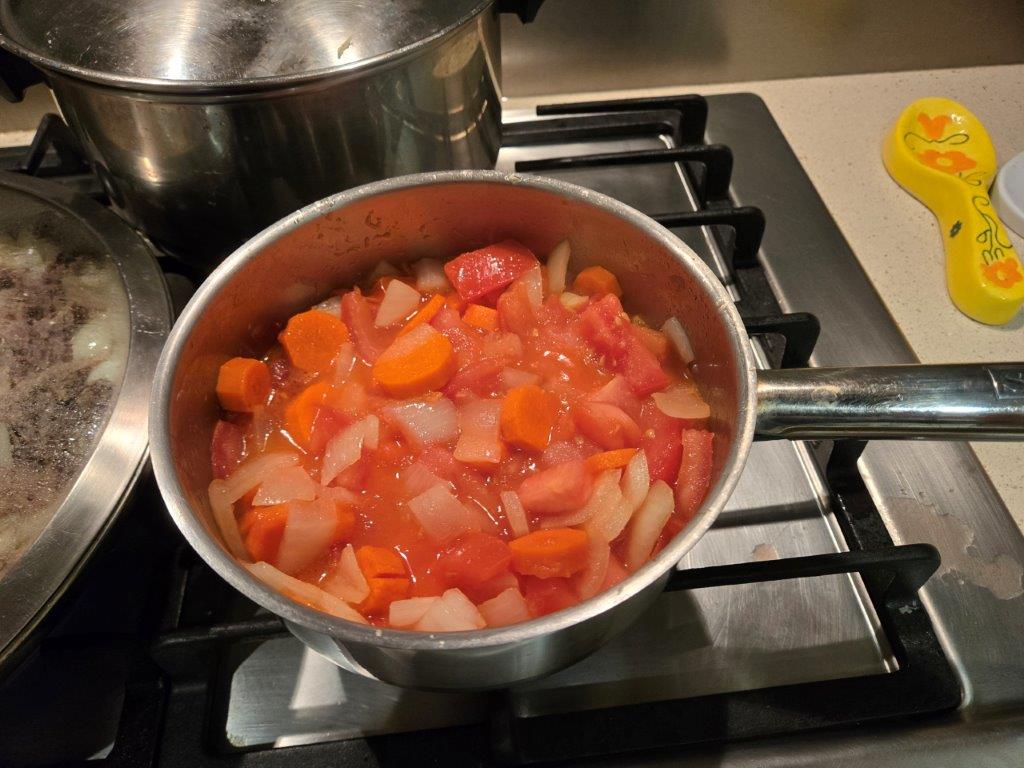
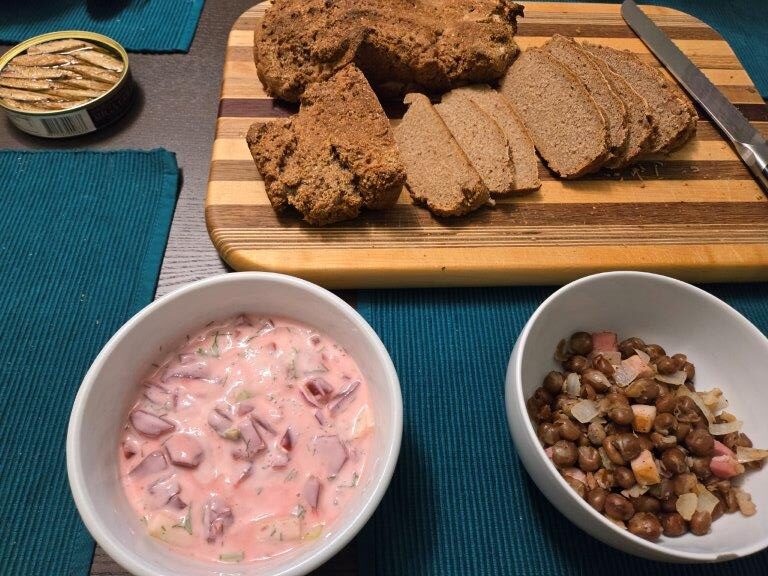
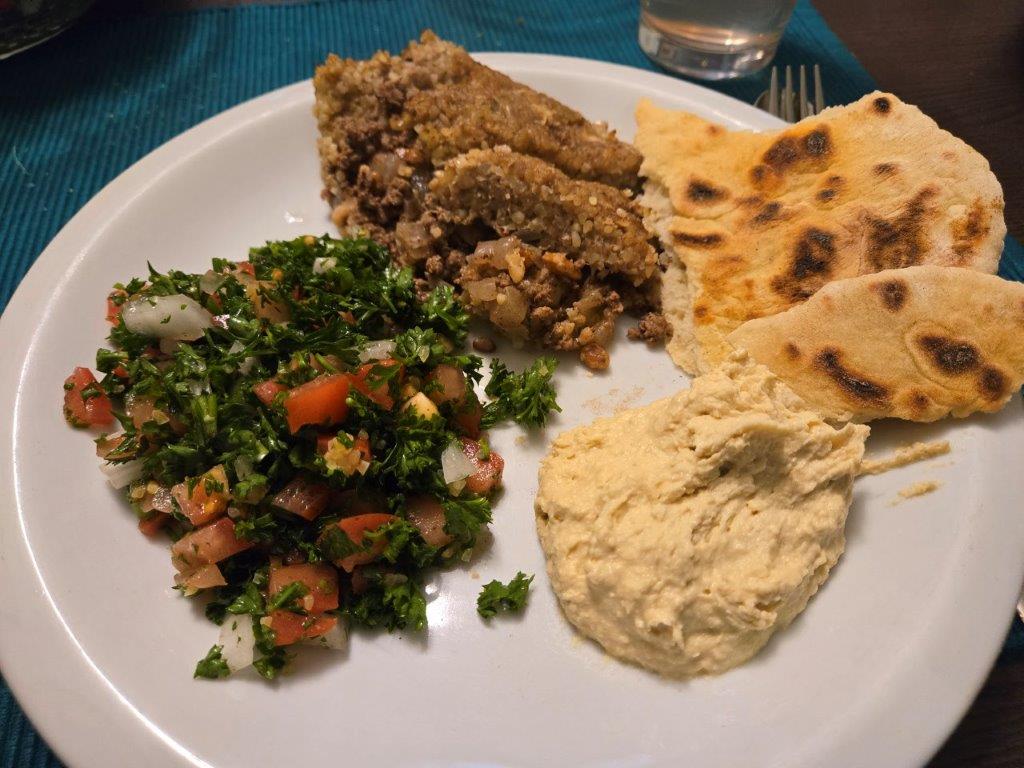
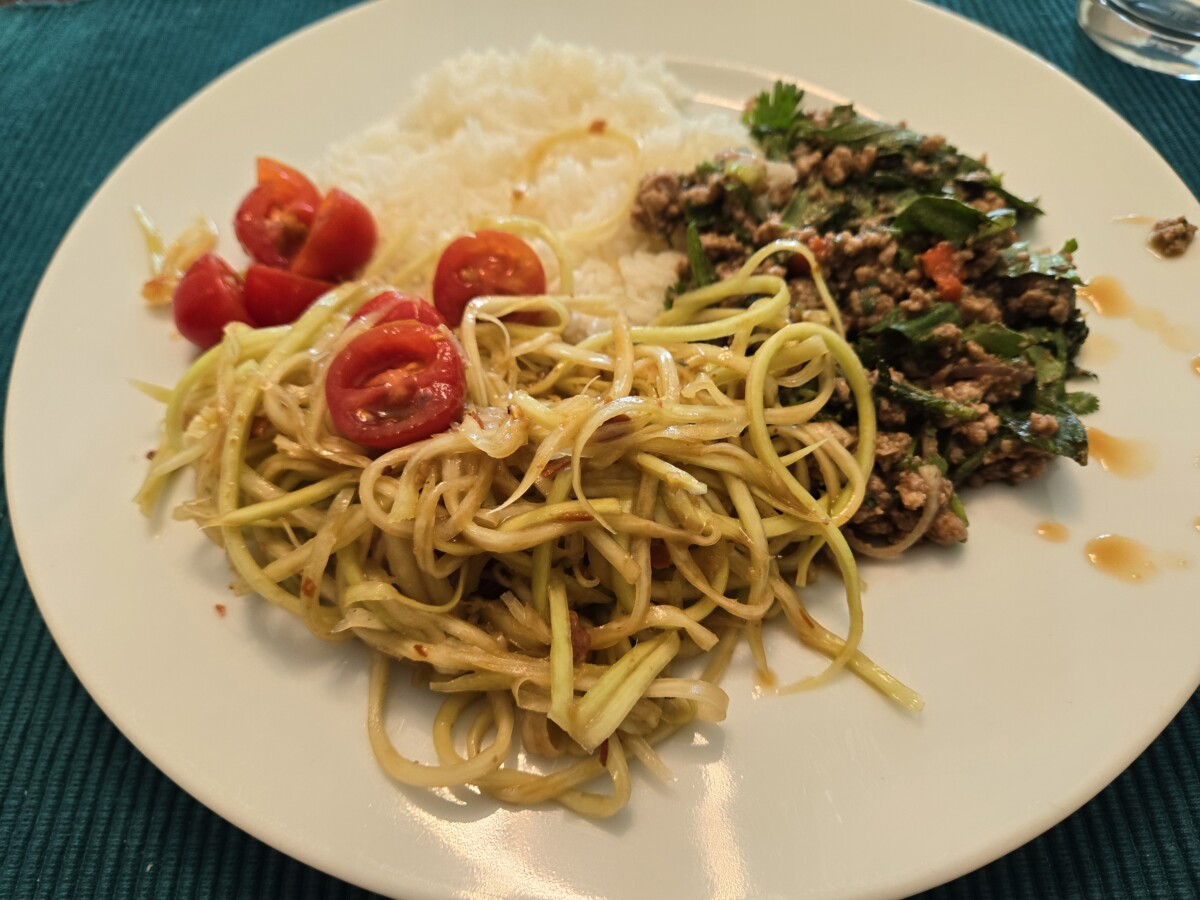
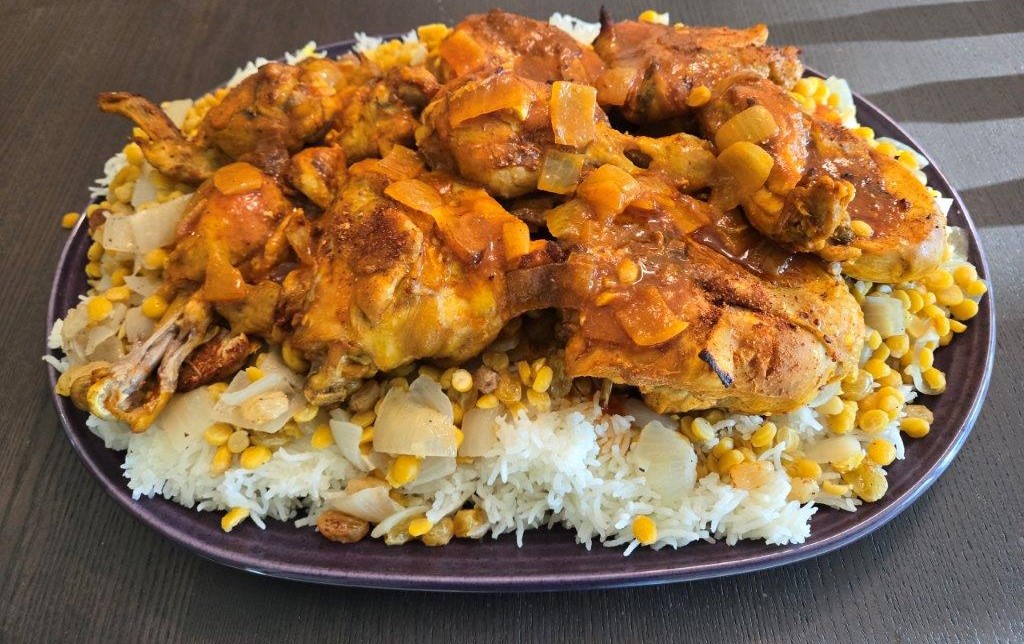
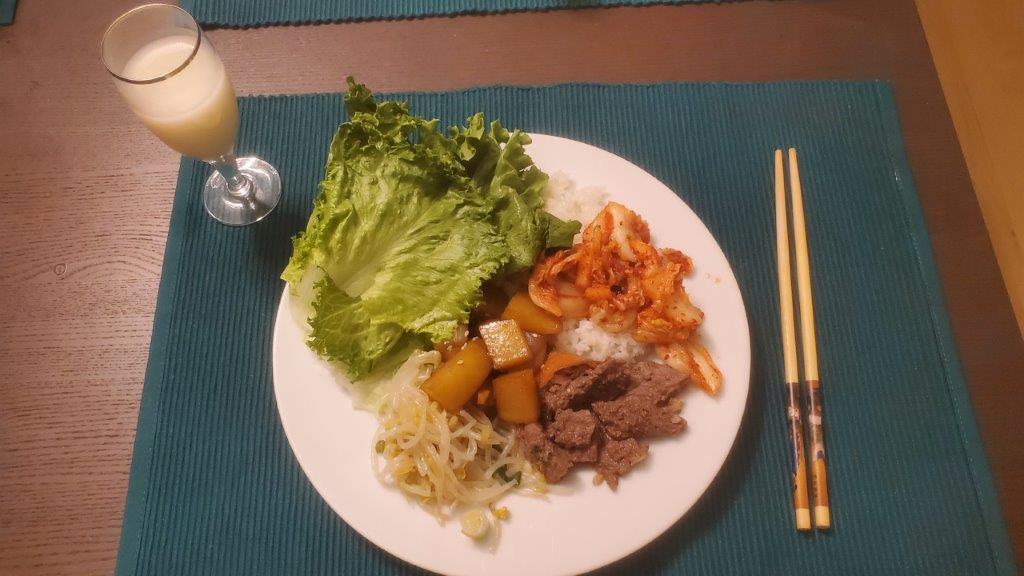
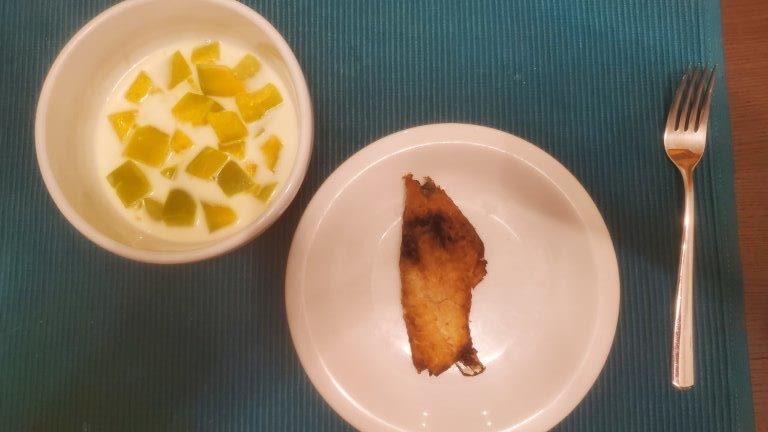
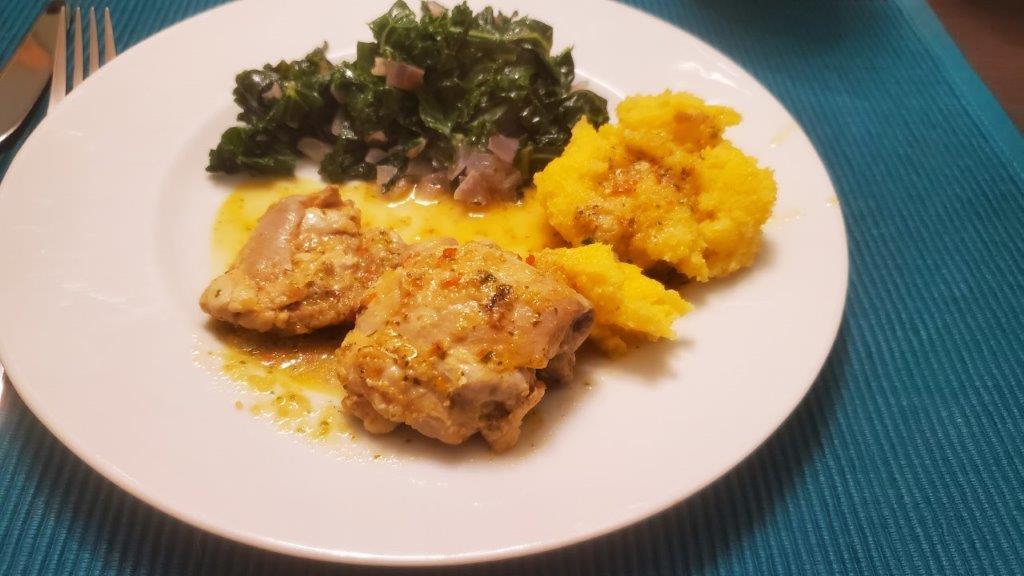
Put these together, and the final plate was colorful AND delicious!
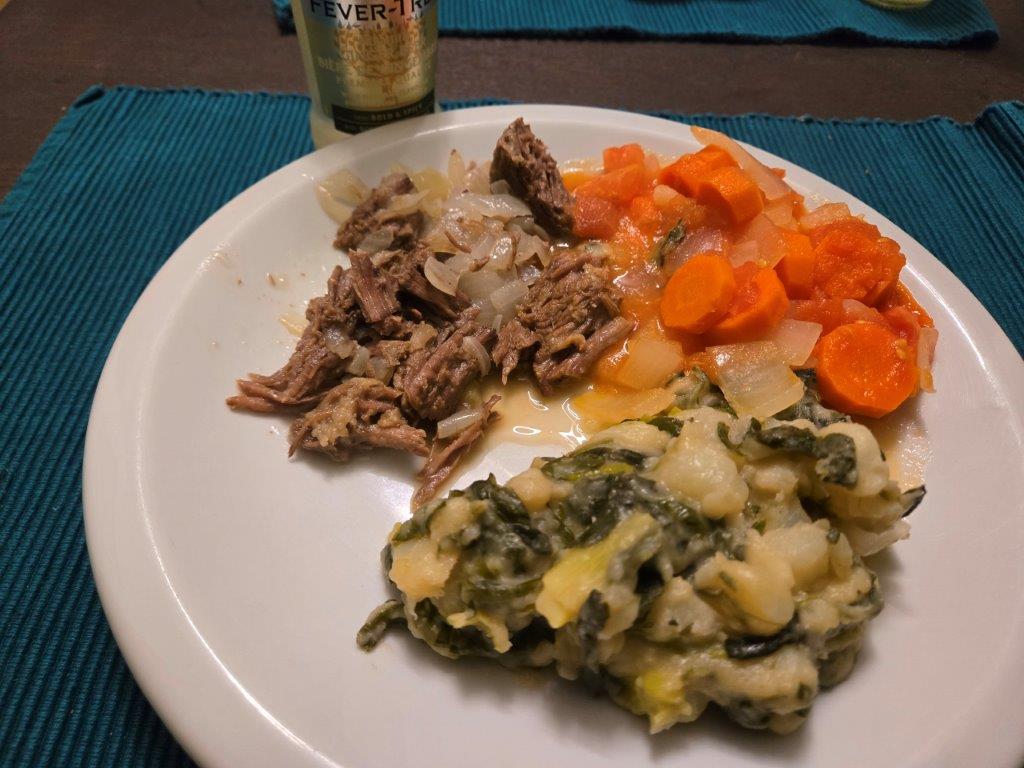
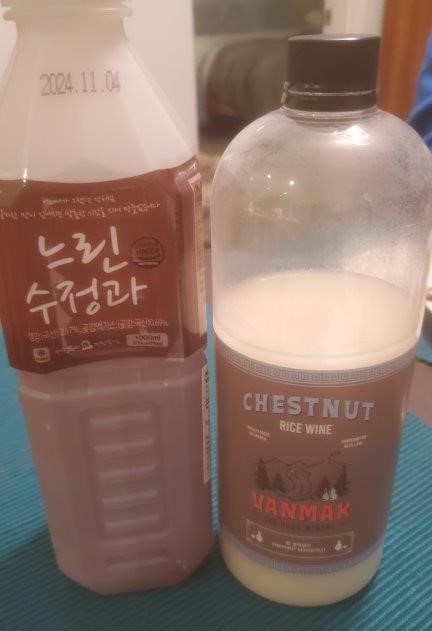
Seriously, for such simple dishes, this was a stellar meal. The beef was rich and hearty, the carrot stew had a nice sweetness to it, and the potato dish was exceptional. What’s not to like about peanuts and potatoes? We accompanied the meal with a bottle of ginger beer, since that’s a reasonably common South African drink.
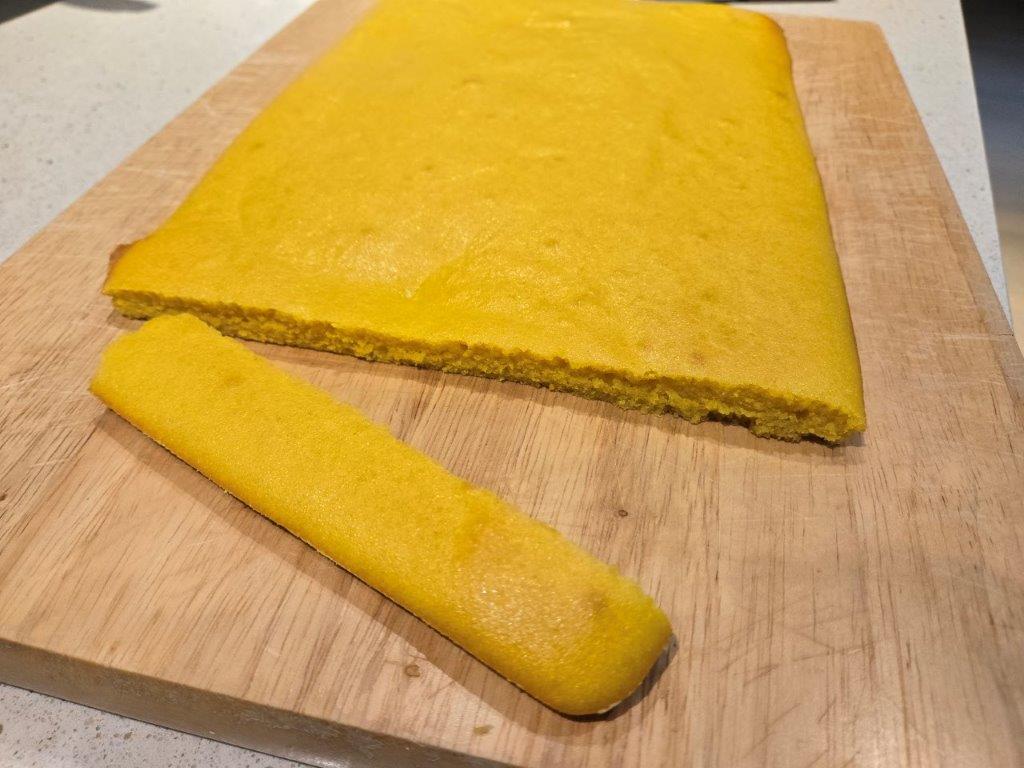
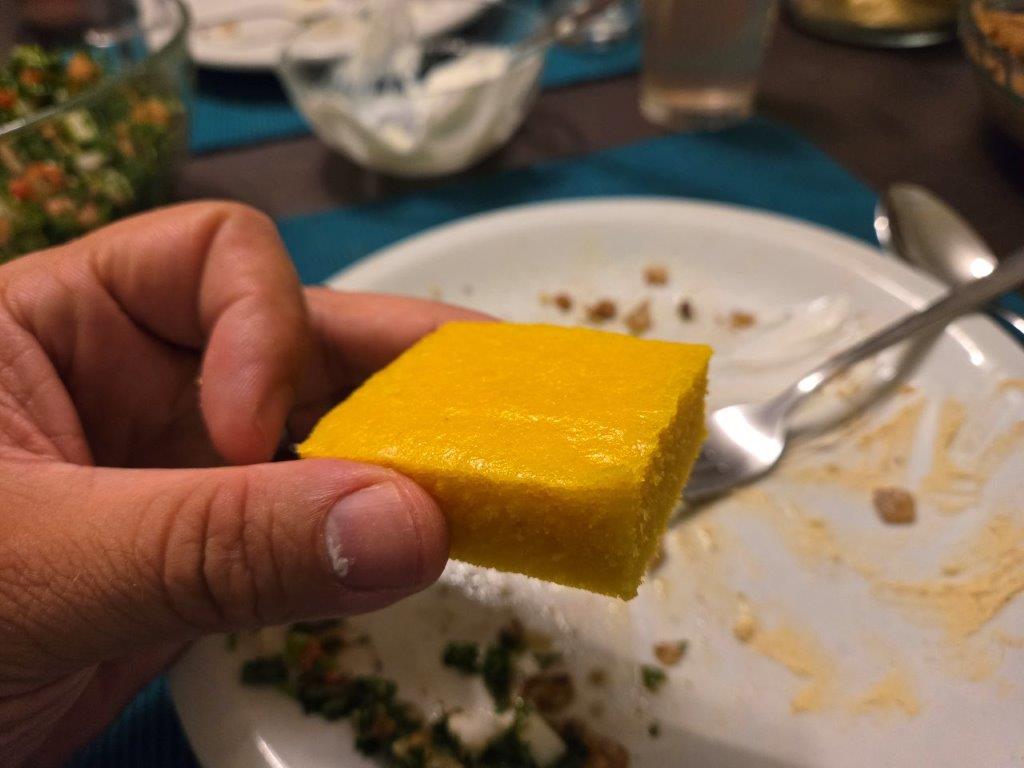
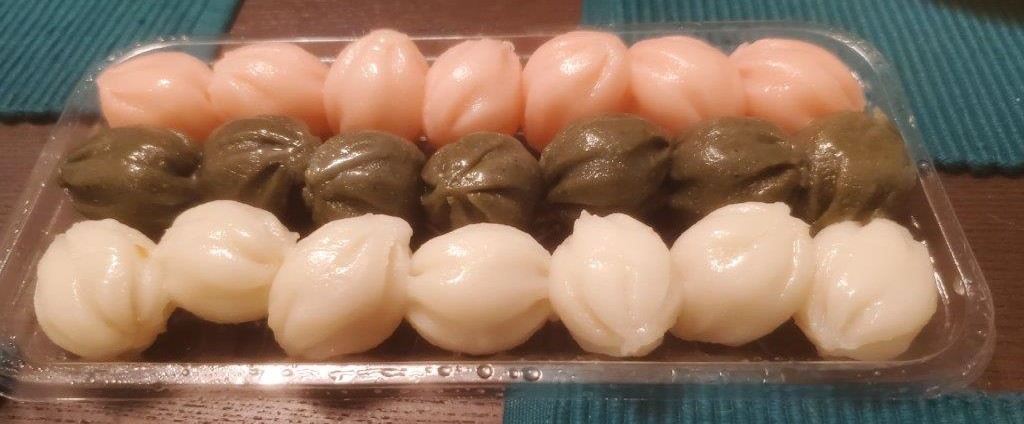
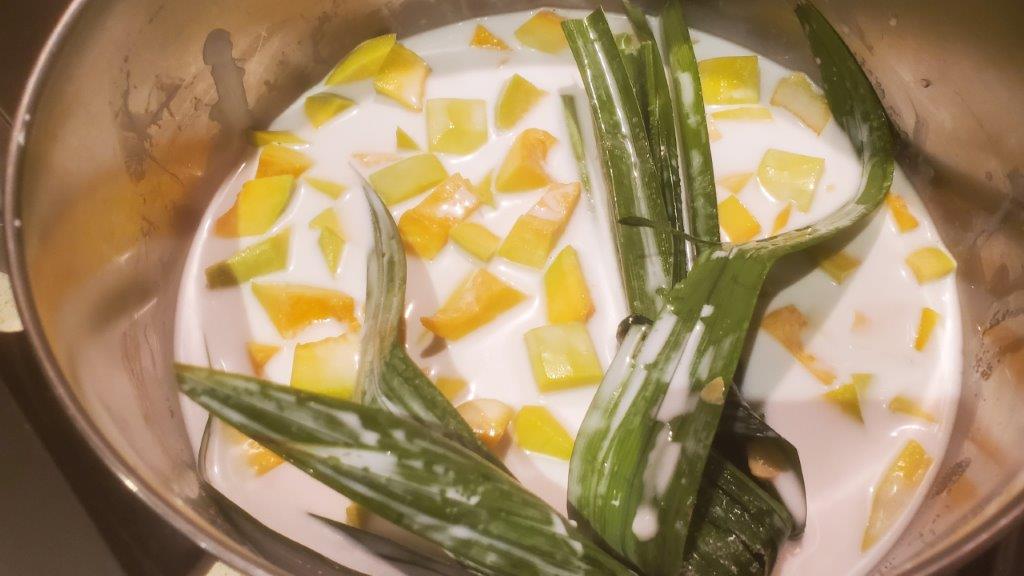
And while dessert isn’t, apparently, a terribly common thing in Lesotho, we ran across this from another Peace Corps member:
“Desert, although not common in many traditional households, is almost always a baffling combination of jello and custard… Don’t ask. I have yet to discover why they can’t be served separately.”
OK, well – we can do that, can’t we?

What we can’t do, apparently, is take an even remotely decent PHOTO of Jello and custard.
And there you have it – a lot about our process, and a little about vaguely Lesotho adjacent food. Next time, we remain in Africa for Liberia.
Recipes:
Lekhotloane (bashed beef) with Morogo-studded Potatoes
Tamati (tomato carrot stew) (This is the United Noshes link, so it includes everything they did for Lesotho)
Jello and custard: seriously, just read the instructions on the boxes.